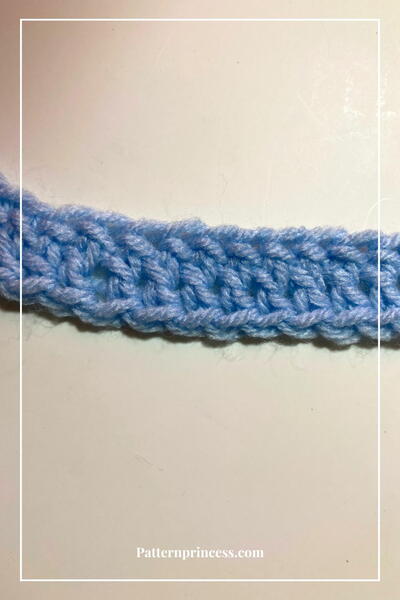
Multi-Patterned Boot Cuff
You've been wearing the same pair of boots all winter, and frankly they're an eyesore now. It isn't the wear and tear that bothers you, merely that you've seen too much of them. Accessorize your footwear with this Multi-Patterned Boot Cuff. This crochet pattern for boot cuffs gives you an intricate design with which to decorate your boots. A free boot cuff pattern is always welcome in your book, but now more than ever you're in desperate need of a change. Try your hand and needles at this delightful pattern.

Materials:
- I LoveThis Yarn medium (4) worsted weight, ivory color
- Crochet Hook Size – H
- Tapestry needle for weaving in the ends
- Gauge: 8 stitches and 3 Rows = approximately 2 inches
- Cascade Ultra Pima – 100% pima cotton, cream color
- Crochet Hook Size – G
- Tapestry needle for weaving in the ends
- Gauge: 8 stitches and 4 rows = approximately 2 inches
Special Directions: sctog, fpdc, bpdc
sctog – Sc in next st, draw through only one loop (2 loops left on the hook), sc in next st and draw through remaining 3 loops.
fpdc – YO, insert hook from front to back around the post of next st, YO and pull up a loop and complete as a dc.
bpdc – YO, insert hook from back to front around the post of next st, YO and pull up a loop and complete as a dc.
Abbreviations:
ch – chain
st – stitches
sc – single crochet
hdc – half double crochet
dc – double crochet
sl st – slip stitch
YO – yarn over
sctog – single crochet 2 together (see special instructions)
fpdc – front post double crochet (see special instructions)
bpdc – back post double crochet (see special instructions)
Instructions:
Top Portion of Boot Cuff:
-
Ch 15
-
Row 1: dc in third ch from hook and in next 3 ch, skip 2 chains, (2 dc, ch 1, 2 dc) in next ch, skip 2 chains, dc in next 4 ch, ch 3 turn. (13 st) (ch3 counts as first dc here and throughout)
-
Row 2: bpdc in next 3 dc, skip next 2 dc, (2dc, ch1, 2 dc) in ch 1 space, bpdc in next 3 dc, dc in top of ch 3, ch 3 turn. (13 st)
-
Row 3: fpdc in next 3 dc, skip next 2 dc, (2dc, ch1, 2 dc) in ch 1 space, fpdc in next 3 dc, dc in top of ch 3, ch 3 turn. (13 st)
-
Repeat rows 2 and 3 until the desired measurement ending with row 3. Fasten off leaving a long tail.
- Turn pattern wrong side out and join ends together using the long tail and take the side just fastened off using the tapestry needle to sew through both loops of the stitch and the bottom loop of each stitch on the first row. Fasten off and weave in the ends. Turn pattern right side in before working the bottom part of the cuff.
Bottom Portion of Boot Cuff:
-
Row 1: Join to cuff by ch 1 and sc evenly around, sl st into first sc (not the ch 1). (Hint) You will later be decreasing stitches so be sure that your stitches will divide by 4 evenly then add two more sc. (Example: Sc 44 stitches plus 2=46 stitches around.) 46 will actually be a good number to use on the average size cuff.
-
Row 2: ch 2, dc in next dc and around, Sl st in top of ch 2 st.
-
Row 3: ch 1 and sc in same sp, sc in next st and around, sl st in first sc.
-
Row 4: ch 2, dc in next dc and around, Sl st in top of ch 2 st.
-
Row 5: ch 1 and sc in same sp, sc in next st and around, sl st in first sc.
-
Row 6: ch 2, dc in next dc and around, Sl st in top of ch 2 st.
-
Row 7: ch 1 and sc in same space, sc in next 3 dc, *sctog in next sc, sc in next 3 dc, sctog in next dc*, repeat from * to * across, sl st in first sc.
-
Row 8: ch 2 and hdc in next stitch and around, sl stitch in top of ch 2 st.
-
Row 9: ch 1 and sc in same sp, sc in next stitch and around, sl stitch in first sc. Fasten off and weave in ends.
-
Add buttons if desired.

Read NextEasy Crochet DIY Eyeglasses Case
Your Recently Viewed Projects
llperchqueen 36484 72
May 12, 2013
At the end of the top portion, (#6) you say "turn the pattern wrong side OUT", sew, then " turn pattern right side IN". Isn't that the samre thing? I think it should read Right side OUT. Love the pattern, thanks for sharing.
didough
May 16, 2013
Don't know if this is right, but when finished half of it will be turned down over the boot top, so this may be to avoid the 'wrong side' seam showing on the outside ...
Kathy Lashley
May 25, 2013
Thanks for the correction. I didn't make the cuff to turn down but that is a great idea!!!
Report Inappropriate Comment
Are you sure you would like to report this comment? It will be flagged for our moderators to take action.
Thank you for taking the time to improve the content on our site.


