Let it Snow Christmas Card
This blue and white snowflake Christmas card from Posh Impressions folds out from the center with a lovely blue snowflake seal and white ribbon. Though the card looks fancy, stamps help you create a Christmas greeting quickly and easily.

Materials:
- Posh White Christmas Stamps (Sunday International)
- Let It Snow
- Mittens Border
- Snowflake Border
- Warmest Wishes
- Marvy Blending Blox (Sunday International)
- Marvy Markers (Sunday International)
- Brilliance Ink Pads (Sunday International)
- 1 Sheet 8 ½” x 11” white gloss or coated cardstock
- Blue Cardstock – 5 ¾” x 5 ¾”
- Clear Hot Glue
- Stickles Crystal Glitter (Ranger)
- Ribbon
- Quick Hold Craft Glue
- Bone Folder
Steps:
- Trim gloss cardstock to 5 ½” x 11”. Using 11” side, score at 2 ¾” and 8 ¼”. Stamp “Let It Snow” on left side of panel; mittens, scarf and hat on right side leaving center section blank. Use markers to color stamps direct to rubber; Blending Blox blues used to randomly stamp snowflakes.
- (Optional) Flip card over and stamp greeting, scarf and mittens in center section.
- With hot glue gun on non-stick surface make a small puddle of clear glue and quickly press a snowflake image into it. Allow glue to completely cool before removing stamp from glue. (Example photo is tinted for viewing purposes.) Press snowflake medallion into Brilliance Mediterranean Blue ink pad and cover both sides completely. Allow to dry overnight. (Do not attempt to heat set or medallion will melt.) Add Platinum Planet ink with cotton swab to highlight snowflake image.
- Adhere white card to piece of blue cardstock. Add glitter to “SNOW” letters. Glue snowflake medallion and ribbon on card.
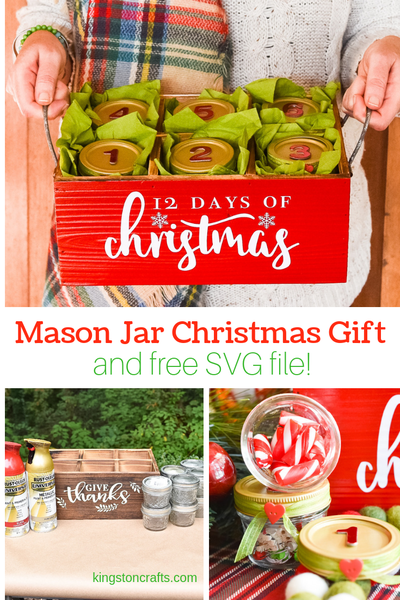
Read NextMason Jar Christmas Gifts with Ball®
Your Recently Viewed Projects
Weberme
Dec 01, 2016
I am sure all of us have that one friend or family member who loves to craft and loves to make anything home made so here is a way to make that Christmas card so very special this year. Make them this darling Let it snow Christmas card and let them see how much you admire their crafts. This is a easy and simple tutorial to follow and looks great. Add some more special touches by adding some glitter for the snow and added pizazz. A super great idea. Print up a special message and glue inside.
Report Inappropriate Comment
Are you sure you would like to report this comment? It will be flagged for our moderators to take action.
Thank you for taking the time to improve the content on our site.

