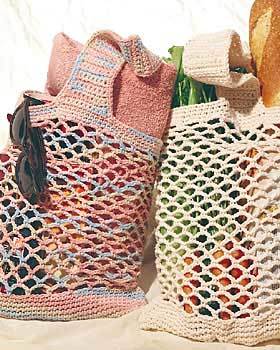
Striped Tote Bag
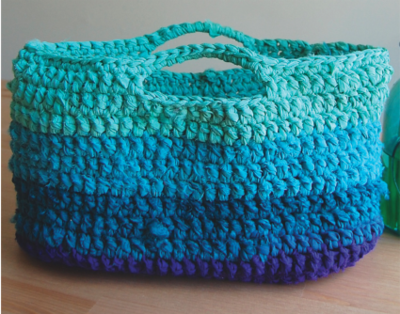
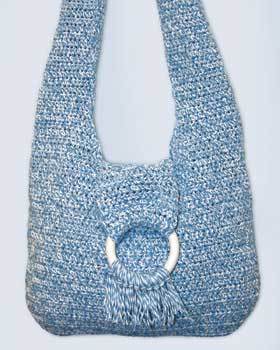
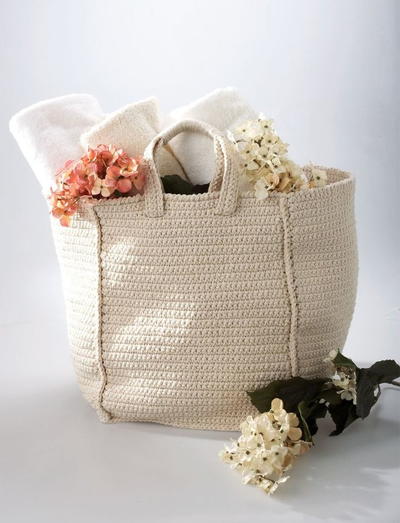
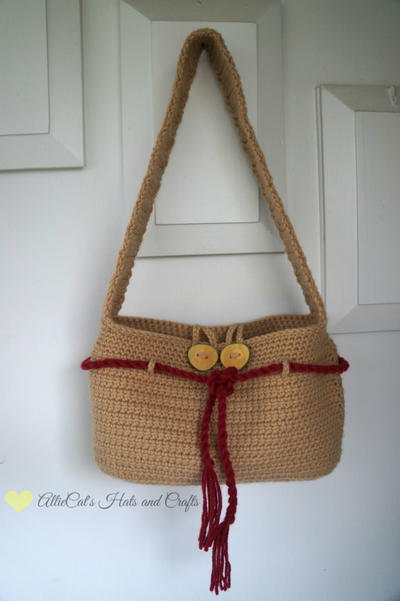
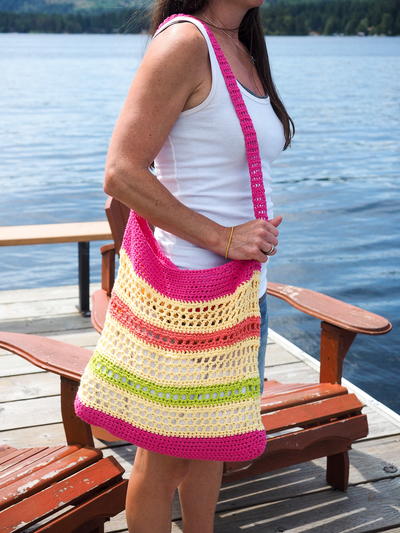
Make a roomy and durable tote bag to go with any outfit using this free crochet tote bag pattern. Stylish and adorable yet also practical, this easy-to-crochet striped tote bag can be used to carry all of your essentials. This is a great bag for the fall, but you can easily make one for the summer months by using bright colored yarn. This Striped Tote Bag also makes a great gift for girls of all ages.
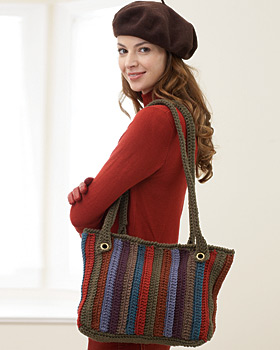
Materials:
- 5 mm (U.S. H or 8) crochet hook or size needed to obtain gauge
- 2 snap fasteners
-
1 ball Bernat® Super Value Harvest Colors (197 g / 7 oz) yarn in the following colors:
- Moss Heather (MC)
- Rustic Heather (A)
- Steel Blue Heather (B)
- Plum Heather (C)
- Taupe Heather (D)
- Teal Heather (E)
- Redwood Heather (F)
Gauge: 14 sc and 15 rows = 4" [10 cm].
Instructions:
Measures approx 12 x 10 x 4"
Stripe Pattern
- Work 2 rows of each color in the following sequence: A, B, C, D, E, F, MC.
- These 14 rows form Stripe Pat.
Base of Tote
-
With MC, ch 43.
-
1st row: (RS). 1 sc in 2nd ch from hook. 1 sc in each ch to end of ch. Turn. 42 sc.
-
2nd row: Ch 1. 1 sc in each sc to end of row. Turn.
- Rep last row until work from beg measures 4" [10 cm], ending with a WS row. Fasten off.
Front and Back (make alike)
To change color, work to last 2 loops on hook. Draw loop of next color through 2 loops on hook to complete st and proceed in next color.
-
With MC, ch 36.
-
1st row: (RS). 1 sc in 2nd ch from hook. 1 sc in each ch to end of ch. Join A. Turn. 35 sc.
-
2nd row: With A, ch 3 (counts as dc). Working in back loops only, 1 dc in each sc to end of row. Turn.
-
3rd row: Ch 1. Working in front loops only, 1 sc in each dc to end of row. Join B. Turn.
-
4th row: With B, ch 1. Working in back loops only, 1 sc in each sc to end of row. Turn.
-
5th row: Ch 3 (counts as dc). Working in front loops only, 1 dc in each sc to end of row. Join C. Turn.
-
6th row: With C, as 3rd row.
-
7th row: As 2nd row.
-
First 6 rows of Stripe Pat are complete.
-
Keeping cont of Stripe Pat, rep 2nd to 7th rows until work from beg measures 32" [81.5 cm], ending with a WS row. Join MC.
- Next row: With MC, as 2nd row. Fasten off.
Handles (make 2)
-
With MC, ch 80.
-
1st row: (RS). 1 dc in 4th ch from hook. 1 dc in each ch to end of ch. Turn. 78 dc.
- 2nd row: Ch 3 (counts as dc). 1 dc in each dc to end of row. Turn. Fold piece in half lengthwise and working through both thicknesses, work 1 row of sc along side of Handle. Fasten off.
Finishing
-
Sew Front and Back tog for Body. Sew Body to Base. Join MC with sl st to upper edge of Tote. Ch 1. Work 1 rnd of sc evenly around upper edge. Join with sl st to first sc.
-
2nd rnd: Working from left to right instead of right to left as usual, work 1 reverse sc in each sc around. Join with sl st to first sc. Fasten off.
- Sew snap fasteners to upper edge of Tote. Sew Handles to Tote 2" [5 cm] in from sides.
Read NextHobo Bag
Your Recently Viewed Projects
Stace67
Apr 03, 2011
It appears that is a typo, as the bag measurements indicate the finished bag is 12" wide.
sourapple7410 4638 272
Feb 05, 2011
A question on size. In the pattern it asks for 2 pieces of 32". I can not figure out why so big in connection with the base. To me it seems it should be 1/2 that. Where am I going wrong?
barbdwyer
Mar 21, 2012
Since it is the entire circumference of the bag measured around. If you look at the measurements. 12 + 12 + 4 + 4 = 32 And that is the front and back lengths plus the width or thickness. I wonder if it would make a difference to just make it all in one piece rather than a front & back separately. It seems to be easier to continue working with one piece rather than two and you are joining them later anyway. Would there be an important design reason not to do it this way?
Report Inappropriate Comment
Are you sure you would like to report this comment? It will be flagged for our moderators to take action.
Thank you for taking the time to improve the content on our site.

