Fairy Garden Beanie

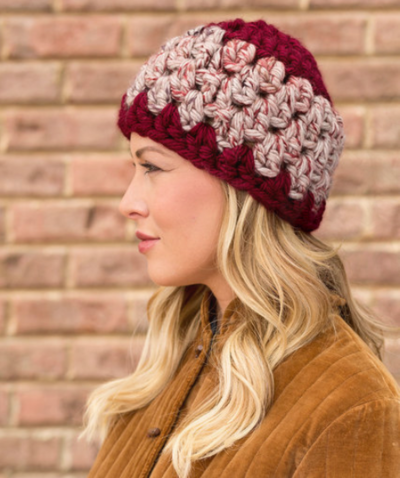
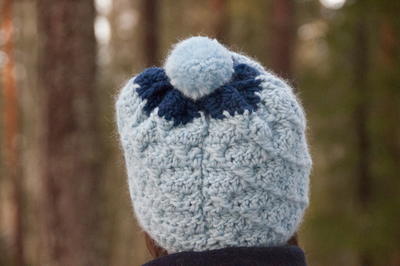
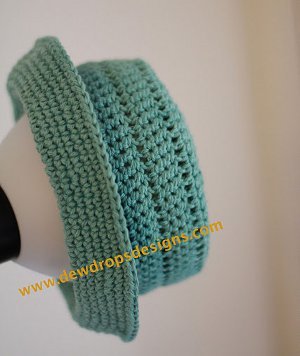
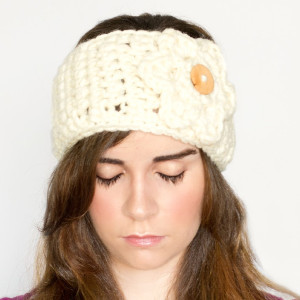
Take a magical journey through the woods with this Fairy Garden Beanie. Great for cool weather months, this beanie can be made in any color you'd like. Comfortable and warm, the Fairy Garden Crocheted Hat beanie is a pattern you're sure to love! In fact, we wouldn't be surprised if you end up making one of these hats in all your favorite colors! Great for beginners and advanced crochet fans, this hat makes for a quick and easy project and is a great last-minute gift idea for an upcoming birthday or holiday.
Primary TechniqueCrochet

Yarn Weight(6) Super Bulky/Super Chunky (4-11 stitches for 4 inches)
Materials:
- 12.00mm Crochet Hook
- 175g Super Bulky Yarn {14ply} - I used Lincraft Luxe
- Scissors
- Tapestry/Wool Needle
Instructions:
This beanie fits all sizes - Hat height 11 inches.
{Easily adjustable, as explained in pattern}
- Taking your 12.00mm crochet hook and super bulky yarn, start of by making a Slip Knot, then crochet 23 Chains.
- Row 1 Chain 2. Crochet 1 Half Double Crochet into the fourth chain from your hook. Then crochet 1 Half Double Crochet into the next 17 chains. Crochet 1 Single Crochet into the next 5 stitches. You should have 23 stitches now.
- Row 2 Crochet 1 Slip Stitch into every stitch across.
- Row 3 Chain 2. Crochet 1 Half Double Crochet into the back loop of the next 17 stitches. Crochet 1 Single Crochet into back loop of the next 5 stitches.
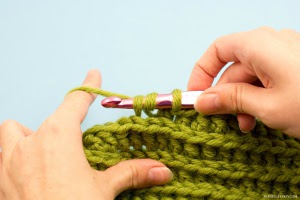
- Row 4 Crochet 1 Slip Stitch into every stitch across.
- Row 5 - 33 Repeat rows 3 - 4. {Note: You can either add or take away a couple sets of rows 3 - 4, depending on your head's circumference.}
- Fasten off, and weave in loose ends.
- Now taking the yarn and tapestry needle, thread the yarn through the ends of the rows along the edge. {Note: Be sure to thread the yarn through the ends consisting of single crochets, not the ends with half double crochets.}
- Once you've threaded your needle along one side, pull the yarn tightly to gather all the edges together until the hole at the top is closed.
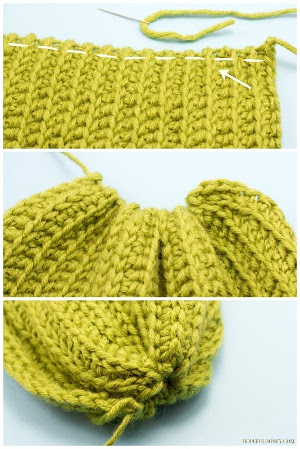
- Now, sew the two short sides of the hat together to complete your beanie.
- Fasten off, and weave in loose ends.
Up Next:
Read NextFaux Trapper Hat
Dana N
Dec 31, 2015
This hat is SO CUTE! It looks so easy to make and I love a good slouchy beanie. Really excited to try it out.
DRYCREEK51 9777720
Feb 06, 2015
I JUST FINISHED THE HAT. I HAD TROUBLE IN THE BEGINNING BECAUSE AFTER YOU FINISH ROW 2 YOU DON'T HAVE 23 STITCHES, YOU CAN ONLY HAVE 22. YOU GO INTO THE FOURTH CHAIN FROM HOOK, SO YOU TAKE UP ONE FROM YOUR 23 CHAINS. ALSO, 175 IS 22. AFTER I RIPPED IT OUT THEN I FIGURED I WAS RIGHT NOT THE PATTERN. OTHERWISE I LOVE THE DESIGN AND THE HAT!
Report Inappropriate Comment
Are you sure you would like to report this comment? It will be flagged for our moderators to take action.
Thank you for taking the time to improve the content on our site.

