Fabulous Fringe Purse
I think we can safely say that there's nothing quite like this Fabulous Fringe Purse! If unique is your goal for fashion accessories, you'll love this fringe handbag from I Love to Create. Made with an old silk scarf, this purse is thrifty and fun!

Materials:
- Aleene's® Fabric Fusion® Permanent Dry Cleanable Fabric Adhesive
- Tulip® 3D Fashion Paint (Gold Metallics)
- Aleene's® Crystal Clear Acid Free Tacky Spray™
- Tulip Soft® Fabric Paint (Gold)
- Tulip® Cordless Heat Setting Tool™
- Tulip® Glam-It-Up!™ Iron-On Crystals™ (300 Multi-color Pack)
- Pleather fabric or leather – 6” x 12” (or size needed for purse) – in desired color
- Low-tack masking tape
- Foil
- Belt buckle – gold
- Scratch paper
- Gimp trim – ¼” wide, color to match – two yards
- Scissors
- Paper towels
- Silk scarf – 24”
- Purse with frame closure
- Brush – No. 1 liner
- Newspaper
- Crayon
- Assorted yarn, ribbons – colors to match
Instructions:
- The desired color of pleather fabric can either be purchased or the pleather can be painted with any of the Tulip® Soft Fabric Paints™. If painting, use a wide brush to paint two thin even coats on fabric letting dry between coats.
- Cover work surface with newspaper. Lay pleather, right side up on surface. (The purse and pleather will be spattered.) Squeeze a puddle of Gold Metallic Soft Fabric Paint™ onto foil. Use liner brush to add drops of water then thoroughly mix. Add water as needed until paint is consistency of buttermilk.
- Fill brush with paint then flick brush over surface of bag. Pick up more paint in brush and flick again changing direction for interest. Continue spattering both sides of purse and pleather fabric, picking up paint prior to each flick. Let dry.
- Freehand own design onto scratch paper. Cut out. Trace on back of pleather and cut out.
- Iron scarf smooth. (The scarf will be folded for double thickness.) Determine area of scarf to be used. Place scarf, right side down on clean work surface. Add strips of low-tack masking tape along bottom edge to hold in place. Start Crystal Clear Tacky Spray™ on paper towel following label instructions to get feel for product. Lightly spray an even coat on scarf. Immediately lift upper corners and fold scarf in half, lining up lower edges. Use hands to press and smooth together. You will have a few minutes to reposition fabric if needed.
- Start flow of Gold Metallic 3D Fashion Paint™ on paper towel using an even pressure on bottle for a smooth line. Add thin lines of Gold Metallic paint to detail pattern of scarf. Let dry.
- Determine what part of patterned scarf will be on front of purse as well as length of fringe. Cut edge of scarf to fit top edge of purse then loosely cut scarf to fit front of purse. Place purse on covered work surface. Place a paper towel over front of purse, about 3” below top edge, then wrap handles with paper towels. Spray Crystal Clear Tacky Spray™ over uncovered section. Immediately press scarf onto purse lining up along top edge. Repeat step for back of purse if desired. Let dry.
- Cut excess scarf along side of purse. To create fringe, start in center and cut a slit to about 3” from top edge. Cut another strip about 1/2” from the first. Continue cutting evenly space strips along scarf.
- Apply a bead of Fabric Fusion® to back of pleather design and smooth with finger. Press pleather in place over scarf, lining up top edge and sides. Use tape to hold in place if needed. Let dry then carefully remove tape.
- Remove gold buckle from belt then add a drop of Fabric Fusion™ where metal tongue meets buckle. Let dry.
- Cut a 1 1/2” x 4” strip from other section of scarf. Loop strip through top part of buckle and line up cut edges. Use Fabric Fusion® to glue together. Line edge of strip with top edge of purse and glue to pleather design on purse with Fabric Fusion®. Hold with tape if needed until dry.
- To finish edge of pleather, squeeze a thin line of Fabric Fusion® along top and side edges. Press gimp trim into place, holding with tape until dry if needed. Refer to photo.
- Iron-On Crystals will be added to edge of fringe. Turn on Cordless Heat-Setting Tool™, following package instructions. Working in sections at a time, use crayon to stick to top of crystals and set in place along bottom hem of scarf. Tap crayon on top of crystal and press in place; it will hold it just long enough to set in place. Touch top of crystal with tip of heated tool and hold for 5 seconds. Let crystal cool then touch with fingernail, if not adhered add more heat. You will have approximately 3 to 4 crystals per fringe strip. Refer to photo. Continue with reaming crystals along hem of all fringe and around fabric holding belt buckle.
- Create tassels from assorted ribbons and yarns. Cut length of fibers then loop over a 4” piece of ribbon, which will serve as the tassel hanger. Wrap another piece of ribbon around ribbon fibers, just under the tassel hanger ribbon and tie. Fold tassel hanger ribbon in half then wrap a yarn piece around top and glue in place.
- The larger tassel is folded around the lower section of buckle then a section of yarn is wrapped around and glued in place. Refer to photo.
- Tie smaller tassels around handle then glue trim around to hide ends. Refer to photo.
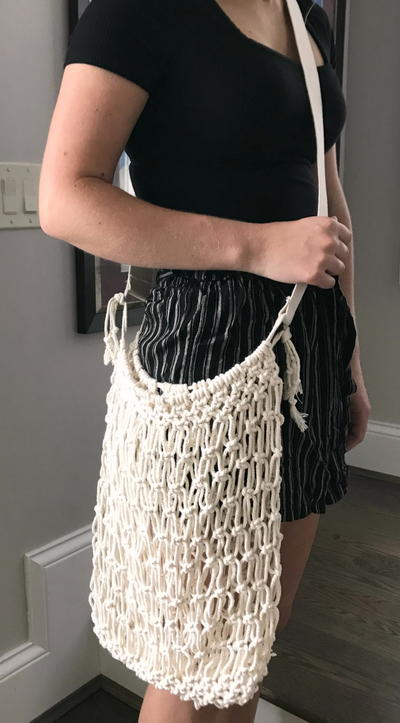
Read NextMacrame Crossbody Market Bag

