Felt Hipster Clutch
This felt clutch from The New Image Group is the perfect companion for a casual night out with friends. It's an easy felt craft that looks great and matches everything.

Materials:
- Scissors
- Fabric Glue
- Fusible Webbing (3/8")
- Iron
- Strip of Hook and Loop Fastener with Adhesive Back
- 20" of 1 1/2" Ribbon
- 19 x 12 Quick Stick Felt Sheet
- 19 x 12 Printed Soft Felt Sheet
Steps:
- Peel off the top 1/3rd of your Quick Stick Felt Sheet backing. Place the wrong sides together of your Quick Stick and Printed Felt. Continue peeling and adhering the two pieces together by peeling the next 1/3rd down and so on until completely together.

- There may be some overlap between the two sheets. Trim off excess to create a rectangle.

- To create bottom portion of your clutch, fold up bottom of purse 4". Press with an iron to achieve crease.

- Place ribbon about 1" from the top of the newly formed clutch bottom. You will want to tuck about 1/2" of ribbon on the inside of the right side to avoid having noticable seams. Glue the 1/2" piece. Let dry.


- Using your fusible webbing, cut an 8 3/4" strip and place in the middle of your ribbon and front of your clutch. Fuse together according to instructions.

- With your ribbon affixed to the front, you will now want to glue the left side seam together before carrying the rest of the ribbon to the back. Let dry.

- Repeat step 5 for the back portion of your clutch.
- Trim off any excess ribbon, but still leave yourself about 1/2", and tuck into seam (similar to Step 4). Glue seam in place. Let dry.

- Fold top portion down 3" to create clutch top. Use your iron to press fold.
- Affix hook and loop fastener in middle of clutch where you would like it to clasp.

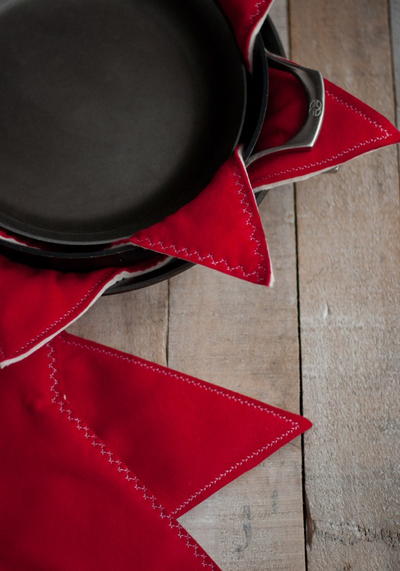
Read NextFab Felt Pot Protectors