Picture Frame Board
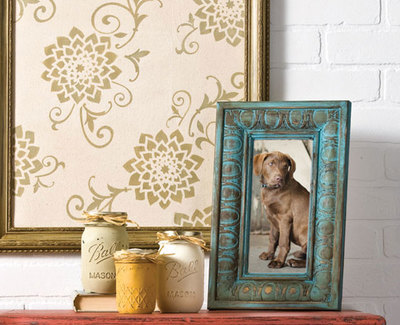
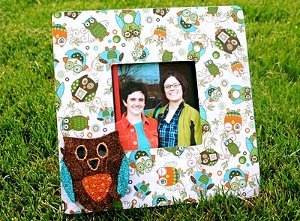
Save money by making your own picture frames with fiberboard and scrapbook paper. Make coordinating sets to match your room decor or give as gifts. Angie Asplund of This and That shares this step-by-step photo tutorial.
Materials:
- ½ inch MDF board cut to 12x12 inches.
- 1 piece scrapbooking paper
- 1 piece 7x7 inch coordinating cardstock
- 1 5x7 picture that can be cut to 5x5
- Mod podge
- Paint brush
- Coordinating paint
- Sandpaper
Instructions:
- First, decide how you want to hang your finished picture board. Drill a hole in the back with an angle slightly up if you just want it to hang flat against the wall.
- Paint the edges of your board with a paint color of your choice. Let dry for a few minutes.
- Using mod podge as glue, glue the 12x12 piece of scrap booking paper on to your board making sure that the edges all match up nicely.
- Wrap sandpaper around something square, I used a little note book. Lightly sand the edges making sure not to sand the paint off.
- Using mod podge as glue, glue the 7x7 piece of cardstock in the middle of your board.
- Mod podge over top of the entire board now including the painted edges. Let dry.
- Using scrapbooking adhesive, secure picture to board.
- Hang on wall. It is really cute to make 9 coordiating boards and hand them in a square with about a 3 inch space between them all. It would also be great to hand 3 of these above a baby’s crib. so many options!!
Read NextPressed Lavender in Frame

