Altered CD Case
This decorated CD case from Uchida of America puts a unique spin on a musical gift.
Materials:
- Marvy® Opaque Stix,-Silver, White, Black, Blue
- Recycled CD
- Cardstock, lime, white
- 1" Alphabet stencil
- Decorative edged scissors- corkscrew
- Embossing label maker and black tape
- Black and White gingham ribbon- 1/4 1/2 yard
- Paper Glue- Zip Dry™ Paper Glue, Beacon Adhesives®
- Marvy® Paper Trimming Buddy - straigh blade
- Marvy® Squishy Scissors
- Ruler
Steps:
All measurements are in inches.
1. Cut white cardstock to 4 3⁄4" x 5".Set aside scraps. Cut lime cardstock to one 2 1⁄2" x 5, and one 4 1⁄2" x 3". Use decorative edged scissors to cut around all edges of smaller lime cardstock piece and top edge of larger lime cardstock piece.
2. Use blue Opaque Stix pen to randomly draw small blue flowers on white cardstock for background. Use white, blue and black for larger flowers on background of larger lime cardstock piece. Use white Opaque Stix for petals, blue for center. Outline all in black. Use stencil and black Opaque Stix pen for "Thinking" on the smaller lime cardstock piece. On white cardstock scraps, draw four flowers. Use silver Opaque Stix pen to draw petals. Use blue Opaque Stix for flower centers. Outline all with black Opaque Stix. Allow to dry and cut out with scissors.
3. Adhere sentiment piece at top of white cardstock. Adhere remaining lime cardstock piece at bottom, lining up edges. Use label maker for "Hope" "Faith" and "of you." Refer to photo for placement of sentiment label and flower "stems". Adhere flowers as shown. Place entire piece in cover slots provided in case. Cut ribbon to two pieces of 5" each and adhere to outer cover of case.
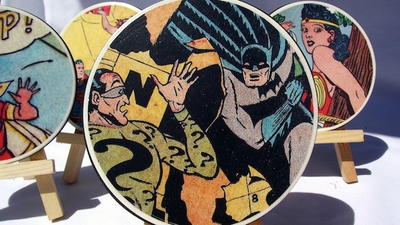
Read NextComic Book Page Coaster


