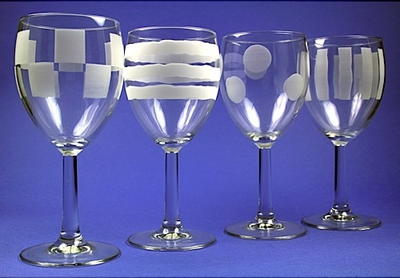
Basics of Glass Etching Using Etching Solution
Etching glass was originally done by sandblasting, but today we have an easier and less forceful way to decorate glass. Follow this glass etching tutorial from Maria Nerius.

Etchall Dip ‘N Etch etching solution
Materials:
- Etching solution
- Glass to etch
- Resist or pattern stencil
- Large plastic container.
- Rubber or Plastic gloves.
Instructions:
Almost any piece of glass can be etched from a water glass, vase, or slab. The glass surface can be flat or curved, but if you are a beginner you want to pick a glass item that is easy to embellish and use simple designs/patterns. You use self sticking stencils for designs/patterns on glass. You can purchase pre-made designs or make your own from self sticking template plastic. Always wear plastic gloves when working with etching solution.
Etching solution is poured into a plastic container larger than the piece of glass you want to etch. If your glass item is lightweight you’ll need to weight it with marbles, rocks or water. For example a glass cup would float in the solution so it must be weighted. You don’t want any of the etching solution to get inside of the cup (etching the inside) so you need to know exactly how much solution needs to be poured into the plastic container. You do this by first placing the item in your plastic container and filling the plastic container with water to find the etching line. Once you have enough water to reach the top of the glass item, stop and remove the glass item. Now, mark an etch line on the plastic container with a marker. Remove water and dry the plastic container.
Fill marked plastic container with etching solution. Slowly lower your glass item into the solution. Most etching solutions take around 15 minutes, but read the labeling carefully. Once etching time has elapsed, lift item and rinse with running water, then clean with soap and water, and dry. Etching solution can be used over and over so pour it back into its original container. Clean your plastic container with soap and water before storing.
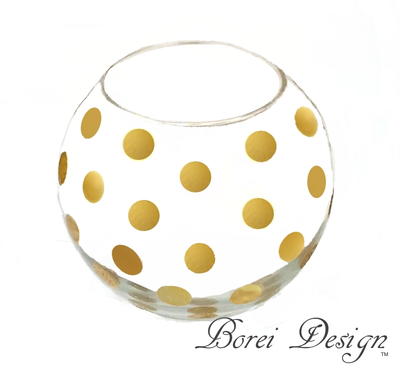
An easy project for etching with a solution is to take a small glass vase. Apply round label stickers to the outside of it. Prepare the etching bath and dip your vase. Remove after etching time has elapsed, rinse with running water, remove label stickers, clean with soap and water, and dry. It’s a simple design, but gives you a feel of how the etching process works.
Your Recently Viewed Projects
Report Inappropriate Comment
Are you sure you would like to report this comment? It will be flagged for our moderators to take action.
Thank you for taking the time to improve the content on our site.

