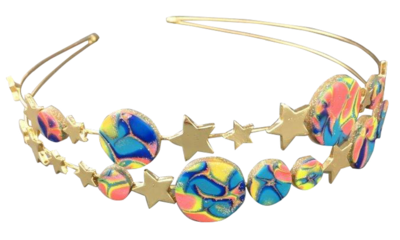
Recycled Polka Dot Headpiece
Channel your inner goddess and create a Recycled Polka Dot Headpiece by Savannah Starr! This creative accessory can be created using cardboard from a cereal box. Recycled craft ideas have never looked so stylish and funky!
Find this project and more in our free eBook, How to Make Bows, Hair Pins and More: 33 DIY Hair Accessories.

Materials:
- Aleene’s Original Tacky Glue
- Cardboard (I used a cereal box)
- Hole punch – 1″ circle (or design of your choice), small punch (for jumprings)
- Pencil with eraser
- Acrylic paint – black
- Paint brush
- Paper plate
- Glitter – black (or color of your choice)
- Rhinestones
- Jewelry findings: jump rings, jewelry chain, fishhook earring findings
- Jewelry pliers
Instructions:
-
Punch circles from cardboard. You will need two circles for each pendant.

-
Punch small hole into top of circles. Be sure to line the circles up and punch in the same spot.

-
To add dimension to circles, place one at a time in the palm of your hand. Press in the center of the circle with your thumb.

-
I also like to use the eraser end of a pencil to press along the outside edge which gives more dimension too.

-
Paint each circle black. Let dry.

-
Brush glue over painted side.

-
Place on plate and sprinkle with glitter. Shake off excess. Let dry.

-
Glue two glittered circles together lining up the punched holes.

-
Glue rhinestones in place. Let dry.Insert jump rings through holes. To create headpiece, attach jump ring to chain. To create earrings, attach fishhook earring findings. For my headpiece, I also created smaller glittered pendants to hang on my headpiece chain. To wear the headpiece, use bobby pins to pin into hear.


For a comprehensive video tutorial of this project, check out How to Make a Polka Dot and Glitter Headpiece.
Read NextVintage Inspired DIY Barrette

