Embellished Die Cut Christmas Card
If you're looking for last-minute card making ideas during the holiday season, you can't go wrong with a few die cut sentiments and images made using a Fiskars Fuse. Learn how to make greeting cards using a Fiskars Fuse from Latrice Murphy and save yourself a trip to the card shop.
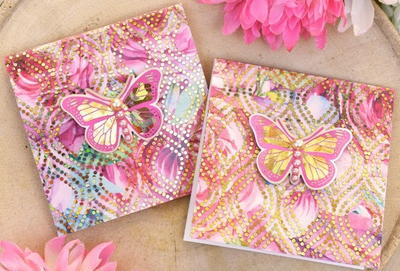
Start with a simple piece of plain carstock and add die cut images to the front. You can quickly make each piece by simple using a Fiskars Fuse. Once your images are cut out, add embellishments like glitter and ink so the pieces stick out. Simply glue everything to the front of the card and add a handwritter note on the inside. This project takes just minutes to make but looks so sophisticated. You'll never need to buy store-bought cards again with this simple tutorial.

Materials:
- Ribbon
- Glitter
- Glossy Accents
- 3D adhesive
- Fiskars Fuse
- Ink
- Dry adhesive
- Scissors
- Pen
Instructions:
-
Make your card from cardstock.
-
Stamp and cut a banner sentiment piece from cardstock. About 3/4” is best.
-
Round the bottom corners of your card.
-
Die cut and letterpress your large scallop circle. Embellish with glitter and gems.
-
Adhere die cut piece to cards front.
- Adhere sentiment banner piece to the lower part of the card with 3D adhesive squares.
How to Make Greeting Cards Using a Fiskars Fuse:
Learn more about the Fiskars Fuse.

