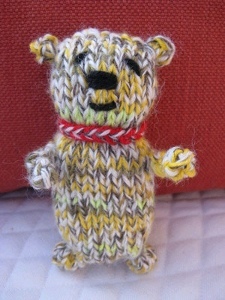
Easy Knit Teddy Bear
Learn how to knit a teddy bear the easy way with these instructions from Melissa Langer. The easy knit teddy bear is a free knitting pattern for beginners.
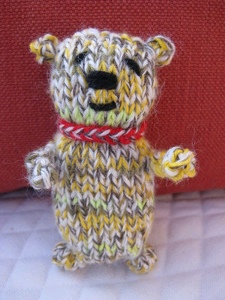
Materials:
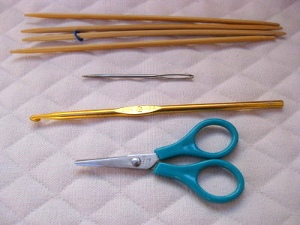
- 4 double pointed knitting needles - (I used) US Size 5
- A stitch marker
- A yarn needle
- US - Size G - crochet hook
- Scissors
- Polyfill (not shown)
- Your favorite worsted weight yarn of any kind.
Instructions:
- Cast on a total of 24 stitches (8 on each of your 3 dp needles).
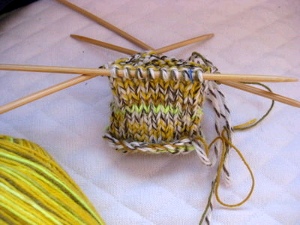
- Knit around until your tube is approx 4" long.
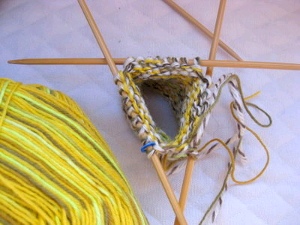
- Bind off your knitting leaving a long tail to sew up the seam.
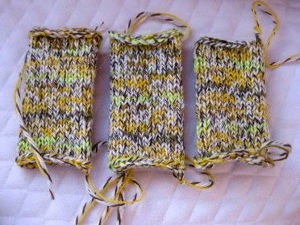
- Use the long tail to sew up one end of your tube with your yarn needle.
- Stuff your knit tube with polyfill and sew up the other side to create a small pillow.
* Note: To finish off all of your ends, just poke them through the bear so that it goes through the opposite side and clip the end of the yarn close to the bear so that it will pull into your project and disappear. The polyfill will keep the end safe inside and invisible. :)
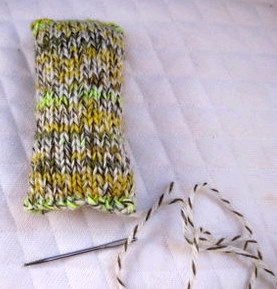
- To form the neck: Use a long strand of yarn to run a gathering stitch about 1/3 down from the top. Pull strands to gather and tie a square knot to secure. Weave in ends.
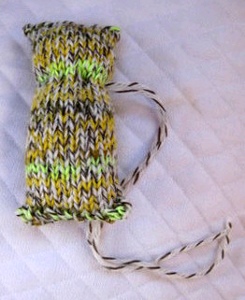
- To form the ears: Pinch the top corners of the head and use a strand of yarn and your yarn needle to sew the pinched area into a ear like shape that you like on both corners of the head. Weave in ends.
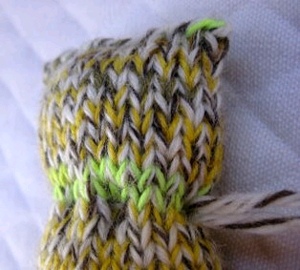
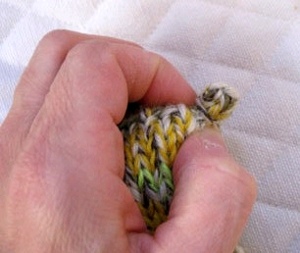
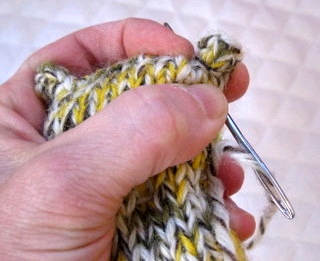
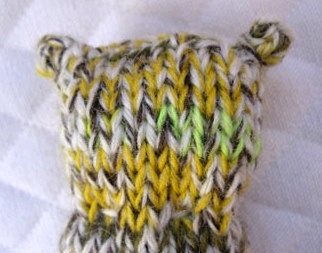
- To form the legs, do the exact same thing as in step 7 to form the ears, but gather a larger area. Weave in ends.
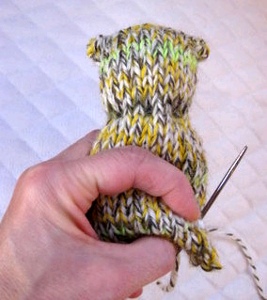
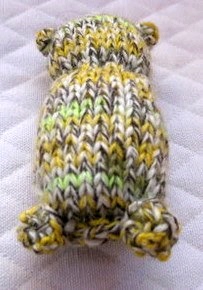
- Making the arms: Feel free to make the arms in any way you like to make little tubes about 1 1/8 inches long. I crochet mine and I will explain now how I do that...
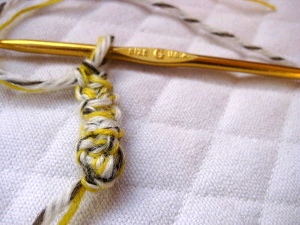
- (Make 2) - To form the arms: Make a slip knot leaving a 4 or 5" tail and Chain 2.
Using your G hook, Single Crochet 2 stitches into the second chain from hook. Then keep single crocheting in the stitch below the one you just worked in until you have a 1 1/8" long form as seen above.
End and leave a long tail.
You will use the tails on both ends of your arm for sewing into the body and forming the hand.
To form the hand: Thread the tail that you started your slip knot with and sew it in a few times into the top of the stitches to form a ball like shape at the end of the arm to make a hand.
Weave in end.
Attach the arm to the bear at shoulder distance with your remaining tail. Weave in end and repeat on the other side.
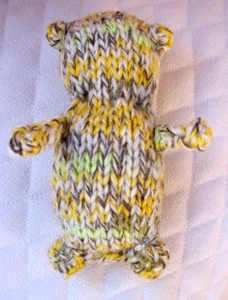
- To make the collar: Grab a ball or scrap of your favorite yarn and finger crochet about 20 loops. The exact length will depend upon the width of the neck you created. Before you end it, just size it around your teddy bear to see if the ends meet. Tie a square knot and snip the ends.
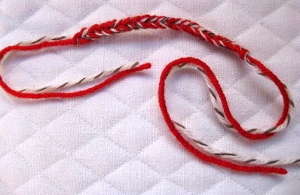
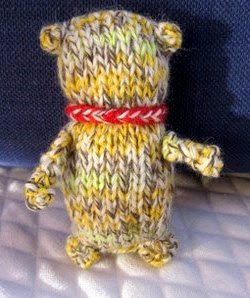
Here is a picture of all the stages your bear will take!
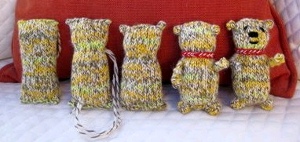
- Embroider the face: Snip about 18 -20" of a worsted weight black yarn and thread your yarn needle.
I started at the nose and made 3 horizontal stitches. I then made a diagonal stitch from the nose to the mouth area and made one stitch to form the smile.
I then traveled up to the eye area and made one or two stitches on each side to form the eyes.
weave in ends.
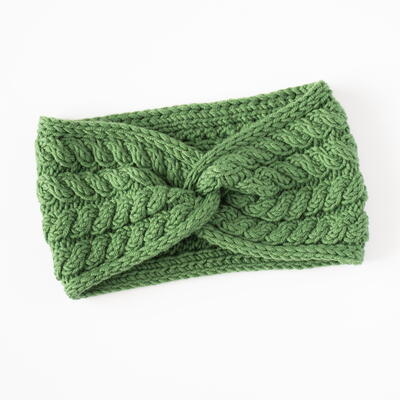
Read NextGreen Forest Headband
Your Recently Viewed Projects
Catsitt
Jan 30, 2017
This little lad is very cute! I have recently taken knitting back up this last year, it has become a bit of an addiction at this stage! I was going to try my hand at crocheting as I've seen a few knitting patterns incorporate the two skills, would this crochet part in this bear pattern be good for a beginner or slightly too advance for a novice like myself?
Toby K Editor
Aug 31, 2016
This looks so easy, and it would make a perfect gift for my best friends new baby! I'm going to try this
via1955 1314194
Jan 13, 2012
this a very easy and cute teddy bear I love teddy bears. I have a few small ones. thank you for the nice pattern you are so smart. I don't write or make my own patterns . I wish I could.
Report Inappropriate Comment
Are you sure you would like to report this comment? It will be flagged for our moderators to take action.
Thank you for taking the time to improve the content on our site.

