Crown Storage Box
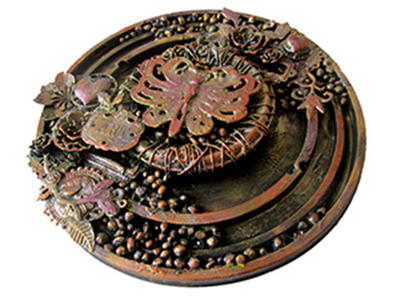
Mixed media projects don't have to be complicated or costly. Make a Crown Storage Box from Lisa Fulmer using a variety of materials that will add texture to the surface. Be sure to include fun paint colors and other embellishments so the box really stands out.

Materials:
- Paper mache box 9″x9″x1.5″
- Stiff cardboard
- White gesso
- Craft paints – brown, copper, gold
- Sand texture medium (a stucco medium would also work)
- Palette knife
- Paint brushes
- Striping brush
- Copper chisel-tip paint marker
- Metal star embellishment
- Acrylic (clear plastic) crown embellishment
- Copper alcohol ink and felt applicator
- White card stock
- Pencil
- Clear Gel Tacky Glue
- Original Tacky Glue
- Glass pebble
- Copper self-adhesive metal tape
Instructions:
-
Paint inside and outside of the box bottom with brown paint; allow to dry.
-
Trim a piece of stiff cardboard to fit snugly inside the lid to give it extra stability; paint brown and allow to dry.
-
Adhere cardboard insert inside lid with original Tacky Glue; paint inside lid and the outside edges brown; allow to dry.
-
Paint top of lid with white gesso; allow to dry.
-
Blend gold paint with texture medium and apply on top of lid with brush or palette knife; allow to dry.
-
Use a striping brush to paint a 5″ square piece of cardboard with a gold/copper paint blend; allow to dry.
-
Edge striped cardboard with copper paint marker and adhere to center of lid with original Tacky Glue.
-
Adhere metal star to center of striped cardboard with original Tacky Glue.
-
Trace crown shape on to white cardstock with pencil and trim out.
-
Dab copper alcohol ink on one side of acrylic crown to create marblized effect; allow to dry.
-
Adhere white cardstock to crown on inked side and adhere glass pebble on non-inked side with clear gel glue; allow to dry.
-
Adhere cardstock side of crown to metal star with original Tacky Glue.
- Press self-adhesive metal tape around the outer edge of lid.
Read NextHope and Love Altered Planner

