Rosette Cupcake Topper
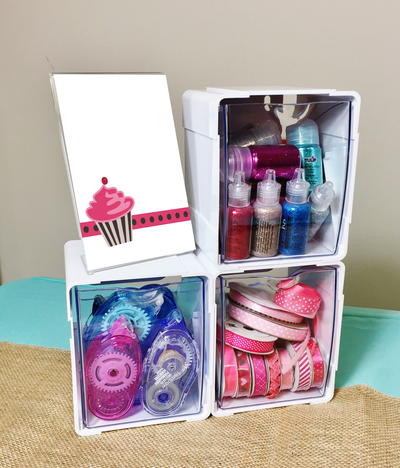
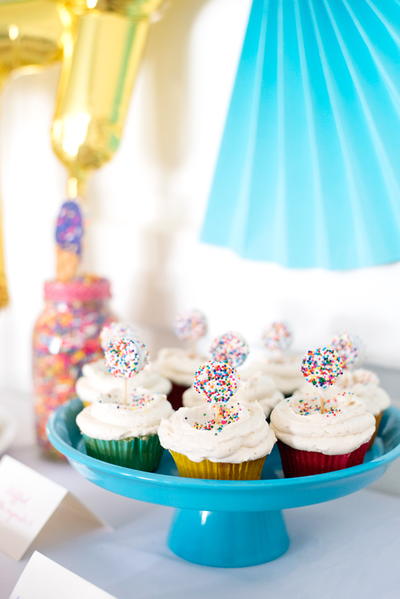
DIY party crafts can turn a boring gathering into a unique affair. Don't just hand out sweet treats this year; instead, use your paper crafting skills and PLUS America Decoration Rollers to create a Rosette Cupcake Topper. It's a fun and simple way to decorate your favorite food.
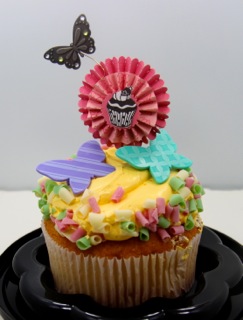
Materials:
- Plus Decoration Mini Roller (Red Ribbon pattern)
- Plus Decoration Roller (Cupcakes)
- Two different colors of card stock
- White piece of paper
- Glue stick, glue dots or hot glue gun
- Scissors
- Ruler
- Toothpick
- Wire
- Charm
- Round nose pliers
- Jewelry adhesive
Instructions:
-
Use the cupcake roller and stamp the image onto a piece of white paper. Choose one of the images and cut it out. Place aside for now.

-
Take a piece of cardstock and cut a 9-1/2 X 3/4” piece. Cut two 1” diameter circles. Then using the mini decoration roller stamp images onto the long strip by holding it steady and rolling it onto the paper.
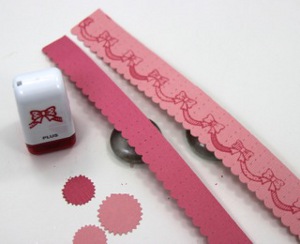
-
Note: If you have a die that precuts the rosettes, then use it to save time. Here is what it looks like using a die cut strip.
-
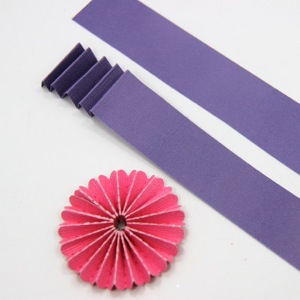
Take the second piece of cardstock and cut a 9-1/2” X 1” piece.
-
Cut two 1-1/2 ” diameter circles.
-
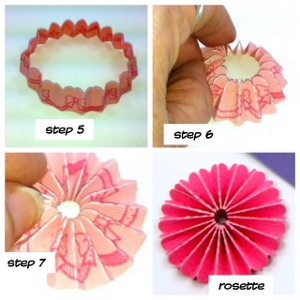
Fold the 9-1/2" cardstock papers accordion style into 1/4” folds.
-
Take the two ends of the strip and glue together to secure them to create a circle.
-
Once the glue has dried, you will need to place the ring on solid surface and gently press the outer sides of the circle down.
-
Hold it and glue the 1-1/2” circles onto the front and back of the larger rosette to strengthen it. Follow the same procedure to create the smaller rosette.
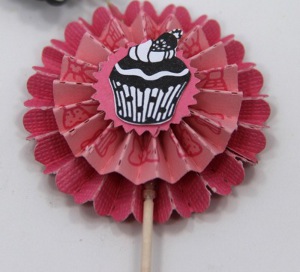
-
Once the glue has dried on the rosettes, then glue the smaller rosette onto the larger rosette to stack them. Again, wait for the glue to dry.
-
Glue the toothpick to bottom side of the rosette.
-
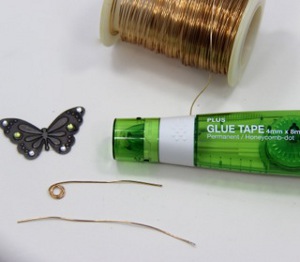
Cut a 4” piece of wire. Using the round nose pliers, take one end to make a double loop.
-
To finish the rosette glue a charm to the double loop. Then glue the other end to the rosette.

