Faux Shark Tooth Pendant
Start your summer with polymer clay projects you can show off all year long. Make a Faux Shark Tooth Pendant from Candace Jedrowicz - people will think you just came back from a tropical island. This is a fun accessory that can be worn with any outfit.

Materials:
- Polymer clay – any color
- Shark tooth – or anything at all
- Wood skewer
- Crochet needle for smoothing and mark making
- Acrylic paint for antiquing
Instructions:
- Select an interesting shape to use for the base of your pendant. I liked this tooth because it had 2 tiny teeth off to one side. Very cool.

- Flatten a small piece of clay just big enough to fold over the top of your base.

- Make sure that the clay covers/reveals exactly what you want. The less time you take working on this part, the better. As you work the clay gets softer and thinner and it will not hold.

- Roll out a 3″ piece of clay. Fold it in half and smooth the fold to the back of your pendant.

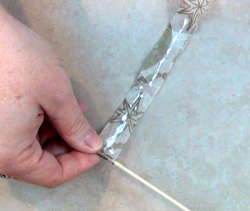
- Lay a skewer across the top of the pendant and fold the ends of the roll toward the front.

- Here I’m wrapping the ends around the skewer for effect. You could choose to make curlicues on the pendant with the ends.

- Choose a focal bead. Press it in slightly. Make another smaller roll to trap the bead and curl the ends into a design.

- Finish adding details like swirls and dots.Texturize the clay with the end of the crochet needle. The more texture the better for the antiquing.Bake the clay according to package directions.Cover small areas with paint and rub off the excess. Repeat until you like the look.

For a comprehensive video tutorial of this project, check out How to Create a Shark Tooth Pendant from Polymer Clay.
Read NextVintage Spoon Pendants


