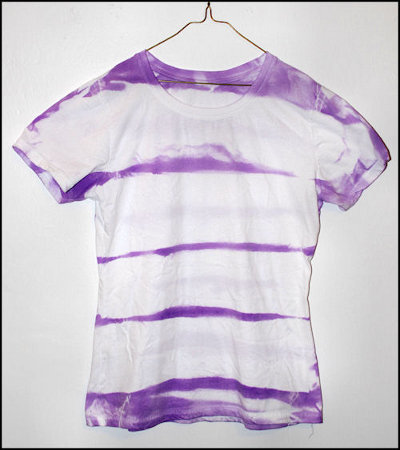
Easy T Shirt Stencil
Create a stencil for your T-shirt with the help of freezer paper. Freezer paper has a shiny side that will stick to fabric when ironed on. Here's how to use this useful paper for making a T-shirt stencil.
- Print out an image or design on regular paper that you would like to use as a stencil.
- Layer this paper on top of a piece of freezer paper with the shiny side down.
- Make sure you are working over a cutting mat. To make cutting easier, tape the two pieces of paper down on the cutting mat around the edges (to keep either layer from slipping while you work).
- Use an X-Acto knife or craft knife to cut out the design.
- Discard the regular paper.
- Position your freezer paper stencil on your T-shirt, shiny side down, and iron it on. To make your working area sturdier on the T-shirt, add another piece of freezer paper inside the T-shirt (shiny side up), so that the T-shirt is sandwiched between two layers of freezer paper. This also helps to keep the paint from soaking through to the other side of your T-shirt.
- Use fabric paint, which is washable, to paint over your stencil and let dry. A thin layer should dry overnight, but some paint may take longer.
- Once the paint is dry, simply peel off the freezer paper. Many fabric paints will require that you then “heat set” the design by ironing. You're done!
Show off your stencil-painted T-shirt!
Read NextSloth and Flowers Vinyl Shirt


