Felt Flower Headband
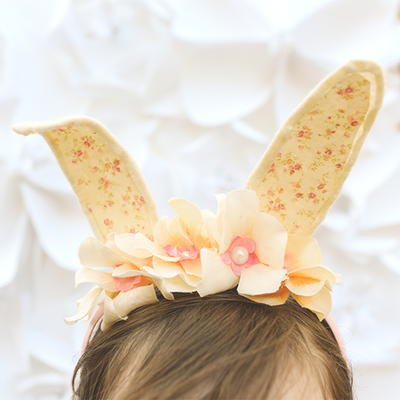
Now is the perfect time add a fun touch to your autumn outfit. Add pre-cut shapes to a store-bought headband - wearable craft ideas have never looked this good or been this easy to make. Kids will love sporting their own Felt Flower Headband from Tiffany Windsor at school.

Materials:
- Aleene’s Super Thick Tacky Glue
- Fabric covered headband
- Pre-felted flowers and leaves
- Toothpick
- Two drinking glasses (to hold headband while it is drying)
- Optional: Barrette finding, small piece of felt
Instructions:
-
Squeeze a small amount of Aleene’s Super Thick Tacky Glue onto work surface. Dip end of toothpick into glue and apply a line of glue to back of pre-felted flower.
-
To help hold the headband steady while drying, set two drinking glasses side by side. Insert one end of headband into each glass. This will keep the headband upright.
-
Press glued flower into place on headband.
-
Apply glue in a line to back of leaf. Glue in place next to flower. Repeat for second leaf. Let dry undisturbed overnight.
- To create a barrette, apply glue to back of barrette finding and glue to back of flower. Apply glue to back of small strip of felt. Slip felt, glue side down, over glued area of barrette. Press to hold in place on back of flower. Let dry undisturbed overnight.
For a comprehensive video tutorial of this project, check out Aleene's Felted Floral Headband.
Read NextLayered Elven Bracers

