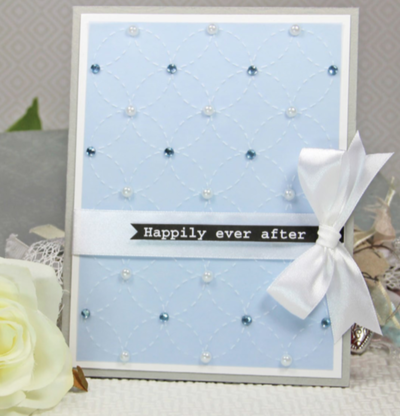
Wedding Save the Date Cards
Use textured paper and craft pens to create a unique save the date card from that no one will forget! This wedding idea from Uchida of America and Sue Eldred is simple and chic.
Materials:
- Corner Punch - Scallop
- Clever Lever Super Jumbo Scalloped Rectangle
- DecoColor™ Extra Fine Silver
- DecoColor™Silver Calligraphy Pen
- Metallic Pearl Inkpad - Silver
- Paper Trimming Buddy: Straight Blade
- Mini Glue Tape
- Silver Wedding Texture paper (the Paper Studio)
- Wedding Faded Paisley paper (Dé ja Views )
- Adhesive Pearls (K & Company)
- Architectural Top (Serendipity Stamps)
- Black, White and Gray Cardstock
- Foam Mounting Tape
Steps:
- Cut the Silver Wedding Texture paper 4” x 6”. Center and adhere to a piece of black cardstock 4 ¼” x 6 ¼”. Using the Silver Calligraphy Pen, add a thin silver line around the black cardstock. Layer and adhere black cardstock onto 4 ½” x 6 ½” dark gray cardstock.
- Punch four paper corners with the Scallop Corner Punch and black paper. Edge scallops with Silver Calligraphy Pen, add small dots with Extra Fine Silver Deco Color Pen in each scallop. Add to corners of the dark gray cardstock over all the layers. Adhere layers to a 4 ¾” x 6 ¾” white card.
- Stamp Architectural Top twice with the Silver Metallic Ink onto black cardstock. Color in select detail using the Extra Fine Silver Deco Color Pen. Cut around each image, leaving a thin black border. Adhere image to top and bottom of silver wedding texture layer.
- Cut a strip of the paisley paper 1” x 4”, layer onto gray paper 1 ¼” x 4 and black cardstock 1 ½” x 4. Adhere to middle of card.
- Punch out computer generated “Save the Date” information with the Super Jumbo Scalloped Rectangle punch. Adhere to a piece of black cardstock 1 ¼” x 2”. Using the Silver Calligraphy Pen, add a thin silver line around the black cardstock. Apply foam mounting tape to back and mount on the middle paisley strip.
- Add adhesive pearls to Architectural Top.
Read NextGarden Flowers: RSVP Card

