Back To School Homemade Tote Bag
The end of summer can be tough, but when you have this Back to School Homemade Tote Bag on your arm, you can't go wrong. This free tote bag pattern is a quick and easy project that you can make for a student. Transform a plain fabric tote into a piece of art with monograms, paint, and more.
Be sure to include eye-catching designs and fun personal touches so the bag really stands out. This DIY tote bag is a great alternative to a standard backpack and makes a much bigger statement.
Primary TechniquePainting
SeasonFall
Materials:
- Americana Multi-Surface Acrylics: Cotton Ball, Flamingo, Red Barn, Orange Sherbet, School Bus, Chartreuse, Blue Bird, Lavender Fields, Iris, and Dolphin
- Black Tie
- Water container
- Palette or plastic plate
- Paper towels
- Tracing paper
- Transfer paper
- Ruler
- #8 flat brush
- Hot glue gun and glue sticks
- #1 round brush
- Medium canvas tote
- #10/0 liner brush
- Pencil
- Wooden letters
- Circle wooden letters
For more great back-to-school ideas, check out our list of 33 Back-to-School Crafts. There you'll find projects to get your child back into school spirit as well as items to keep him/her organized during the year.
Instructions:
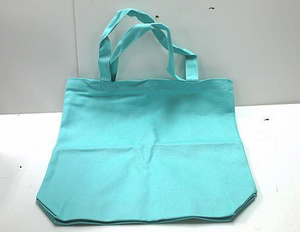
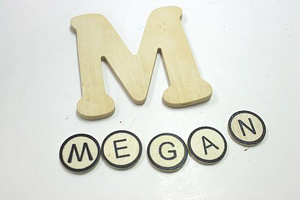
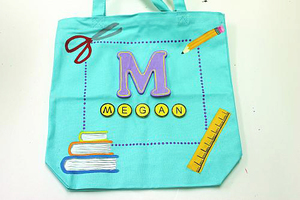
1. Start with a canvas tote in the color of your choice. (I think Turquoise is a good color to match my color palette.) You will also need wooden pieces to spell out the name or word you want.
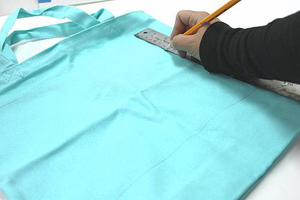
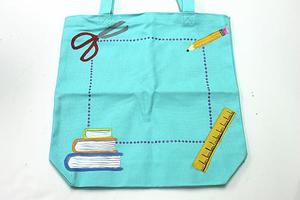
2. Use a pencil and ruler to make a giant square on the front of the tote bag.
3. Use a pencil and the tracing and transfer papers to trace and transfer the images: scissors, pencil, ruler, and books, one to each corner of the square.
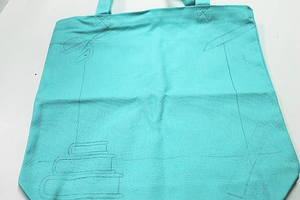
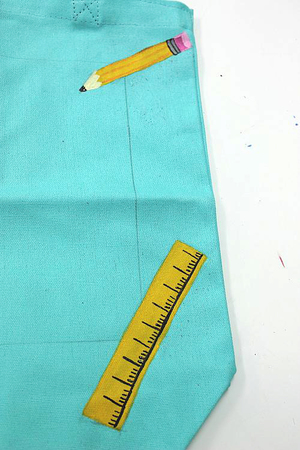
4. Use a #8 flat brush and School Bus to paint the pencil and ruler. Rinse brush.
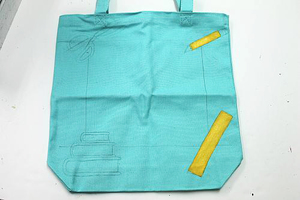
5. Use a #1 round brush and Red Barn to paint the handles of scissors. Rinse brush.
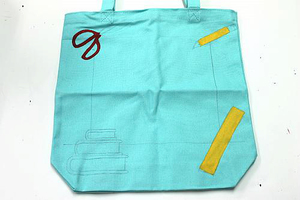
6. Use a #1 round brush and Dolphin to paint the scissor blades. Rinse brush. Chartreuse to paint the top book; Orange Sherbet to paint the middle book and details on the pencil; and Blue Bird to paint the bottom book. Rinse the brush between colors and at the end.
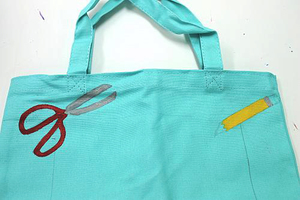
7. Use a #8 flat brush and Cotton Ball to paint the pages in the books. Rinse brush.
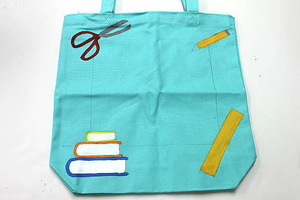
8. Use a #10/0 liner brush to mix (2) parts Cotton Ball with (1) part Dolphin. Use the mix to paint the details on book pages and the metal on the pencil. Rinse brush. Use a #1 round brush and Flamingo to paint the bottom section of the eraser. Use the same brush, adding a small amount of Cotton Ball to Flamingo to paint the top of the eraser. Rinse brush.
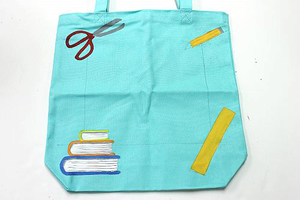
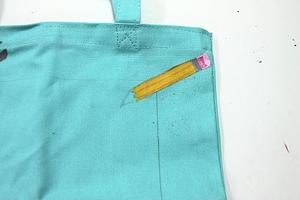
9. Use a #1 round brush to mix (2) parts Cotton Ball with (1) part School Bus. Use the mix to paint a sharpened end on the pencil. Rinse brush.
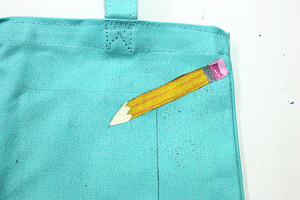
10. Use a #10/0 liner brush, Black Tie, and a small amount of water to add lead to the pencil; outline the metal on the pencil, and to add details to the ruler. Rinse brush.
11. Use the handle end of a #8 flat brush and dip in Iris. Dip dots on all around the entire square frame. Wipe off the handle.
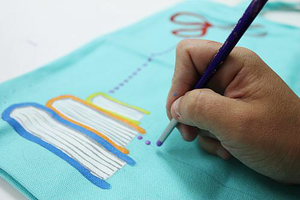
12. Let dots dry completely. (You can warm the glue gun and glue sticks up at this point and begin painting wooden letters.)
13. Use a #1 round brush and Chartreuse to paint all the circular wooden letters. Rinse brush.
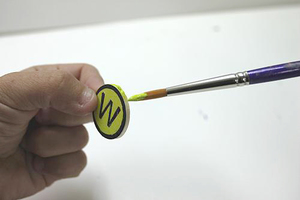
14. Use a #8 flat brush and Lavender Fields to paint the entire letter. Rinse brush. Use a 10/0 liner brush and Chartreuse to outline letter inside. Rinse brush.
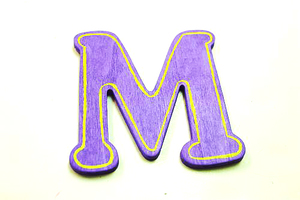
15. Once all the wooden letters are completely dry, you can use the glue gun to attach them where you want.
For more projects like this that you can make with hot glue, take a look at these 24 Hot Glue Gun Crafts + Tips For Working With Hot Glue.

