How to Make Iron On Glitter Lettering
Reader, making DIY iron on letters is a lot easier than you think-- trust me.
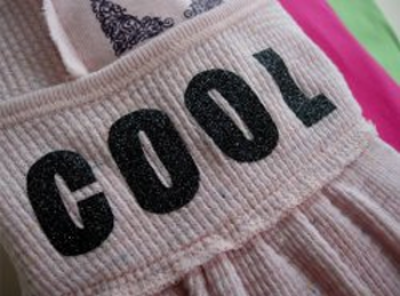
Make your clothes stand out! Learn how to make iron on lettering. It's as easy as 1,2,3. Use glittery transfer sheets to create words, phrases, and messages that will have everyone talking. Besides, every piece you create will be uniquely you.
Use an old t-shirt or leftover fabric to save money. This is a great way to update your wardrobe without hitting the mall. This is also a great way to decorate children's clothing and any other wearables. This glitter craft project is quick, easy, and fun. Plus, you don't have to be a craft expert to enjoy this project! Wear your message on your sleeve (literally) with this fantastic craft video tutorial.
Estimated Cost$11-$20
Time to CompleteIn an evening

Project TypeMake a Project
Materials List
- Tee shirt or fabric
- Tulip Glitter Transfer Sheets (color(s) of your choice)
- Scissors or craft knife
- Letter stencils (size of your choice) or die cut machine and letter dies
- Iron and firm ironing surface
- Straight pin (or other marking device to find center point)
Instructions:
-
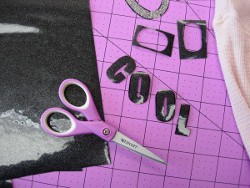
Using desired lettering stencil, trace pattern onto glitter transfer sheet. (The top layer of the sheet is removeable clear plastic, so it is fine to trace right on to the top of the sheet.)
-
Using scissors or knife, cut our letters.
-
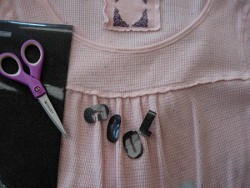
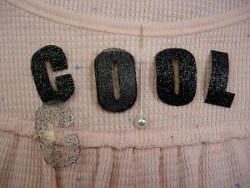
Find the center point of the front of your tee and mark with pin or washable marker.
-
Remove clear sheet from top of letters and place back on tee.
-
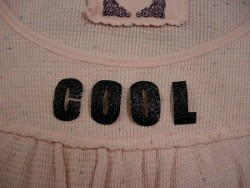
Place ironing cloth on top of glitter letters and iron in place according to package directions.
-
Remove ironing cloth and check to be sure that letters are completely adhered. Launder according to package directions.


