Modern Floor Sculpture
Modernize your home with amazing home decor. With iron graphite and acrylic paints you can learn how to make a great decoration for any room in the house. Makes for a great floor sculpture.

Materials:
- STYROFOAM™ Brand Foam:
- Sheets, two 36" x 12" x 2"
- Iron Graphite Texture Fierro™ Medium by DecoArt®
- Black acrylic paint
- Metallic silver cardstock, 12" x 12", six sheets
- Serrated knife
- Candle stub or paraffin
- Pencil
- T-square or ruler
- Scissors or paper trimmer
- Liquid paper glue or stick-flat paste
- Putty knife, 1"
- Tablespoon measure
- Low-temp glue gun and glue sticks
- Thick, white craft glue
- Optional: Rubber brayer
Pattern
Steps:
- Wax serrated knife with candle stub or paraffin. Refer to diagrams to cut foam sheets into appropriate pieces; you will use only one-third (12" square) of second sheet. Smooth cut edges with fingertips.
- Stir several tablespoons of black paint into texture medium so it appears black; mix well. Add more paint until pleased with color.
- Use putty knife to spread even coat of tinted texture medium onto 2" edges of all foam pieces; extend 1/4" onto flat surfaces (top and bottom) as well. Lay pieces flat and let dry completely.
- Cut following pieces from cardstock to correspond to foam shapes: eleven 3" x 12" strips; eight 3" x 6" strips; one 6" x 12" piece.
- Use putty knife to spread thin, even coat of paste onto top of first 3" x 12" foam strip, or apply liquid glue. Center one 3" x 12" cardstock strip on pasted foam; smooth with fingers. If desired, roll cardstock with rubber brayer to ensure good contact.
- Repeat Step 5 to cover tops of all foam pieces with appropriate cardstock pieces. Glue remaining cardstock to bottoms of two 3" x 6" foam pieces. Let pieces dry completely.
- Refer to diagram to assemble sculpture. Use glue gun to glue first 3" x 12" foam piece to base; back edge of foam piece should rest 1" in front of back edge of base.
- Glue next 3" x 12" foam piece to top of first, overhanging front edge by about 1/4" and extending toward left. Continue adding foam pieces as shown, offsetting 3" x 12" pieces 1/4" forward or backward with each new addition. Note: These pieces are darker in diagram.
- Lighter pieces on diagram are 3" x 6" foam pieces. Save 3" x 6" pieces covered by cardstock on both front and back for upright pieces at bottom right and top left. Let dry completely.
®™ Trademark of The Dow Chemical Company ("Dow") or an affiliated company of Dow. For more project ideas, please see styrofoamstyle.com.
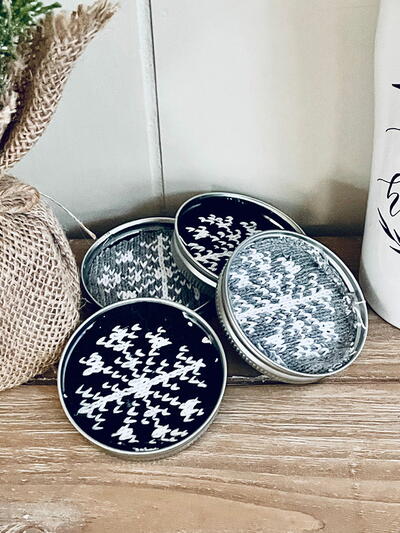
Read NextMason Jar Ring Coasters