Punched Ribbon Greeting Card
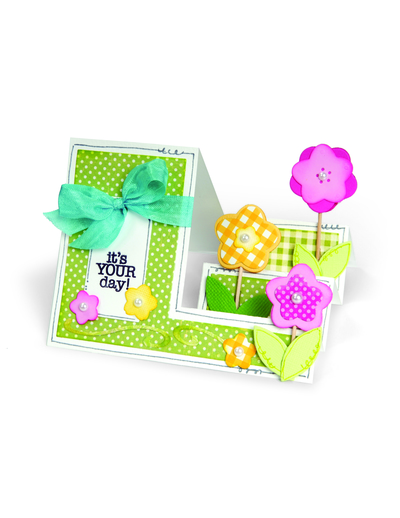
If you like birthday card crafts, Christmas card crafts or other paper craft projects, then you'll love creating your own Punched Ribbon Greeting Card from Marti Wills. Use scrapbook papers, ink and other embellishments to help your card stand out and make a statement.

Materials:
- Cardstock - 2 solid and 1 patterned
- Embellishments (here I used a flower and a button center
- Fiskars AdvantEdge Punch System and cartridge (Ironworks and Flower Garden used here)
- Coordinating ink pad and foam ink blending tool
- Ribbon
- Adhesive
Instructions:
-
Make card base from solid color cardstock, cut slightly smaller panel for card front from patterned paper.
-
Place punch cartridge into the punch system - the notch at the bottom fits into the tab on the cartridge holder. Lift the magnetic bar and slide the 2nd color cardstock under the bar and into the punch cartridge. The paper will stop at the guide at the top. Be sure it is also straight against the side edge guide and lower the magnetic bar to hold it in place. Punch down by pushing on the lever and then lift. Slide the cartridge down until it clicks into place and punch again. Continue until the length of your paper is punched.
-
Cut a piece of cardstock 3 ¾” x 1 ½” from the same color as the card base.
-
Ink all of the edges of your cardstock.
-
Adhere the patterned piece to your card front. Adhere the punched ribbon to the card front. Adhere the ribbon to the small cardstock piece and then adhere the piece to the side of the card front.
- Adhere your embellishment to the center of the ribbon
Read NextFoiled Butterfly Notecards

