Fearfully & Wonderfully Made DIY Scripture Pillow
Decorative pillows with scripture are yours for the making.

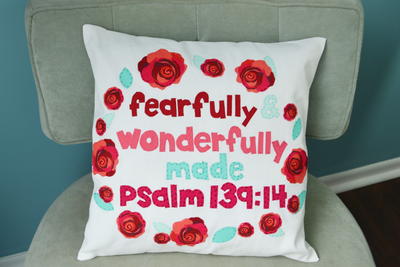
Did you know you are fearfully and wonderfully made? If you adore Psalm 139 you'll love this pillow project. Learn how to make a pillow with basic embroidered letters and a stunning floral border. This project comes with a free printable for the letters to help you make the project easily. Choose your favorite floral fabric to create the beautiful border! Let your decor inspire you when you make this project. To sit on the couch with a cup of tea and good book is made all the lovelier when you can gaze at your scripture throw pillow for inspiration. This Bible verse is such a great reminder that you are precious in the eyes of God.
Project TypeMake a Project
Time to CompleteIn an evening
Sewn byBoth Hand and Machine

Materials List
- 16 inch square pillow form
- ½ yard of white cotton fabric
- 5 other fabric colors for the words
- Floral printed fabric.
- Fusible webbing
- Embroidery floss that matches the 5 fabric colors
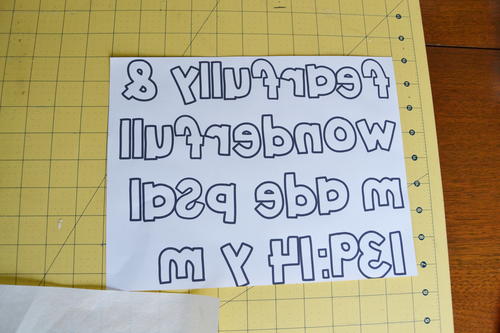
- “Fearfully & Wonderfully Made” printable
Fearfully & Wonderfully Made DIY Scripture Pillow
Instructions
-
-
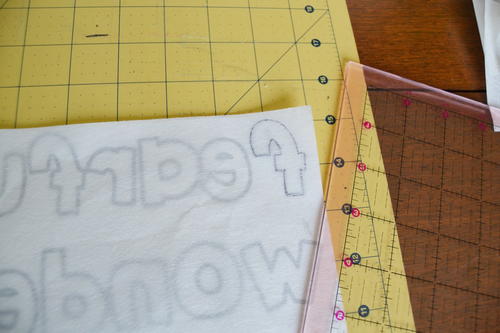
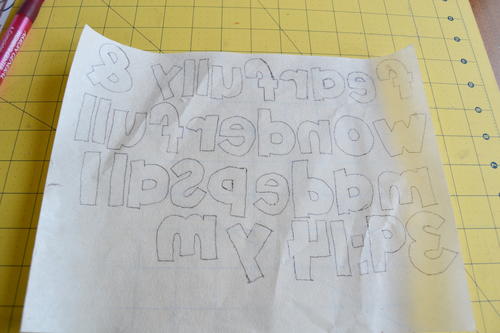
Put a piece of fusible web on top of the printable with the web side facing up and the paper backing down. Trace the outline of all the letters onto the fusible web.
-
Cut out each word in a long strip. Peel the webbing off of the paper backing and finger press the webbing onto the back of your fabric. Finger press each word onto a different color fabric.
-
Cut out each letter.
-
Cut flowers out of the floral print fabric. If your print has leaves then cut those out as well. If not then cut some simple leaf shapes out of one of your coordinating fabric colors. Peel the paper backing off of some fusible web and apply to the back of the flowers and leaves.
-
Place the words in the middle of your ½ yard of white fabric. Arrange the words and flowers. Use a ruler to help center your design. Use the iron to press the letters, flowers, and leaves onto the fabric according to the instructions for your fusible web.
-
Use the embroidery floss to embroider some stitches into the letters, flowers, and leaves. You can use any type of stitch that you like. Embroidering stitches into everything you appliqued will help it all to stay on when your item is washed.
-
Lay your white fabric down with the design facing up. Fold one side of your white fabric over but be sure to keep your design in the middle. Fold the other side over to the middle as well. Again, you need to make sure to keep your design in the middle. You want the middle square where the design is to measure about 17 inches across once you are done with the folding.
-
Pin and sew along the two open edges, sewing ½ inch from the edge. Use a zigzag stitch to help cut down on fraying.
-
Cut along the sewn edges with pinking shears and notch the corners.
-
Turn the pillow cover right side out and insert the pillow form.


