Go Team Drink Cooler DIY Craft Project
Celebrate the start of football season and embrace the best aspects of fall with this Go Team Drink Cooler DIY Craft Project. Painting crafts don't have to involve a canvas - simply decorate a plain cooler and give it a brand new look. Take team pride to a whole other level and impress your fellow fans with this one-of-a-kind project. Fall craft projects can help you usher in a colder season and get excited for the crisper days to come. Have the whole family add personal touches and then pack it for the next big game.
Primary TechniquePainting
SeasonFall
Materials:
- Americana Multi-Surface Acrylics
- Cotton Ball
- School Bus
- Turf Green
- Green Beret
- Cocoa Bean
- Black Tie
- Water container
- Palette or plastic plate
- Paper towels
- Tracing paper
- Transfer paper
- Painter's tape
- #10 flat brush
- #12 flat brush
- Pen
- #1 round brush
- Household cleaner or rubbing alcohol (to remove label from cooler)
- 3/4" flat brush
Instructions:
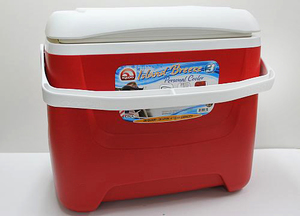
- Remove all labels from a cooler and clean it thoroughly with household cleaner or rubbing alcohol and paper towels.
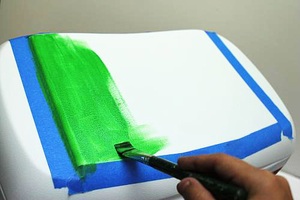
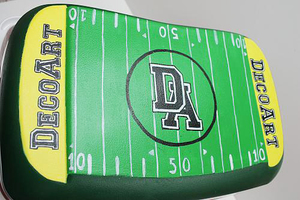
- Use 1" painter's tape to mask off the center of the cooler lid for a football field. Use 3/4" flat brush and Turf Green to fill in the inside of the taped area. Rinse brush. Remove tape.
- Use 3/4" flat brush and Green Beret to paint carefully around the outer edge of the lid. Rinse brush.
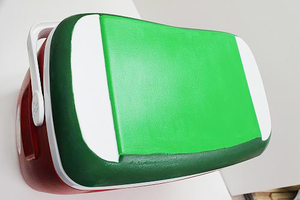
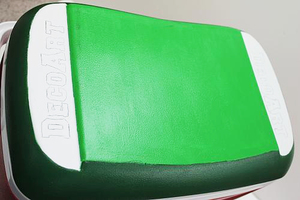
- Use a pen and the tracing and transfer papers to trace and transfer small team lettering to each side of the lid on the unpainted areas. Or use your initials or family name. (We used our company name.) Use a #1 round brush and School Bus to paint the sections around the letters. (Make sure not to get any School Bus in the letters.) Rinse brush.
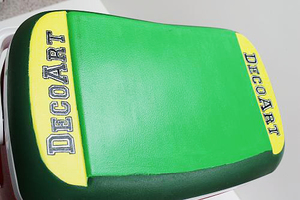
- Use a #1 round brush and Black Tie to fill in the centers of the letters and then outline each letter with Black Tie. Rinse brush.
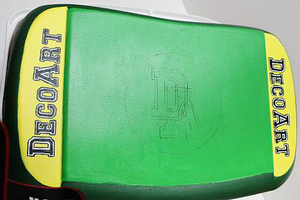
- Use a pen and the tracing and transfer papers to trace and transfer the team initial pattern onto the center of the lid. (We used our company initials.) Use a #1 round brush and Cotton Ball to basecoat the team initials. Rinse brush. Use the same brush and load Black Tie to outline the circle, fill in the centers of the letters, and outline the letters. Rinse brush.
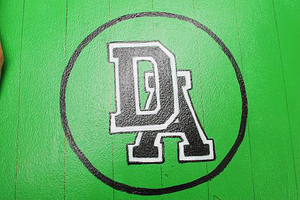
- Use a pen and the tracing and transfer papers to trace and transfer the football field pattern onto the cooler lid.
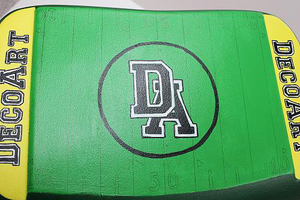
- Use a #1 round brush and Cotton Ball to paint over all the football field pattern details. Rinse brush.
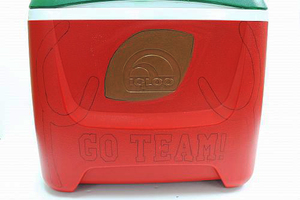
- Use a pen and the tracing and transfer papers to trace the football, goalposts, and words "GO TEAM" pattern to the front of the cooler where you like. (You may need to resize the pattern to fit the front of the cooler.)
- Use a #10 flat brush and Cocoa Bean to fill in the football. Rinse brush.
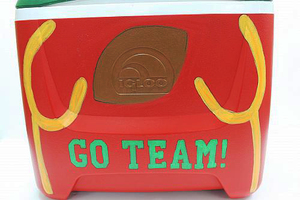
- Use a #12 flat brush and School Bus to paint the goalposts. Rinse brush. Use a #10 flat brush and Turf Green to fill in words "GO TEAM." Rinse brush.
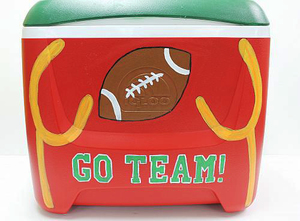
- Use a pen and the tracing and transfer papers to trace and transfer the details onto the football. Use a #10 flat brush and Cotton Ball to add the bands around the ends of the football. Rinse brush. Use a #1 round brush and Cotton Ball to add center details to the football and to outline the words "GO TEAM." Rinse brush. Use a #1 round brush and Black Tie to outline the football shape. Rinse brush.
- Follow the Multi-Surface Acrylic label for cure times.
For more great home decor projects and paint craft ideas, check out our eBook Painting the Seasons with Americana Multi-Surface Acrylics from DecoArt. You'll find DIY craft projects for all season.
