Pretty in Pink (and Gold!) Rose Card

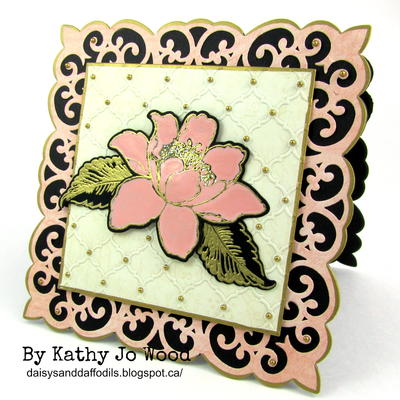
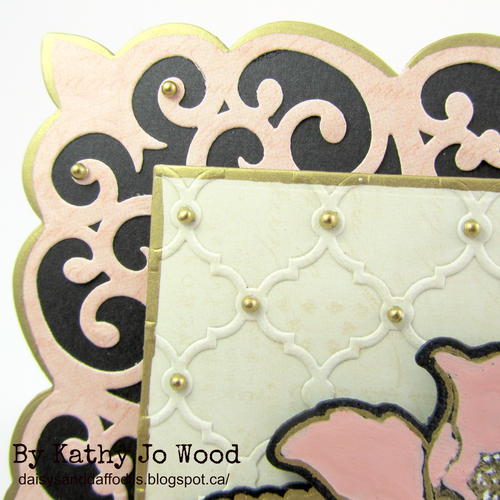
From the Designer: "This elegant pretty in pink, gold and black rose card is a perfect any occasion card for someone special on you card list. The textures, color and finish will make this a treasured card for the recipient. The focal point of the card is the beautiful rose that was heat embossed in gold and colored using Sakura Souffle and Gelly Roll pens. The dry embossed ivory background has half pearl embellishments created using a gold Sakura Pen-Touch Calligrapher marker. The Pen-Touch Calligrapher marker also was applied along die cut edges to create a finished, beautiful edge."
Materials List
- Sakura Pen-Touch Calligrapher marker
- Souffle pens
- Fabriano Black Black Pad paper
- Altenew Garden Treasure stamp and die set
- Versamark pad
- Gold embossing powder
- Heat tool
- Spellbinders dies: Victorian Medallion Three and Squares die sets
- Half pearls
- Embossing folder
- Pink and ivory patterned papers
- Black card stock
- Die cutting machine
- Liquid adhesive
- Double sided foam tape
Instructions
-
Apply Pen-Touch marker to half pearl embellishments. Allow to dry thoroughly.
-
Use Versamark to stamp flower and leaves onto Fabriano paper. Heat emboss. Cool.
-
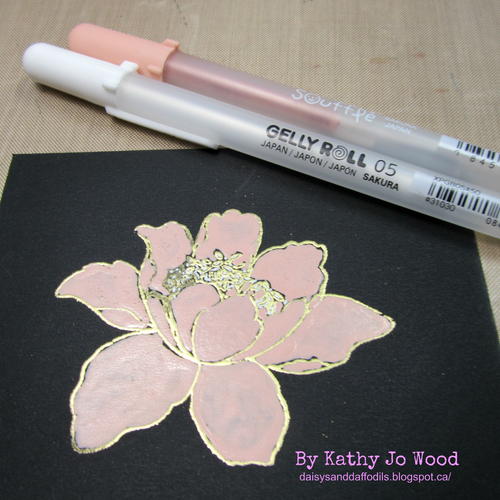
Color flower petals using Souffle pen. Fill in tips of stamen using 05 Gelly Roll pen. Dry.
-
Die cut flower and leaves using Garden Treasure die set.
-
Dry emboss ivory paper using embossing folder. Die cut using square die. Apply Pen-Touch to edges.
-
Die cut pink patterned paper using Medallion dies. Apply Pen-Touch to edges.
-
Die cut black card stock using largest Medallion die. Create tent fold card base.
-
Mount pink die cut to card base using liquid adhesive.
-
Mount ivory die cut to card base using double sided foam tape.
-
Mount leaves to card using liquid adhesive.
-
Mount rose using double sided foam tape.
-
Apply gold half pearls to card front as desired.
NotesTip: Create several gold half pearls at one time. The pearls take time to dry and it is nice to have several extra made for future projects.
Tip: At the end of your blog post, create thumbnails with ShareASale links for all product used. Your followers will definitely want to create similar cards! (And you will make a wee bit of money for your craft supplies!)
What's your favorite way to decorate cards? Let us know below in the comments!


