Quilted Cat Wall Hanging
This small quilt wall hanging featuring a smiling kitty in the center and checkerboard border is a great project for beginner quilters. A photo tutorial on cutting techniques used for this quilt might be helpful to review before you get started.

Project time: 1 whole weekend
Materials:
- Dark Blue: Cut (3) 2" wide strips
- Sub-cut (2) strips into (16) 2" squares
- Gold: Cut (2) 2" wide strips
- Green: Cut (5) 2" wide strips
- Cut (1) 3½" wide strip, cut into (4) 3 1/2" squares
- Dark Pink: Cut (3) 2" wide strips
- Cut (1) rectangle 6½" x 8"
- Cut (1) rectangle 3½" x 5"
- Light Pink: Cut (3) 3½" strips
- Sub-cut into: (2) 3½" x 14" rectangles
- (1) 3½" x 6½" rectangle
- (1) 3½" x 5" rectangle
- (1) 3½" x 3½" square
- Cut (1) 2" x 8" rectangle
Instructions:
Cutting: 100% cotton fabric and thread perform best. Following quilt pattern design, lay out cut pieces on flat surface before sewing. Sewing: Always sew with 1/4" seam allowance. For hand piecing, use a single thread and running stitch. Pressing: Use dry iron on cotton setting. Press seams to one side, toward the darker fabric.
-
Sew Checkerboard Sections: Using 2" wide strips, sew one green strip to each of 1 blue, 2 gold, and 2 dark pink strips. Then sub-cut joined strips into 2" strips to form sewn color pairs. Lay out in pattern design.
-
Sew Diagonal Triangle Corners: Corner Blocks: Draw one straight diagonal line on wrong side of blue 2" square. Right sides together, sew blue square to corner of green square on diagonal line. Trim seam to 1/4". Press blue fabric back to form corner diagonal. Repeat for all blue corners on all green squares. Kitty Ears: Use same technique, sew 2 dark pink 2" squares to corners of the light pink 3 1/2" x 5" rectangle. Kitty Back: Use same technique, sew light pink 3 1/2" square to corner of 6 1/2" x 8" dark pink rectangle. Sew Quilt Top: Following layout, join pieces within each section. Then join sections in numerical order. Tail: Cut tail in desired shape and length; turn edges under 1/4" and blind stitch to kitty, or fuse in place.

- Finishing: Join leftover fabrics in random blocks to create backing. Cut backing same size as quilt top. Place right sides together. Sew around edges, leaving opening for turning. Trim corners; turn and slip stitch opening. Quilt as desired.
Use and Care of Tools & Notions:
- Rotary Cutter - Open and close safety lock before and after each cut. Always keep fingers safe distance from ruler edge when cutting. Do not use excessive pressure or speed. Replace blade when dull. Keep out of reach of children.
- Mat - Always use to protect work surface. Do not expose to heat or sunlight. Use either side, depending on fabric color.
- Thimble - To adjust size, immerse thimble in very hot water for 10 seconds. Pull tabs apart to expand; press and overlap tabs to make smaller.
- ¼" Tape - Use to mark 1/4" seam guide on sewing machine. For quilting, place on fabric and sew next to tape for straight lines.
- Ruler - Store carefully to prevent breakage. Do not expose to heat or sunlight.

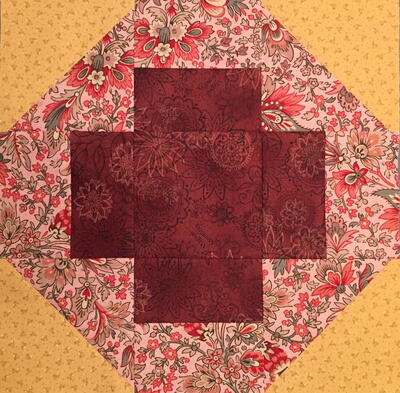
Read NextGreek Cross Quilt Block
Your Recently Viewed Projects
Kefra
Jun 24, 2012
Love this! DeeDee5555, you can just take a ruler and make the pattern pieces onto printer paper(or newspaper) according the the sizes in the directions. That's what I did and it turned out great. Yes a little more work, but worth the effort. If you want to help a friend make a photo copy of your pattern pieces for them :) FUN project!! Thank You Jennifer Lokey for Prym Consumer!
Report Inappropriate Comment
Are you sure you would like to report this comment? It will be flagged for our moderators to take action.
Thank you for taking the time to improve the content on our site.

