Scrapbook Stencil Project
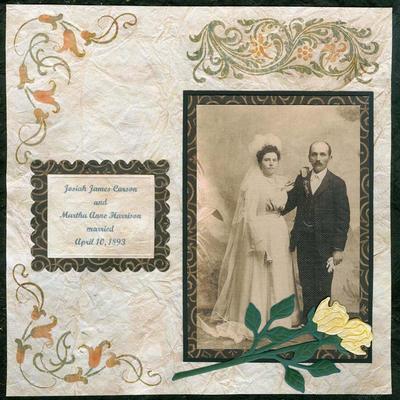
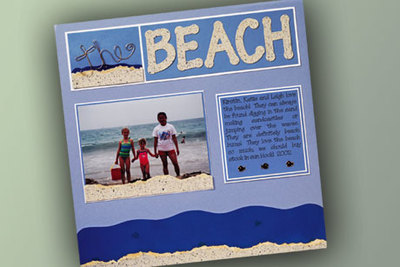
This scrapbook page was featured on a DIY television scrapbooking show. It proves that you don't have to be an artist to create detailed designs; just use stencils! The iron-on thread covers your stencil lines, creating texture and dimension on any memorable scrapbook page or card.

Materials:
- Photos
- Blue, White, and three shades of yellow Cardstock Grass Paper (we used 7018 Rolling Green by The Jonah Sutherland Collection)
- Blue Gingham Vellum
- Berol Prismacolor Pencils: PC912 Apple Green, PC916 Canary Yellow
- Letter stamp (LL641 Large Alphabet Blocks by Hero Arts Rubber Stamps, Inc.)
- Stencil: #28213 by Plaid Simply Stencils, Plaid Enterprises, Inc.
- Font: Carnegie
- Kreinik Iron-on #16 Braid in 6300 Meadow, 6350 Green
- Household Iron or Mini Iron
- Kreinik Teflon Press Cloth
Steps:
Turn your iron on to the highest heat setting and let it heat thoroughly.
- First, stencil your butterfly shapes onto your yellow cardstock. We used a different shade of yellow cardstock for each size butterfly. Use one of your colored pencils to lightly trace the stencils onto the cardstock.
- Begin embellishing your butterflies. Select a color of Iron-on Braid that shows up well on your cardstock. Beginning at one corner of the butterfly, iron the thread along the traced line. Take your time.Use more than one color of thread if you wish. At the end of each section, cut the thread. If the original traced line shows, erase gently if you wish.
- When all of the sections of the stencil have been outlined in thread, color in sections with the colored pencils. (This step is optional)
- Cut out each butterfly carefully, leaving a little border around the outside of the thread. The butterflies are now ready to attach to your page.
Kreinik threads available through needlework stores or www.kreinik.com.
Read NextFamily Scrapbook Layout

