Organza DIY Christmas Tree Skirt

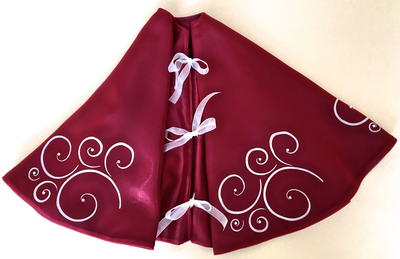
Learn how to make a Christmas tree skirt like no other. This stunning Organza DIY Christmas Tree Skirt features romantic swirls and sheer ribbon to add warmth and softness to your Christmas tree display. Follow the Simplicity pattern to sew the beautiful skirt, and then embellish with various products from Testors. The deep red of the tree skirt will offset the green Christmas tree nicely, and the swirls seem at once contemporary and traditional. Nothing says Christmas like homemade decorations, and this lovely project is the perfect way to dress up your home this season and for years to come.
Time to CompleteWeekend project
MaterialsFabric, Felt, Paint
Primary TechniqueSewing

HolidayChristmas
Project TypeMake a Project
Materials List
- Testors Aztek® Airbrush
- Testors Aztek® Paint Cups
- Testors Aztek® Airbrushable Acrylic Paint – Opaque White #9440
- Testors Aztek Acrylic Paint Airbrush Cleaner #50497A
- Aleene’s Jewel-it Glue
- Spray Mount Repositionable Adhesive
- Plaid Stencil 30597 Simply Scroll
- Simplicity Pattern 1577
- .25” half pearls
- 1 1/2 yards organza
- 1 1/2 yards fleece
- Sewing notions
Instructions
Hints:
- Protect your work surface and always allow paint to dry completely before moving to the next step.
- Minimal sewing is required for this project. The organza and fleece are each cut in one piece on the fold.
- Use pattern piece #15
- All seams are .25"
-
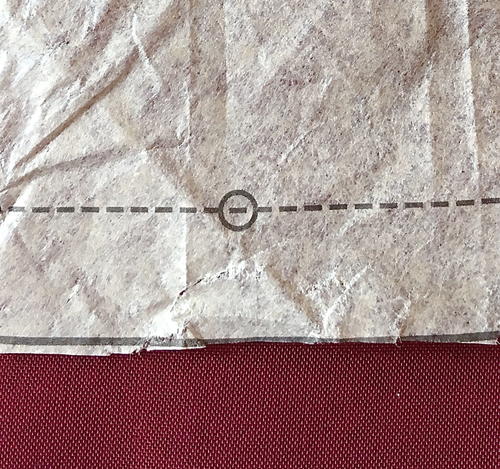
There are three small circles distributed along the bottom of the pattern piece (A). With a marker, add a fourth at the center front (B).
Cutting
-
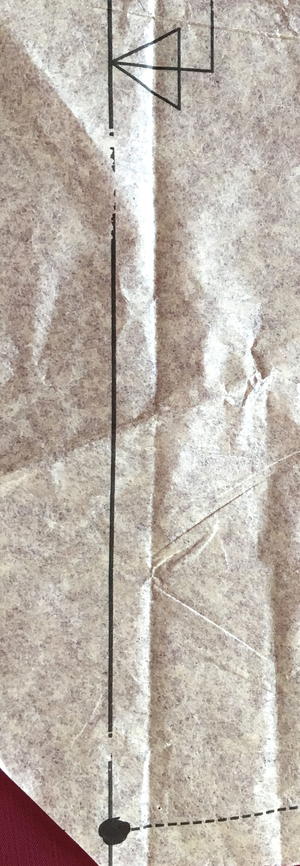
Fold the organza fabric in half with the selvage edges together. Lay the pattern on the fold and cut it out. Slit open the center back as indicated on the pattern. Cut the fleece the same way.
-
Put aside the fleece. Place pins as markers in the organza fabric at the small circles.
Painting
-
Mark the center of the scroll stencil with a line. Spray adhesive on the opposite side.
-
Place the centerline of the stencil over each pin with the bottom corners of the stencil aligned with the organza fabric edge. Place paper towels under the fabric to avoid smudging on the backside.
-
Fill a paint cup with white paint and airbrush the stencil with a light coat. Airbrushed paint adheres well to organza fabric and results in a smooth even finish if the airbrush is dialed to a low-pressure setting. Avoid saturating the fabric and creating thick build up on the stencil. Acrylic Cleaner will remove build up if necessary. It will also correct most overspray on fabric.
-
Carefully remove the stencil from the fabric and reapply it at the next pin. Airbrush the design. Continue moving the stencil until you have seven painted designs.
Sewing
-
Starting from the center of the skirt, pin together the bottom edges of the organza and fleece with right sides facing, working toward the open ends. Sew the two pieces together.
-
Flatten the seam allowance toward the fleece. Starting 2” from the center back, topstitch the two fabrics close to the seam. This will help the edge of the finished skirt to lay flat.
-
Align the top opening of the skirt with right sides facing. Sew the layers together. Trim and clip the seam allowance so the opening will lay in a flat curve.
-
Cut six pieces of ribbon to measure 12” long. Pin three on each side of the back opening with the length of the ribbon between the layers. Position the first ribbon 3” from the bottom, the second 3” from the top, and the third half way between.
-
Sew one center back seam from the bottom to the top. Sew the second back seam from the bottom to the pinned ribbon and from the top to the pinned ribbon, leaving the center open.
-
Turn the skirt right side out through the back seam opening. Trim corners and push out all edges.
-
Pin and topstitch the opening at the top of the skirt.
-
Before continuing, check to be sure there are no loose threads or lint between the organza and the fleece, which will be trapped when the remaining back seam is stitched close. Turn under the edges of the open back seam and pin it together. Topstitch the opening to close it and attach the center ribbon.
-
Apply Jewel-It to the back of the half pearls. Place one inside each painted curl.


