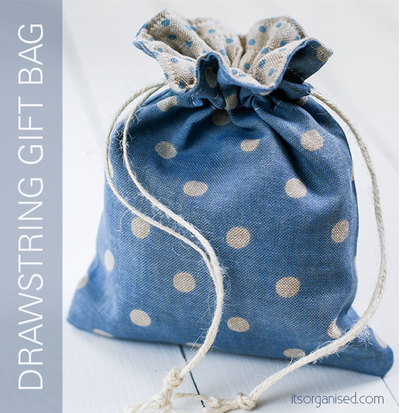
Drawstring Gift Bag Free Sewing Pattern
By: It's Organised

There's no need for wrapping paper when you have a Drawstring Gift Bag Free Sewing Pattern at your disposal. If you're looking for free sewing patterns for beginners, this is the perfect project for you to try. You'll love how quickly you can make this bag and will want to make one for every birthday and holiday. Use a fun fabric that sticks out to make your bag extra special. Free sewing patterns don't have to take all day or cost an arm and a leg. Use what you have and try something new - you never know what kind of amazing crafts you can make in a short period of time.
Primary TechniqueSewing

Sewn byMachine
Materials:
- 2 pieces of main fabric, 18cm x 15cm (7″ x 6″)
- 2 pieces of lining fabric, 18cm x 15cm (7″ x 6″)
- 2 pieces of string, ribbon or lace for the drawstring, each piece 25cm (10″) in length
- Matching thread and sewing accessories
Note: The pattern uses a 1cm (0.25″) seam allowance.
Instructions:
- With right sides facing, sew around the main fabric, leaving the top open and a gap on either side for the drawstring. The gap should be 1.5cm (5/8″) wide, starting 2cm (3/4″) down from the top. It is a good idea to backstitch either side of the gap, as this is the part of the bag that gets the most wear and tear.
- With right sides facing, sew around the lining fabric, leaving the top open. You do not need to leave gaps in the sides on the lining.
- Press all seams.
- Turn the lining fabric right side out. Leave the main fabric wrong side out.
- Insert the lining into the main fabric.
- The right sides of the lining and main fabric should now be facing each other.
- Match up the side seams and pin in place.
- Leave a gap on one side for turning.
- Sew the lining and main fabric together all the way around the top, remembering to leave a gap of a approximately 5cm (2″) for turning.
- Turn the fabric right side out through the gap.
- You should now have the right sides of the lining and main fabric facing out.
- Push the lining back inside the main fabric.
- Turn the raw edges of the opening under and press the whole bag flat, making sure you get a nice clean edge where the main fabric and the lining meet.
- Top stitch around the top edge of the bag, as close to the edge as you can. This will seal the gap.
- Draw two lines, using an erasable sewing pen or tailor’s chalk, around the top of the bag, front and back. The lines should be just above and just below the drawstring gap you left on each side.
- Top stitch along these lines, all the way around the bag, to form the drawstring casing.
- Take your two pieces of string, feeding one in from the left and one from the right.
- Your thread should go in and out of the same hole. String one goes in on the left, all the way around the bag, and out on the left. Repeat with the second string, starting on the right, all the way around the bag, and out on the right.
- Tie the ends of the string together.
- Pull both strings at the same time to close the bag.

