DIY Labels to Organize Your Craft Space

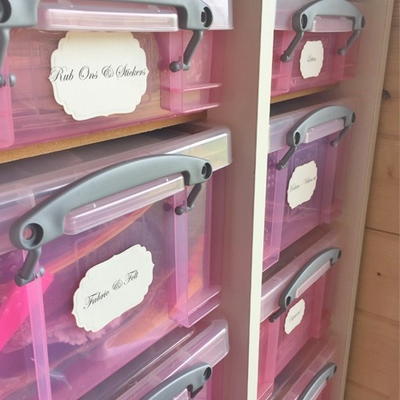
When it comes to organizing your craft space, you can't go wrong with DIY labels! These labels can be repositioned on your plastic storage containers easily. All you need to do, first of all, is get your supplies organized! Then make custom labels so you can see at a glance what items are in what drawers. If you ever reorganize or clean out some of your old craft supplies, you can always make new labels. Even just making the labels will encourage you to properly sort your craft supplies! And the labels look so elegant when completed.
Estimated CostUnder $10
Time to CompleteIn an evening
MaterialsPaper
Primary TechniquePaper Crafts
Project or Page Size8.5 inches x 11 inches

Project TypeMake a Project
Materials List
- 3D Foam Squares, White Small
- Adhesive Dots Large Repositionable
- Dies: Spellbinders Paper Arts (Labels Four)
- Ivory and Blue Cardstock
- Printer
- Gemstones
Instructions
-
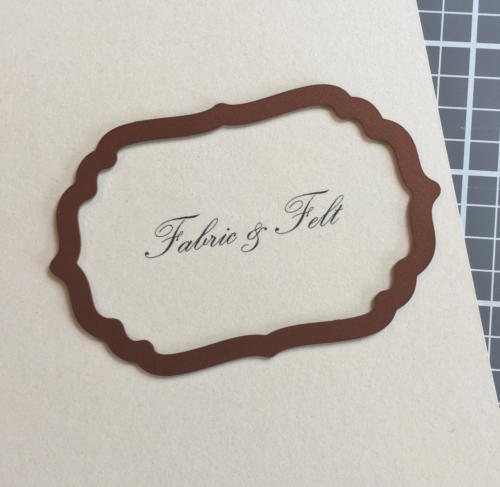
First, type out the contents of each box on the computer and print it out onto cardstock. Then, die cut each label.
-
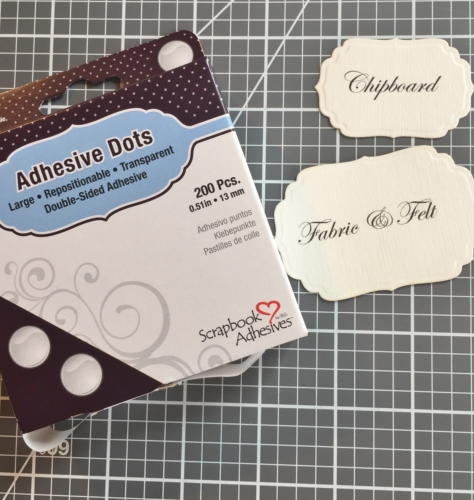
The labels are affixed with the Adhesive Dots Large Repositionable. This means you can move and re-stick the labels whenever you need. But don’t be fooled, these labels stay in place firmly until you want to move them, and then re-stick without additional adhesive.
-
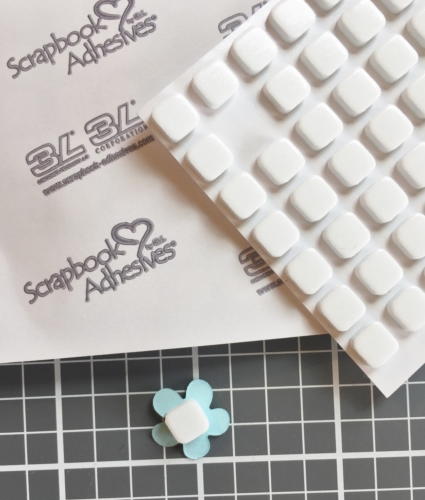
How about embellishing your labels with cute little flowers? You can easily affix them with 3D Foam Squares White Small Size. Customize your craft space decor and stay organized – that’s the beauty of this idea.
-
Now that all the boxes are labeled, it will definitely save you some time when crafting.


