How to Shrink Wrap With a Heat Gun
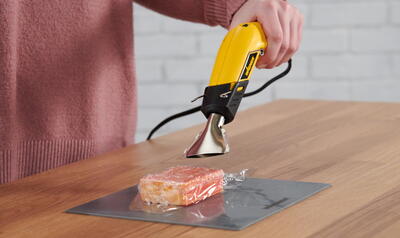
Shrink wrapping is used for a variety of crafting projects such as packaging gift baskets and food. Learn how to shrink wrap the easy way using a heat gun.
Enter to win the Wagner FURNO Micro Heat Gun Craft Kit Giveaway as part of our 12 Days of Christmas Giveaway! AND be sure to enter our GRAND PRIZE GIVEAWAY!

Project TypeLearn a Technique
DIRECTIONS
-
GATHER YOUR MATERIALS
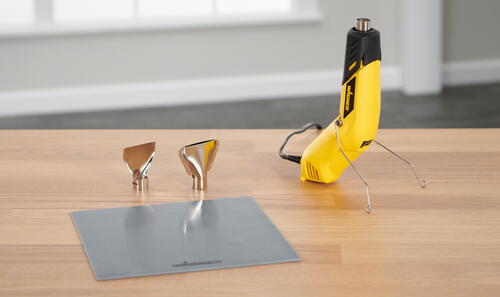
To get started, gather your shrink wrap and heat gun. Shrink wrap comes in a variety of sizes and shapes, including little pouches for soaps or huge rolls for gift bags. For smaller shrink wrapping projects, the Wagner FURNO Micro Heat Gun Kit is a great option. It comes with a silicone mat to shield your working surface from heat. It also comes with several nozzle attachments to make the project easier. -
WRAP THE SHRINK WRAP AROUND THE OBJECT
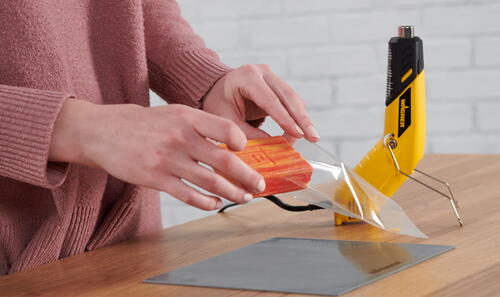
Place the shrink wrap around the object you’re enclosing so that it’s completely encased in the shrink wrap. For example, if you’re shrink wrapping soap you will place the entire soap bar into the shrink wrap pouch. If you’re shrink wrapping a mini basket, place the basket in the center of a shrink wrap square and bring the sides upward around the basket. -
USE A HEAT GUN TO SHRINK THE WRAP
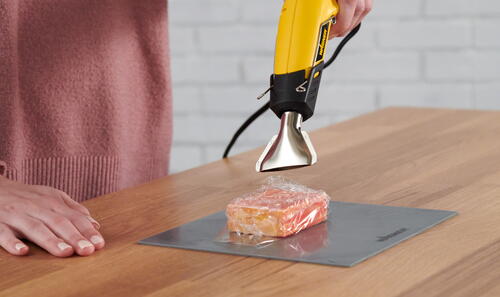
Now use a heat gun to shrink the plastic wrap around the object. Use the Wagner FURNO Micro Craft Kit and attach the Flare Nozzle to output heat in a wide, even pattern. Turn the heat gun to the low setting to prevent damage to the plastic shrink wrap. Move your heat gun slowly over the shrink wrap and watch as it shrinks around the object. If you have a larger area to shrink wrap, we recommend using a FURNO 300, 500 or 700 heat gun instead. -
SHRINK WRAP ALL SIDES AND ENJOY!
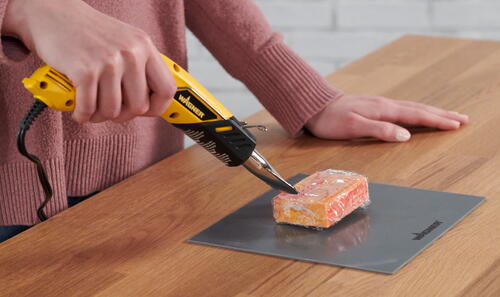
Continue applying heat until all angles and sides are shrunk and clinging to the object you’re wrapping. It’s just that easy!

