Rustic Wood Mirror

Are you ready to create a one-of-a-kind mirror that will look a lot more expensive than it was to make? This is my kind of project! A door mirror is functional, but with a few materials we can transform it to make a major impact in the décor of the room.
Mirrors are used in design to create the illusion of more space in a room. They reflect natural light and can highlight beautiful details, such as a chandelier in a dining room, by reflecting them into your vision from different angles. Mirrors are also considered statement pieces because they become the art in any room and on any wall. Instead of a painting or artwork, an ornate or textured frame is just as effective to enhance the décor.
Of course, the bigger the mirror, the more expensive they are. With rustic finishes and the farmhouse style being ever so popular, I decided to make my own DIY version out of a door mirror. This long rectangular mirror comes with a simple, plastic frame. The price is good, but the style factor is lackluster. But it’s nothing a trip to my local home improvement store can’t fi x by shopping in the lumber section for some basic supplies.
Materials List
- 1" x 8" (2.5 x 20.5-cm) pine
- Measuring tape
- Wood stain—weathered gray
- Staining pads
- Disposable gloves
- Cordless drill
- 10" (25.5-cm) mending plates
- ⅝" (1.5-cm) wood screws
- Frameless door mirror—16" x 60" (40.5 x 152.5 cm)
- Mirror clips—comes with door mirror
- ½" (1.5-cm) sheet metal screws
- French cleat picture hanger kit —300 lb (136 kg) weight
- Level
- Polyurethane (optional)
Instructions
-
The idea is to use the 1 x 8-inch (2.5 x 20.5-cm) wood planks to frame the mirror. Begin by measuring and cutting the two longest sides 1 inch (2.5 cm) less than the height of the door mirror. In this project it was 59 inches (150 cm). This is to overlap the frame by ½ inch (1.5 cm) all around, so we can secure the mirror from behind. Your local home improvement store can cut the wood for you as long as you give them the exact measurements.
-
Cut the two shortest sides to 29½ inches (75 cm). This takes into account the width of the mirror at 16 inches (40.5 cm) plus the wood we cut in Step 1 that will frame the top and bottom at 7¼ inches (18.5 cm) each plank, which equals 14½ inches (37 cm). Total combined width is 30½ inches minus 1 inch equals 29½ inches (75 cm). This allows a ½ inch (1.5 cm) overlap all around to secure the mirror from behind.
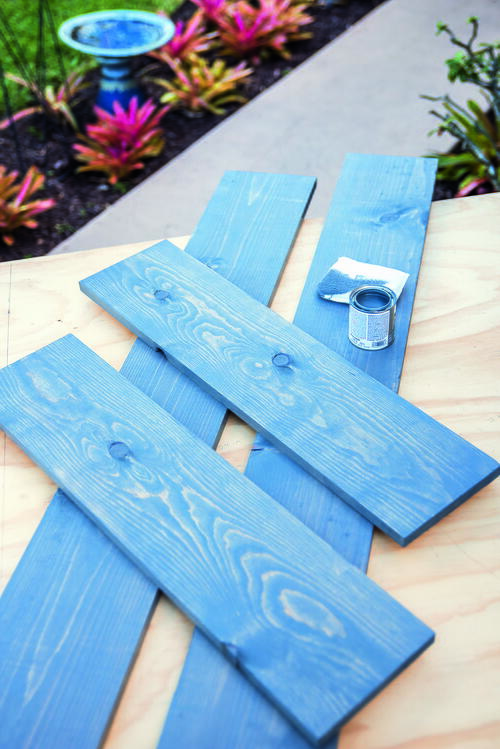
Apply the weathered gray stain with the staining pads and use disposable gloves to protect your hands. The more coats, the darker the stain. Once it is dry, you can give it a finish coat with a polyurethane, which makes it more durable. However, since the mirror will be installed indoors, it is not necessary on this project. I also prefer the matte finish of the stain, which looks more rustic. -
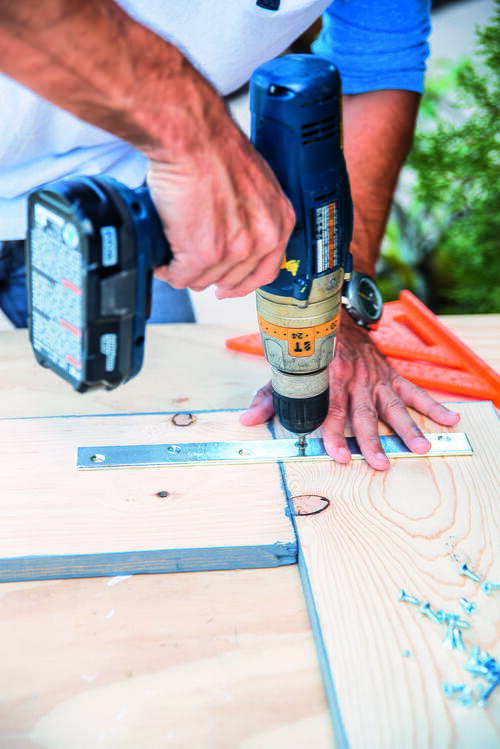
To build the frame, turn it upside down and use the drill to secure the pieces with the 10-inch (25.5-cm) mending plates across the top and bottom using ⅝-inch (1.5-cm) wood screws. If the screws are too long they will damage the front of the frame.
-
Secure the door mirror to the back of the frame using the mirror clips that came in the packaging. I used ½-inch (1.5-cm) sheet metal screws because the original screws were too long and would’ve damaged the front of the frame.
-
Attach the mounting bracket from the French cleat kit in the top center of the mirror frame.
-
Measure the center of the wall and secure the interlocking track using the bubble level included at the height you wish to hang the mirror.
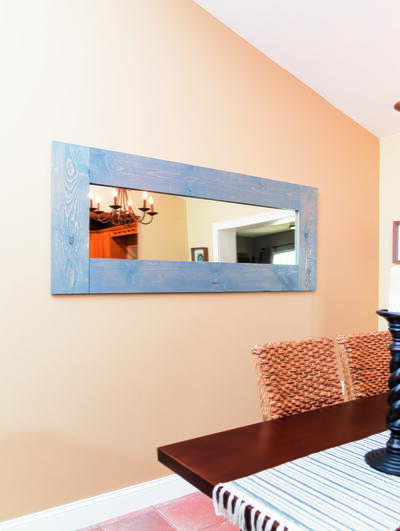
After
No one will guess this began as a frameless door mirror. It looks expensive and substantial without the high price tag. The rustic wood frame can also complement many decorating styles, from global to farmhouse.


