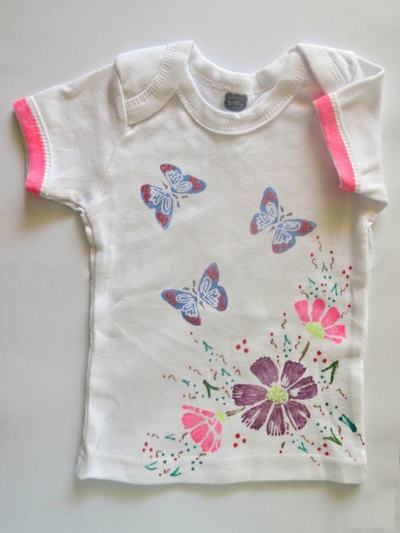
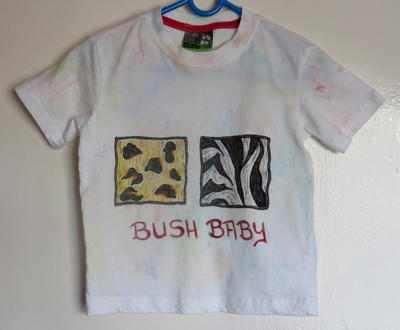
Duo of Bears Unisex Baby T-Shirt
It's so much fun to dress your baby in DIY baby clothes you made yourself!
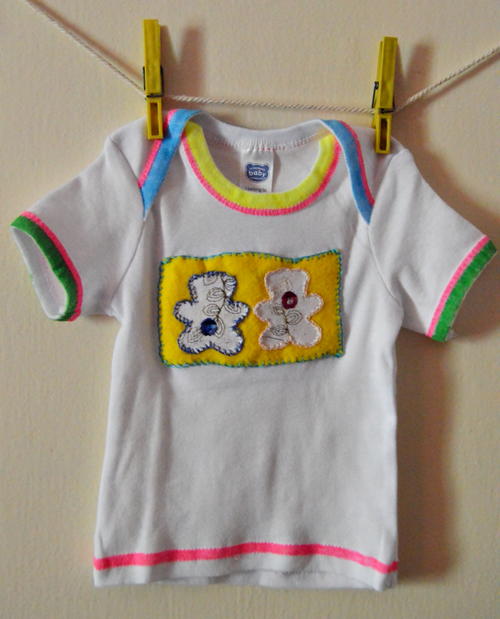
Make a darling baby T-shirt using this Duo of Bears Unisex Baby T-Shirt tutorial. This project for DIY baby clothes would make a wonderful gift for a new mom in your life. The brightly colored trim and beautiful stitching are such fun details. This is a great project for new sewists.
From the Designer: "Turn a simple white baby shirt into a special gift for a soon-to-arrive little bundle of joy. This project is ideal for a gender reveal party, as it is suitable for a boy or a girl. It can be adjusted to suit different tastes ~ instead of bears you can appliqué any other animal to the front of the shirt, so the project can be adjusted to fit with the theme used in the nursery."
Time to CompleteIn an evening
MaterialsFabric, Felt
Primary TechniqueSewing

Project TypeMake a Project
Materials List
- White baby shirt for a baby aged 3-6 months
- Yellow felt
- A6 sized piece of lightweight white embroidered denim fabric
- Embroidery floss in the following colors: blue-green; soft pink and dark navy blue
- Giotto décor textile pens: sky blue; neon yellow; neon green and neon pink
- Bostik clear all purpose adhesive glue
- Baby shampoo
- Scissors
- Needle
- Sewing pins
- Bear-shaped cookie cutter
- Pencil
- Iron and ironing board
Instructions
-
Wash the shirt in baby shampoo and rinse it thoroughly in cold water to remove any sizing agent from the material. Do not add fabric softener.
-
Allow the shirt to dry thoroughly and iron it lightly to remove any wrinkles from the material.
-
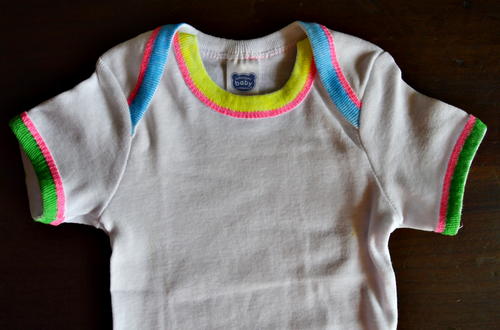
Use the neon pink pen to color the double stitched hems around the bottom of the shirt, around the sleeves and around the neck.
-
Color the front part of neckband neon yellow, and the back part of the neckband sky blue.
-
Color the ribbing around the sleeves neon green.
-
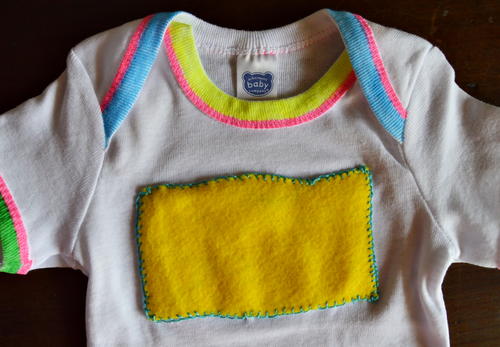
Cut an irregular rectangle from the yellow felt.
-
Use sewing pins to pin it to the front of the shirt. Use the blue-green embroidery floss. Working with 2 strands, thread both strands through the eye of the needle and then double up the strands. Use a blanket stitch to appliqué the felt to the front of the shirt, and remove the sewing pins once you are done.
-
Place the cookie cutter on the denim fabric and use the pencil to trace all around the cookie cutter. Lift the cookie cutter and cut the traced bear out. Repeat, so that you will have two denim bears.
-
Use the Bostik to glue the two bears to the yellow felt and allow to dry thoroughly.
-
Use the soft pink embroidery floss and blanket stitch to appliqué the one bear, and the dark navy blue floss for the other bear. Remember to work with two strands that have been doubled up.
Read NextNo Sew Baby Hat