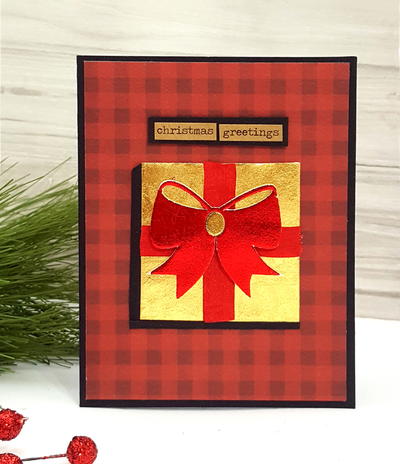
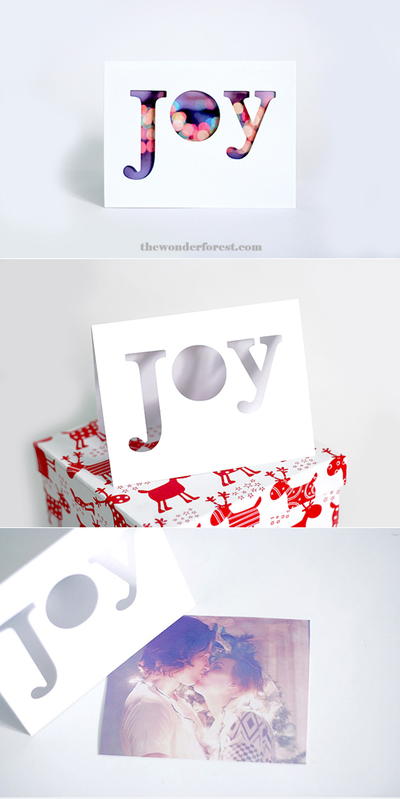
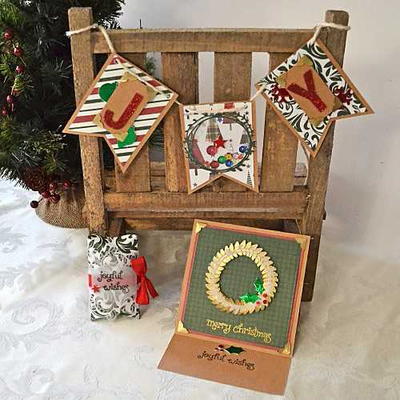
Handmade JOY Holiday Trio Ensemble
These Christmas paper crafts for adults will have your home festive!

Make coordinating cards, decorations, and small gift packaging with these Christmas paper crafts for adults. Learn how to make gorgeous Christmas cards, paper Christmas decorations to make at home, and little pillow boxes for giving gift cards and other small gifts. With gorgeous coordinating papers and supplies, you could make all three of these projects for a loved one this holiday. Write them a lovely card, enclose their gift in the pillow box, and if perhaps you have a larger gift to give them too, decorate the present with the JOY banner. Put your paper crafting skills to a festive use this holiday season.
Materials List
- Scrapbook Adhesives by 3L Supplies:
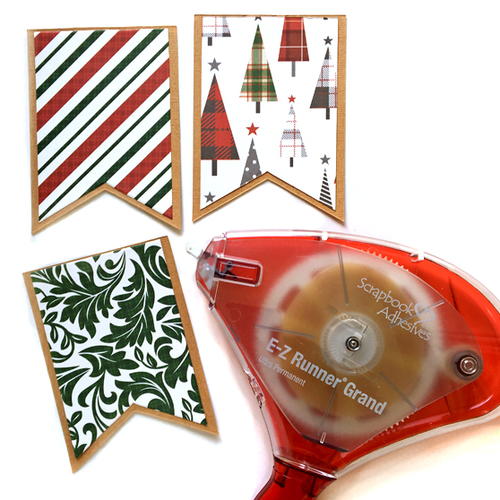
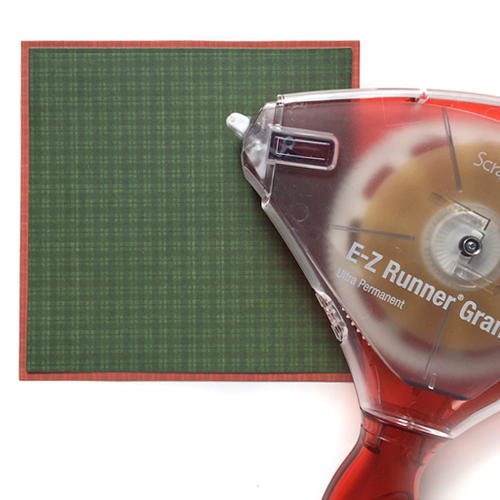
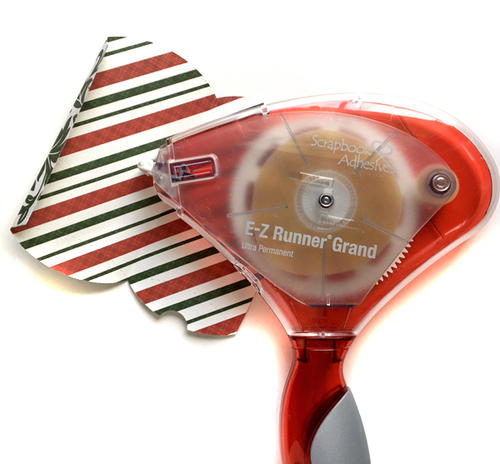
- 01250 E-Z Runner® Grand Permanent Strips Refillable Dispenser
- 01253 E-Z Runner® Grand Ultra Strong Refill
- 01224 3D Foam Holiday Embellishment Kit with Foil
- 01225 3D Foam Creative Embellishment Kit with Foil
- 01614 3D Foam Squares White Mix
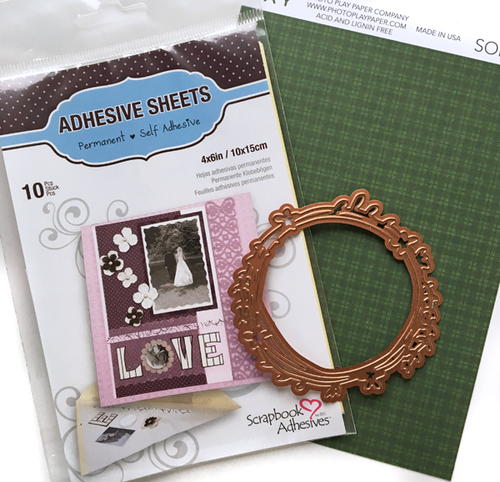
- 01680 Adhesive Sheets 4 x 6in
- 01625 Creative Photo Corners Gold
- 01301 Dodz Adhesive Dots Medium
- 01643 E-Z Runner® Permanent Fine Dispenser
- Other Supplies:
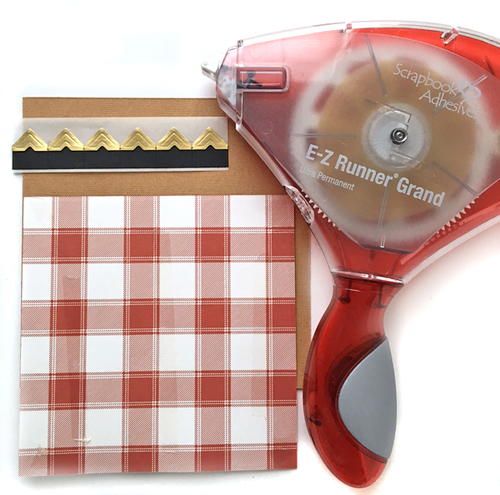
- Photo Play Paper Co. Mad 4 Plaid Christmas Collection
- Spellbinders S4 -114 Standard Circles LG Etched Dies
- Spellbinders S4 -116 Standard Circles SM Etched Dies
- Spellbinders S6 -025 6 x 6” Matting Basics A Etched Dies
- Spellbinders S6-026 6 x 6” Matting Basics B Etched Dies
- Spellbinders S4-572 Wreath Etched Dies
- Spellbinders SR-011Type-Oh! Contour™ Steel Rule Die
- Spellbinders Sr-013 Three’s a Crowd Contour™ Steel Rule Die
- Spellbinders SDS-006 Totally You Stamp and Die Set
- Spellbinders S5-079 Persian Motifs Etched Dies
- Lawn Fawn Joy to the Woods Stamp Set
- Lawn Fawn Pillow Box Die
- My Sweet Petunia MISTI Stamp Placement Tool
- IMAGINE/Tsukineko VersaMark & Stazon Jet Black Inks
- Gold Embossing Powder, Fine Red Glitter
- White Vellum Paper, White and Kraft Cardstock
- 5/8” Red Ribbon, Clear Acetate, Small Star Sequins, Twine Hole Punch, Wax Paper, Heat Tool, Scoring Tool
JOY Holiday Shaker Banner
-
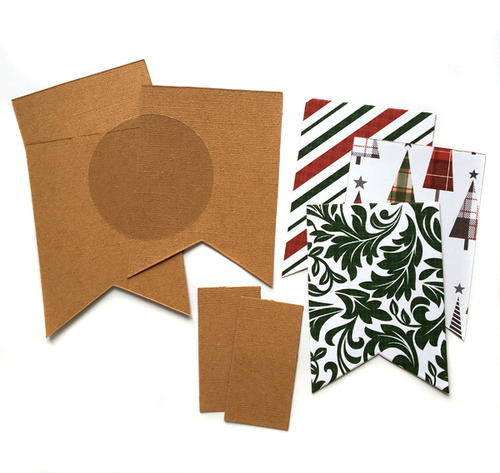
Die cut 3 of 3 ⅛ x 4 ¼in banners with kraft cardstock and cut 3 of 2 ⅞ x 4in banners with patterned papers.
-
Die cut 2 of 1 ⅜ x 2 ⅝in rectangles with kraft cardstock.
-
Die cut 1 of 2 ¾in clear acetate circle.
-
Adhere small banner die cut on top of the large banner die cut with E-Z Runner® Grand with Ultra Strong Refill to make 3 layered banners.
-
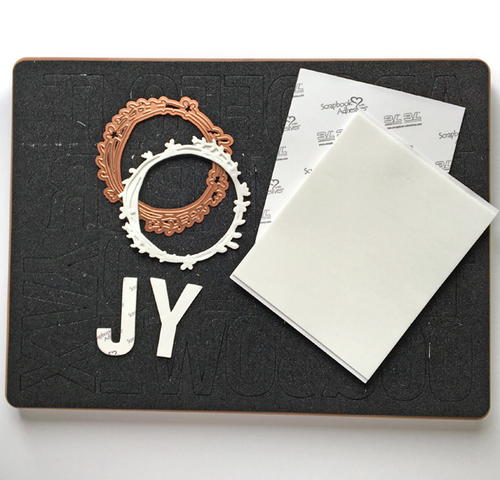
Die cut letters J, Y and small wreath from 3D Foam Creative Sheets.
-
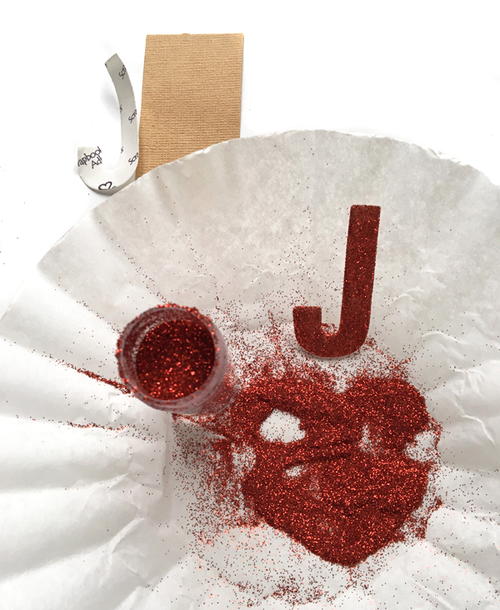
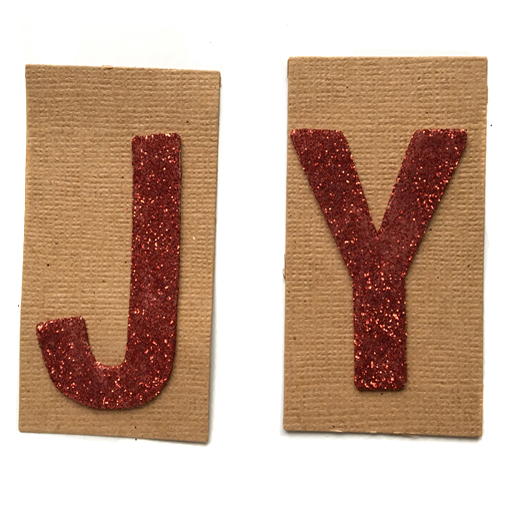
Remove the top liner of the letter die cuts, pour red glitter over the exposed adhesive, gently burnish, and tap off excess.
-
Remove bottom liners and adhere centered on rectangles. Allow for Creative Photo Corners Gold on corners of rectangles.
-
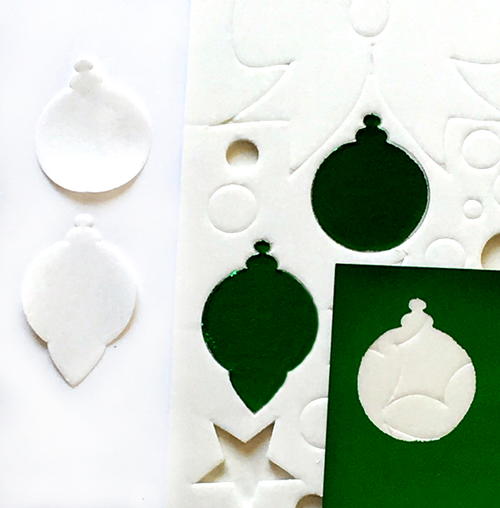
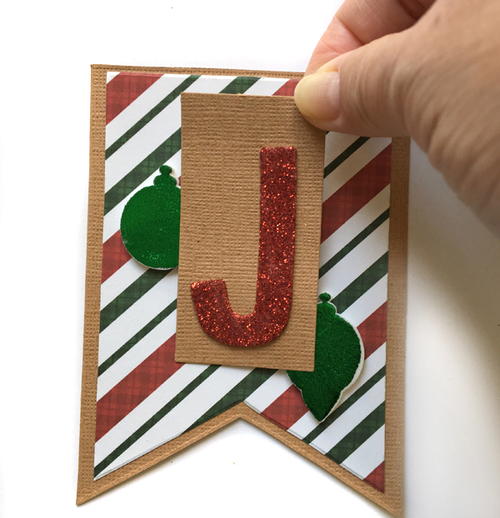
Place 3D Foam Ornament Shapes, with top liner intact, on J’s banner, using embellished J rectangle as a guide to determine placement. Remove top liner, apply green foil as directed earlier.
-
Add Creative Photo Corners Gold to rectangle’s corners. Add three 3D Foam Square White Regular on center back of rectangle. For the corners not supported by an ornament shape, place a 3D Foam Square White Small for support. Remove all 3D Foam Square liners and center the rectangle on banner. Repeat for Y but use 3D Foam Snowflake shapes with red foil.
-
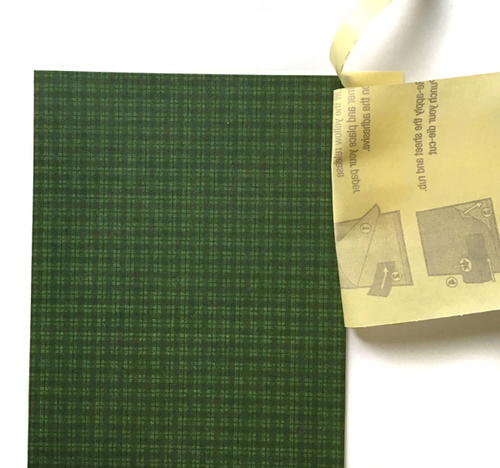
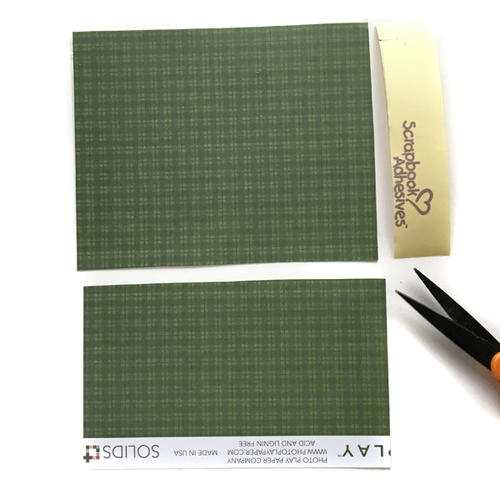
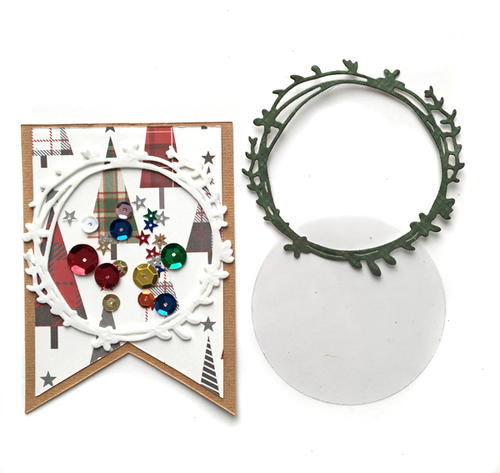
Remove the liner strip of Adhesive Sheet, place patterned paper over exposed adhesive, remove the rest of the liner, adhere to patterned paper. Trim excess paper. Die-cut the small wreath.
-
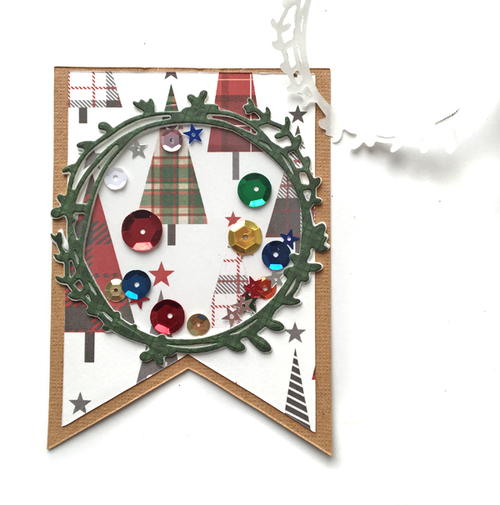
Remove bottom liner of the 3D Foam Creative Sheets wreath die cut and center on the banner. Add a pinch of sequins inside the wreath. Remove top liner and cover wreath center with acetate circle die cut.
-
Remove bottom liner of Adhesive Sheet wreath die cut. Match up the shape with the bottom wreath to appear as one.
-
Center a 3D Foam Star in center, apply red foil.
-
Punch holes at top corners of banners, thread with 1yd twine to display.


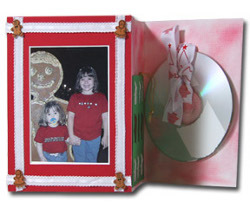
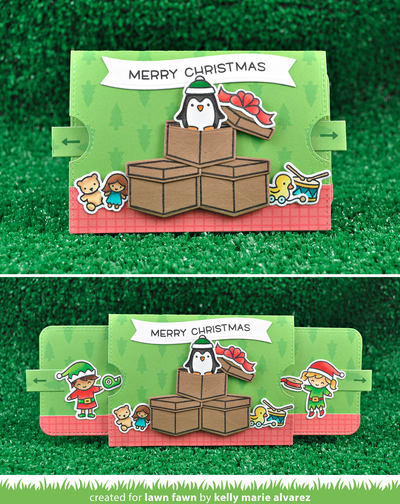
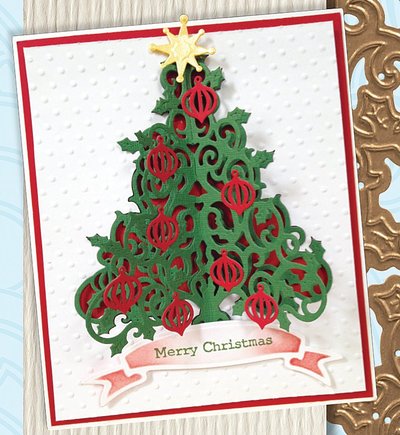
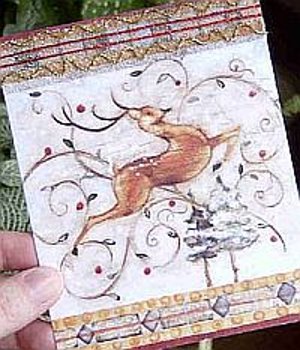
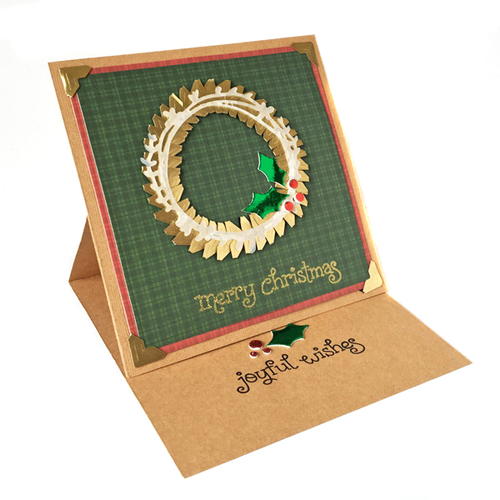
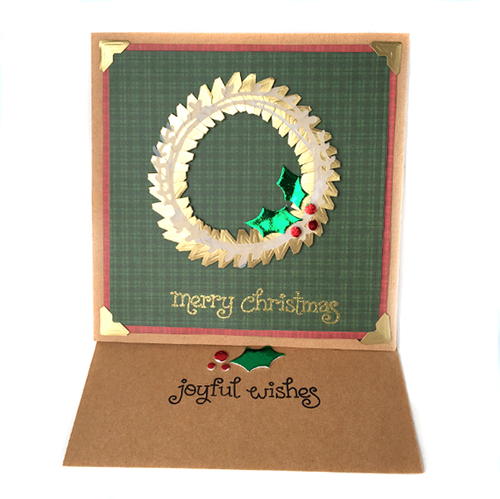
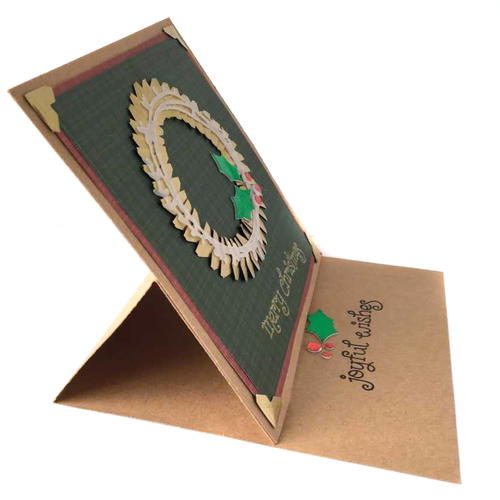
JOY Easel Card
-
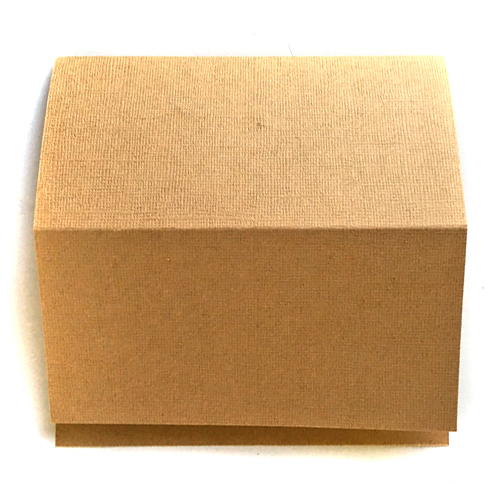
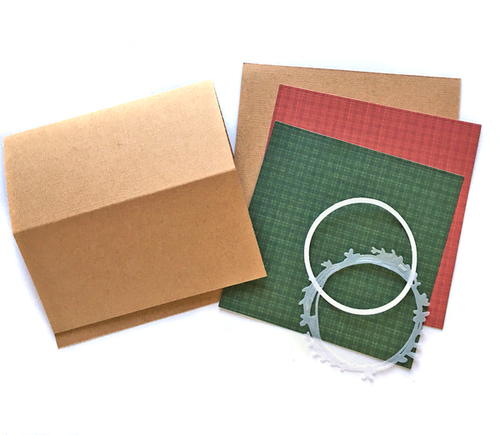
Fold 5 ½ x 11in kraft cardstock in half to make a square card.
-
Fold the card front at 2 ¾in to create the easel base.
-
Cut a 5 ½ x 5 ½in card panel from kraft cardstock.
-
Cut a 5 ⅛ square panel from red patterned paper, and a 4 ⅞ square panel from green patterned paper.
-
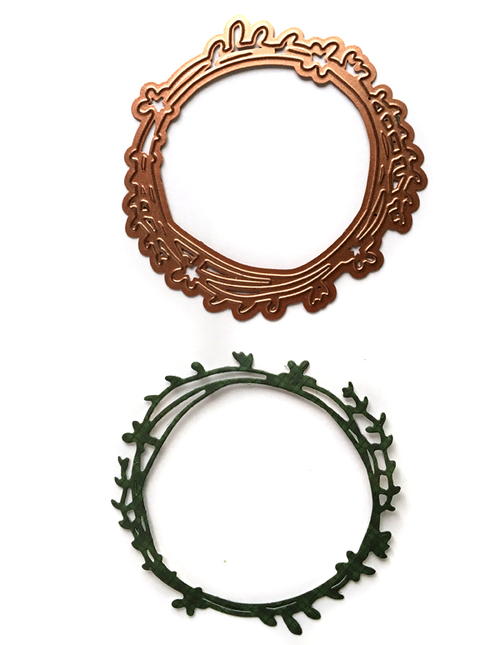
Nest circle dies and die-cut a 2⅞in white ring to
use as a guide for the wreath. Set aside. -
Layer the green square over the red square with E-Z Runner® Grand with Ultra Strong Refill.
-
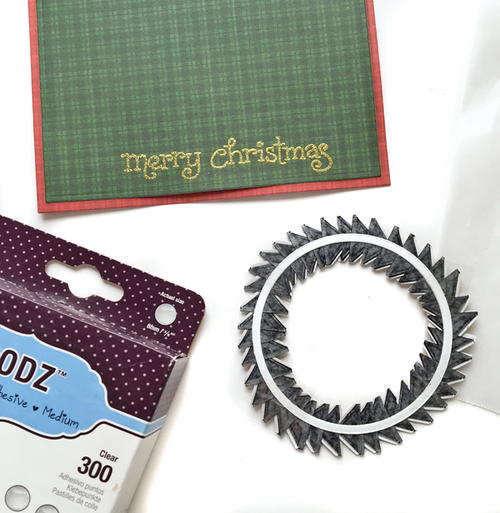
Stamp sentiment with watermark ink at lower center of the green square. Heat emboss with gold embossing powder.
-
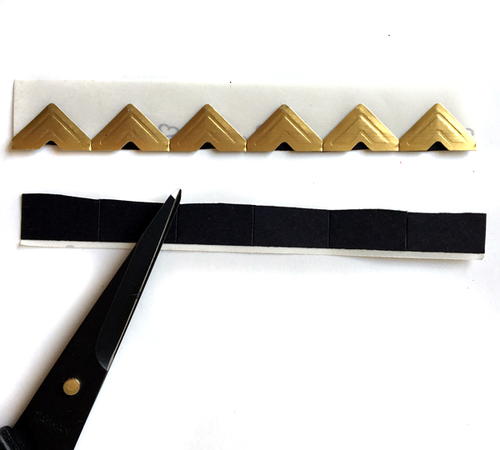
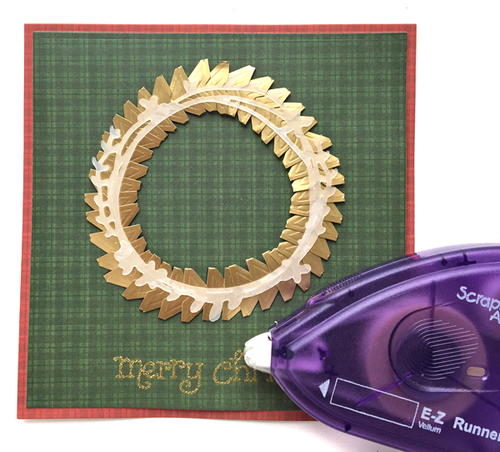
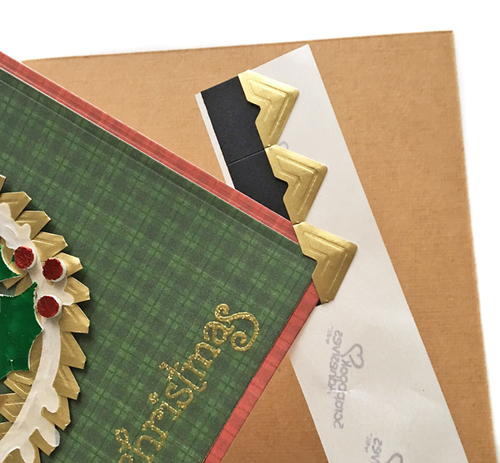
Use scissors to trim the black tabs from Gold Creative Photo Corners.
-
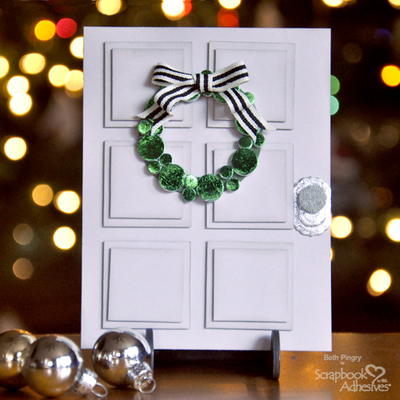
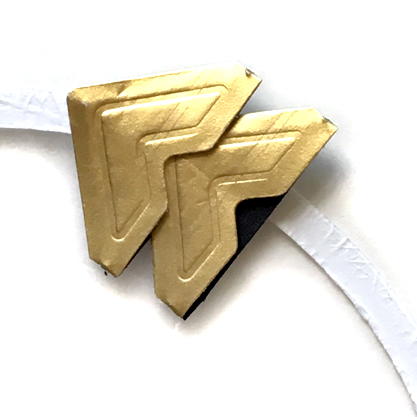
Place ring onto waxed paper. Tuck trimmed Gold Creative Photo Corners into each other to create a chain. Work around the ring to create the wreath.
-
Use Dodz Adhesive Dots Medium to secure the finished wreath onto the card panel.
-
Apply E-Z Runner® Permanent Fine to one side of vellum wreath die cut. Adhere on top of the photo corner wreath.
-
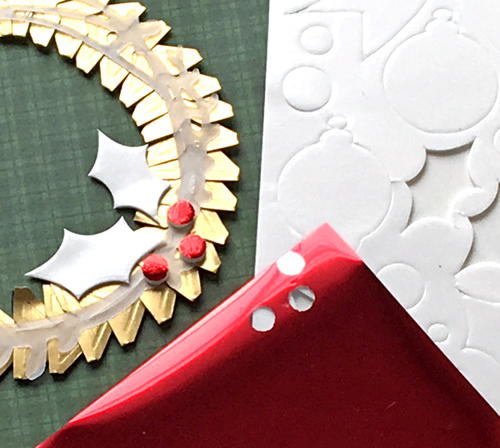
Add 3D Foam Holiday Holly Leaf and Berry Shapes on the wreath. Embellish holly with green foil and berries with red foil.
-
Add Gold Creative Photo Corners on 4 corners of layered square. Adhere this centered to kraft square using E-Z Runner® Grand with Ultra Strong Refill.
-
Add the finished card panel to the lower part of easel base using with E-Z Runner® Grand with Ultra Strong Refill.
-
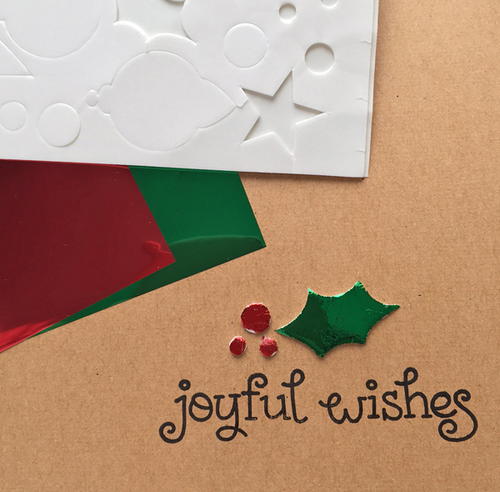
Stamp sentiment on the lower card base. Above the sentiment add 3D Foam Holiday holly leaf and berry shapes support. Embellish holly with green foil and berries with red foil.
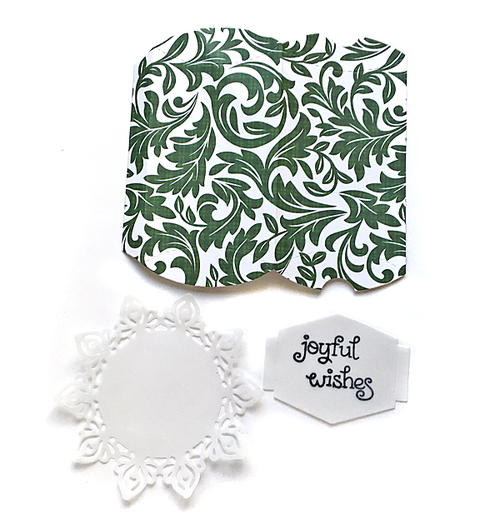
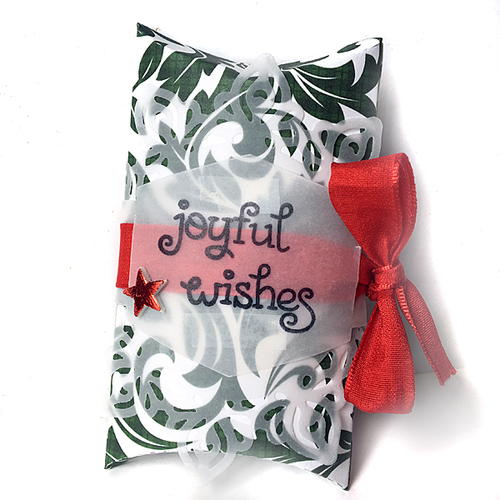
JOY Pillow Box
-
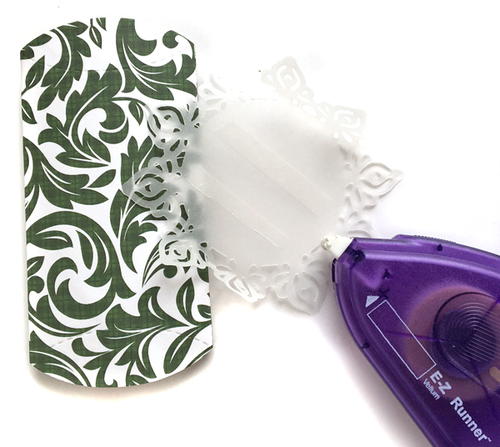
Die cut 1 pillow box with patterned paper.
-
Die cut 1 doily and 1 ribbon slide with vellum paper.
-
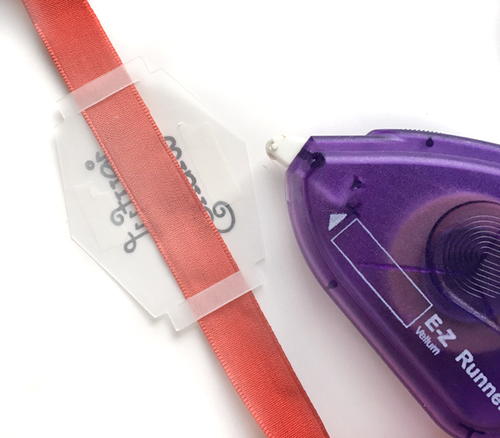
Stamp sentiment in black permanent ink on ribbon slide die cut.
-
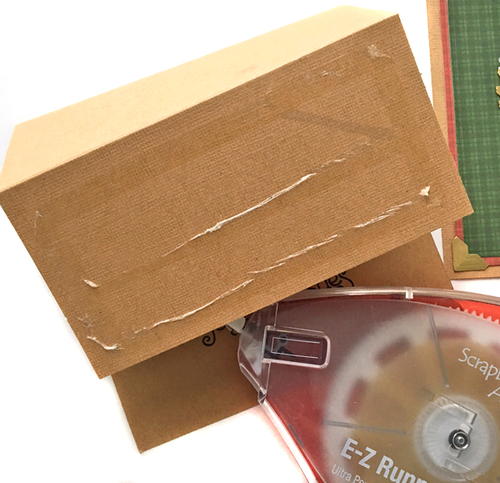
Apply E-Z Runner® Grand with Ultra Strong Refill to pillow box tab. Adhere the ends together to create a box.
-
Adhere vellum doily die cut to the box with E-Z Runner® Permanent Fine.
-
Carefully thread 18in length of ⅝in wide red ribbon through ribbon slide die cut and apply a strip of E-Z Runner® Permanent Fine on the back of ribbon slide die cut. Note: apply above and below the ribbon so it can move.
-
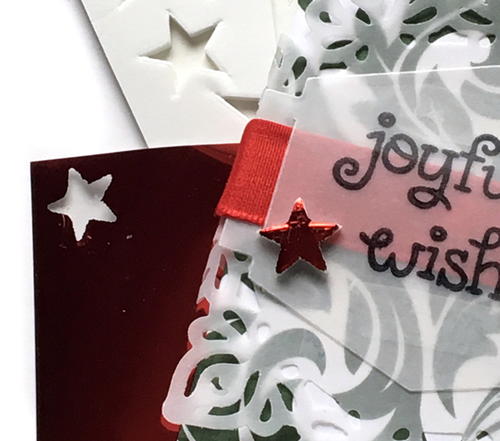
Adhere ribbon slide on top of vellum doily. Tie ribbon in a bow at side of slide.
-
Add a small 3D Foam Star as accent on the ribbon slide, embellish with red foil as directed earlier.
Contest Rules:
- There is a maximum of one extra entry per person. The extra entry will be based upon a comment left on this post. Duplicate comments are not tallied.
- The winner will be selected at random from the comments on this page and the entries on the contest page.
- The winner will be contacted on the morning of December 26th, 2017.
- Email Address provided in their account (please do NOT leave your email address in the comments--you already provided it when you created your account)
- You have until December 24th, 2017 at 11:59pm EST to leave your comment on this post. Comments posted after that will not be counted.
- Contest open to anyone 18+ in US and/or Canada. Excludes Quebec and Puerto Rico.
How early do you send out your holiday cards?
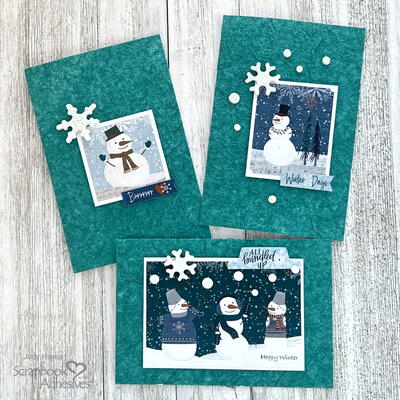
Read NextWinter Snowman Note Cards Tutorial
Your Recently Viewed Projects
Thanks for your comment. Don't forget to share!
dskene2 1252205
Dec 20, 2017
I love this adhesive! I usually send my cards out at the beginning of December. Thanks for the great tutorial.
donnalindner 13615 60
Dec 20, 2017
the projects are wonderful have to make them. and the adhesives are great to work with
nusbaumfamily 3661 673
Dec 19, 2017
Your products are amazing! They are my favorite adhesives to use on my projects! Thanks for the inspiration and for the opportunity to win!
wrodgers1954 17873 89
Dec 16, 2017
Will be making this project to add to my collection of Christmas decor. I like to change up every year so all is new.
gildamc 2768046
Dec 16, 2017
Love your wonderful projects. Since I am a last minute person, I usually get my cards mailed around December 20, hopefully.
Karen M
Dec 15, 2017
I usually mail out my Christmas cards the first week of December. Such a pretty banner, card and gift box...thank you for the inspiration! Happy Holidays!
ratgirl
Dec 15, 2017
I usually start sending my cards either just after Thanksgiving or around the first of December. I send out so many cards, though, I'm often rushing to finish sending them all out in time for Xmas!
Member 4458382
Dec 15, 2017
I usually post cards about two weeks before christmas. Love the EZ Runner!
ciaoitalia2007 671 8288
Dec 15, 2017
Looks like a fun project to make, thanks for the instuctions. Carol B ciaoitalia2007(at)gmail(dot)com
txmlhl 4916988
Dec 15, 2017
I sent my Christmas cards out on Wednesday. I don't start making them until after the first of December. I'm working on some extra-special ones for close friends and family - I hope to get them out tomorrow. I'm a procrastinator. thanks.
melissarico4 56445 57
Dec 15, 2017
I im going to try with what i have and see how it comes out. A great gift to give
Knittingdancer on Ravelry
Dec 10, 2017
I have my Christmas cards ready to be mail now. I usually mail them on December 15th.
ridiculosity 67303 43
Dec 06, 2017
As soon as I hear of or think of someone who needs cheering, I send a card. Or at least that is the plan.
Report Inappropriate Comment
Are you sure you would like to report this comment? It will be flagged for our moderators to take action.
Thank you for taking the time to improve the content on our site.