Hammered Bowl
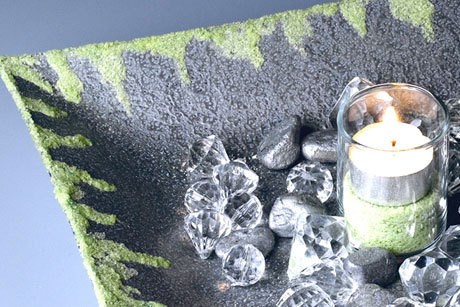
Turn an old light fixture into a beautiful centerpiece with Hammer Finish. Glitter accents, rocks and crystals add sparkle and sophistication.

Materials:
- Krylon Outdoor Spaces® Hammered Finish - Silver (#2916)
- Krylon Outdoor Spaces® Metallic Finish - Silver (#2907)
- Krylon Low Odor Clear Finish - Clear (#7110)
- Utility light fixture (re-purposed as bowl)
- Crystal beaded “jewels”
- Small smooth rocks
- Lime glitter (fine)
- Silver glitter (fine)
- Tea light
- Glass Votive Cup
- Craft Glue
- Narrow brush for glue – approximately 1/4”
- Latex gloves (if desired)
Instructions:
-
For exterior of bowl, turn fixture-bowl over and spray with Metallic Silver paint. (Placing it on centered small rise is helpful). Be wise; always observe safety precautions on spray cans and use excellent ventilation. Let dry completely. For interior of bowl, spray with several light coats of Hammered Silver according to can instructions; let dry partially. Before it’s completely dry the texture of hammered effect will show. At this point lightly dust entire surface with fine silver glitter. Let dry completely.
-
Spray rocks with Hammered spray, sprinkle with fine glitter also, and let dry. Hammered surface dries rather quickly but will require a curing time of approximately 48 hours.
-
To create lime green flocking, brush glue around outer edges and down interior of the bowl slightly in a “Drip style” (see photo for reference). Sprinkle lime glitter over glue. Pour off excess glitter, let dry. At edges add glue and glitter to any thin place, let dry. Spray protective, clear finish over lime glitter and let dry thoroughly.
- To finish, pour lime glitter into votive cup till partially full, place tea light inside. Be careful not to get glitter on tea light when burning the candle. Place glass votive in bowl center, arrange rocks & clear jewels around it. Without sprinkling any on tea light, sift glitter between fingers over all.
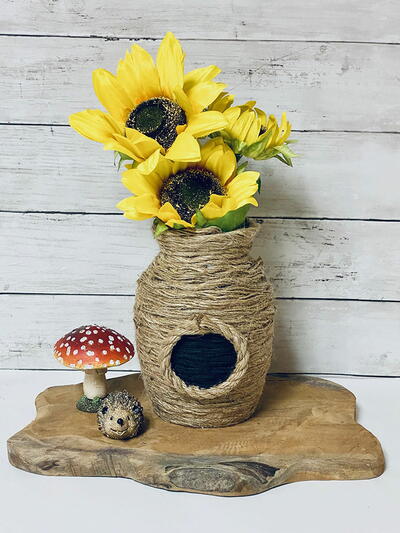
Read NextDiy Dollar Tree Beehive Vase

