How to Split Stitch for Hand Embroidery
This beautiful hand embroidery technique is actually really easy!

If you're an embroidery beginner, or just looking to expand your embroidery skills, then you've got to take a look at this tutorial!
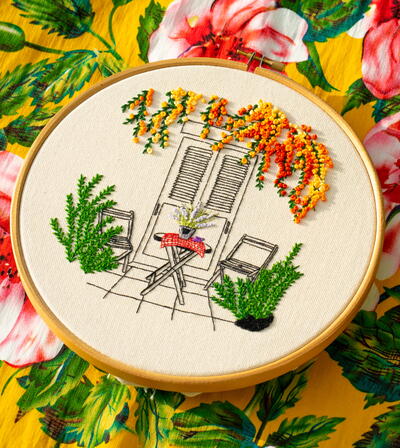
The split stitch is a hand embroidery technique that you can use to make beautiful designs on fabric. Just look at the gorgeous rose design here!
Plus, the split stitch is super simple to do. It only takes a few minutes to learn, and then you can begin making all sorts of lovely embroidery crafts of your very own. Are you ready to get started? Just check out the diagram and follow the steps below.
Main MaterialEmbroidery Thread

Instructions
Super easy! Make a small stitch (1-2) about the length of a (long) grain of rice. Good. Next, bring your needle up through the center of that stitch you just made (3). Come down again like you did with your first stitch, and repeat. Continue with every stitch that follows (coming up through the last one you made). That’s it! You will need to work with a divisible floss so you can split them with your needle as you work. Looks impressive (like a tiny chain stitch), but is super simple! (This is also the very first stitch I learned, and the one I use the most).

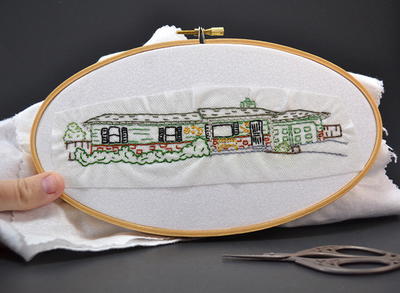
Read NextHappy Home Embroidery Pattern


