Metallic Foil Frames
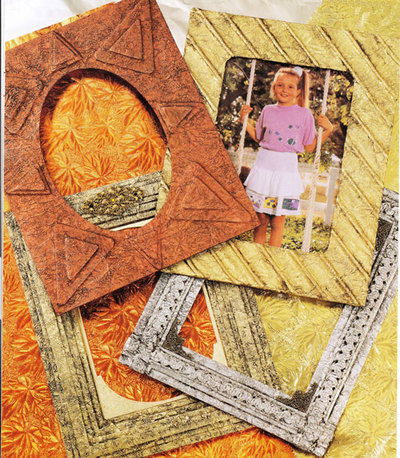
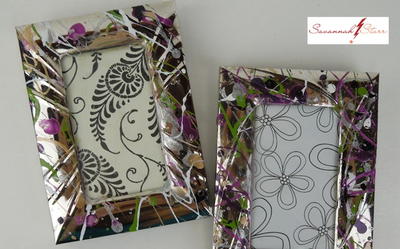
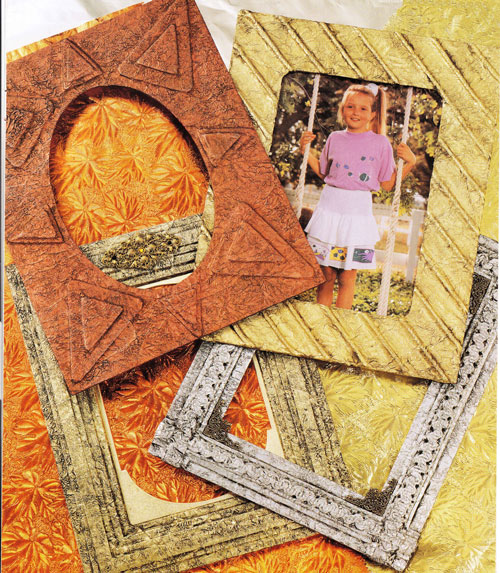
Inexpensive aluminum foil transforms boring matboard into stylish picture frames. Colored and textured floral foil provides many different looks for the frames.
Materials:
- Aleene’s® Original Tacky Glue™
- Aluminum foil
- Rolling pin
- Acrylic paint (dark brown or black)
- Small paintbrush
- Base item: cardboard matboard (or other frame surface)
- Texture supplies: string, braid, noodles, found objects, cut cardboard
- Sealer – spray or brush-on it desired finish ( matte, satin or gloss)
- Tutorial on how to create faux forged foil
Instructions:
To prepare your item to be forged, glue texture (as noted above) to surface. Let dry.
To prepare your foil, crumple up a piece of foil that is larger than your base. Carefully open up the crumpled foil and lay it on a flat surface. Then roll the foil flat with rolling pin.
Spread glue over entire front surface of base being sure to get glue into all of the crevices of the texture. Lay the foil, dull side towards glue and gently press and push, starting from center and working your way out, until the foil conforms to the texture and shape. If you get a tiny tear, simply glue a tiny piece of crinkled foil over the tear. It will blend right in. For corners and crevices, you may need to use a straight edge to push the foil in. Fold the excess over to the back and glue down. Let glue dry completely.
To antique, mix one part water with 2 parts acrylic paint. Brush mixture onto the surface of the foil, working a small area at a time. Immediately wipe back paint with a soft cloth leaving paint in cracks and crevices to give the frame an antiqued effect. Let dry.
To bring out the luster of the foil, apply sealer. Let dry.
Heidi’s Designer Tip: For a different look, try florist foil (without paper backing) for this technique. Florist foil can be found in many interesting colors and textures and creates a unique look.
Read Next15 Old Picture Frame Crafts

