Wood Panel Art Frame
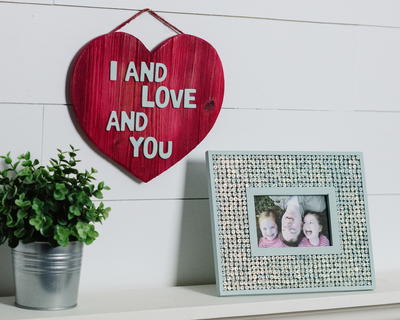
After a special event or vacation, you might be looking for frame craft ideas that are unusual or out of the box. A Wood Panel Art Frame from Lisa Fulmer fits the bill perfectly. Floral papers and embellishments such as chipboard letters will help bring back memories and make you smile.

Materials:
- 8″ square wood art panel
- Light walnut stain and brush
- Decoupage medium
- Non-stick parchment paper and brayer
- Hawaiian-themed papers and embellishments
- Matching card stock and ribbon
- Chipboard letters
- Paint markers
- Self-adhesive photo corners
- Aleene’s Original Tacky Glue and small brush
- Aleene’s Tape Runner
- Flower rubber stamp and white opaque ink
Instructions:
-
Apply walnut stain to art panel on front, back and sides; allow to dry.
-
Stamp white flowers around edge of panel as desired; allow to dry.
-
Brush front and sides of art panel with one coat of decoupage medium; allow to dry.
-
Trim foundation paper to 6.5″ square and adhere to panel with 2nd coat of medium.
-
Cover with parchment paper and use brayer to press and smooth the sheet against the wood.
-
Apply topcoat of medium over foundation paper.
-
While still tacky, press lengths of ribbon along the edges of all four sides of the paper, adhere ends of ribbon around to the back of the frame with glue.
-
Adhere top sheet of paper in position on foundation paper with tape-runner.
-
Use paint markers to color the edges of a small piece of cardstock, add four photo corners, and adhere the cardstock frame in position on the top sheet.
-
Embellish panel as desired by gluing on straw flowers, shells and stickers.
- Color the chipboard letters with paint marker, and use a small paint brush to glue into place beneath the cardstock frame.
Read NextEasy Decoupage Frames

