Climbing Bouquet Tri-Fold Card
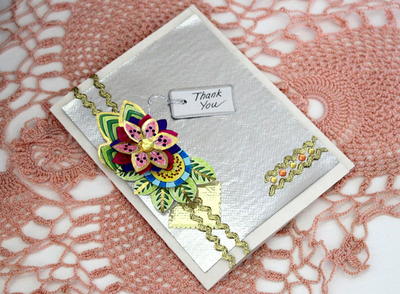
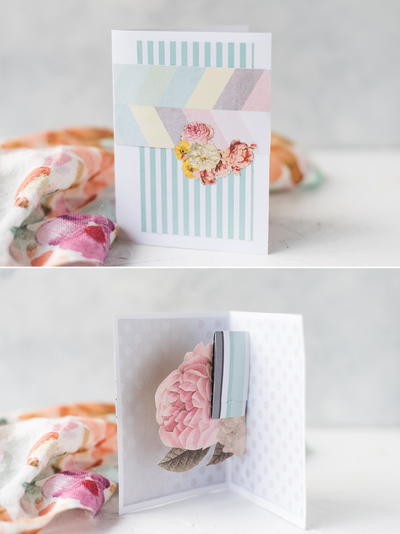
Handmade cards don't have to be flat...give them texture and depth with this Climbing Bouquet Tri-Fold Card. Embellished with several colorful flowers, this handmade card idea is great for any reason or occasion. Although it may look challenging, this card is actually quite easy to make, and everyone will be so surprised when you tell them you made it yourself.
You can find this project, as well as many others, in our free downloadable eBook, Fuse Creativity System Project Guide: Fun Party Themes, Ideas for Handmade Cards, and More Paper Crafts from Fiskars!

Materials:
- Fuse Creativity System® Starter Set
- Mini Design Set 102400 - Flower
- Mini Expansion Pack 102500 - Flower
- Medium Design Set 100850 - Bird
- Medium Expansion Pack 100930 - Bird
- Paper Trimmer
- Scoring Blade
- Adhesive – Mini Glue Dots®
- Baby powder
- Buttons
- Cardstock - Bazzill Basics Paper
- Fabric covered brad
- Ink - StazOn Tsukineko
- Mini paper flowers - Prima
- Stickers - Echo Park Paper
- Wooden icon bird - Prima
Instructions:
-
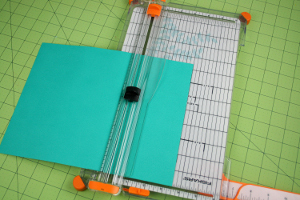
Cut a piece of cardstock to 7 ½” x 10 ½”. Use your paper trimmer and scoring blade to make vertical score lines along the 10 ½” measurement to diving your paper into three equal sections. So, you’ll be making score lines at 3 ½” and 7”.

-
Lay your scored cardstock in front of you in a landscape orientation. Make a mark 3” up from the bottom on the right side. Use a piece of scrap cardstock to connect the point between the 3” mark and the upper left corner of your scored cardstock. Draw a line with a pen or pencil connecting those two points. Then, cut along that line and fold along the scored lines to end up with your tri-folded card base.

-
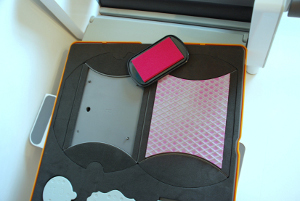
Use the Fiskars Fuse Creativity System® to die cut, die cut and emboss, and die cut and letterpress four large flowers and two smaller flowers using a variety of cardstock colors with the Mini Design Set – Flower. Do the same with green cardstock and the Medium Design Set – Bird to create leaves for your climbing floral bouquet.

-
Start building your climbing bouquet by adhering a large and small flower to the first section, then a large flower in the middle section, and a large and small flower layered to the back section.

-
Begin filling in the remaining areas with the leaves and additional sticker embellishments. You can remove the stickiness from any part of the stickers that overhang the edge of the card by dusting the sticky layer with baby powder.

-
Continue adding smaller brads and paper flower embellishments in between until you have achieved the dimension and texture of the floral bouquet you desire.

-
When you open your tri-fold card, you’ll notice that the middle section on the inside is left unembellished. To give it a cohesive look, simply mirror the design of the middle section here on the inside by layering an additional die cut letterpressed piece.

-
Embellish the far left and far right flaps with sentiment stickers and other small miscellaneous embellishments that fit your theme. Adhere border punched strips or border stickers along the bottom edge of the card.

- Write your message in the first two sections leaving the third (front) section simply embellished with your sentiment stickers. Before mailing, be sure to take into consideration the lumpy embellishments and be prepared to pay extra for postage due to the thickness and rigidity of this greeting card.
Read Next64 Handmade Cards for Every Occasion


