Fabric Easter Basket
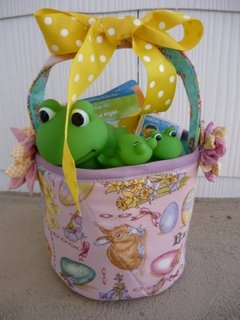
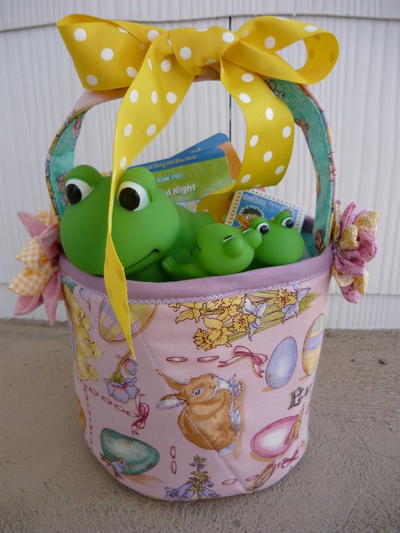
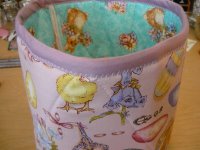
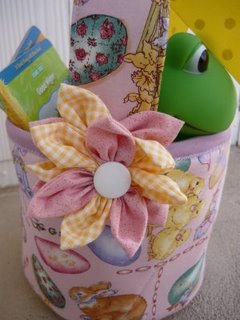
Heather Parsons from Small Fry & Co, the blog with the most adorable baby pictures in the blogosphere, shows us how to create a fabric Easter basket for your little one or anyone. The extensive step-by-step photos make sewing this Easter tote a snap. She even shares where to find a great tutorial for the fabric flowers adorning each side of the basket. This soft fabric basket would be perfect for an Easter egg hunt.
One of the best things about using free sewing patterns to learn how to make Easter baskets is that they allow you to create super safe baskets. While lovely wicker baskets can be fun and plastic dollar store options are convenient, if you are looking to make Easter baskets for young children, softer options are always your best bet. This tutorial shows you exactly how to make a baby-proofed, and toddler-ready DIY Easter Basket.
If you are looking for even more ways to make homemade Easter baskets, we have an entire collection. 23 Easter Baskets to Make is full of elegant Easter ideas that are sure to impress your guests, bunny-shaped or otherwise.
How to Sew an Easter Basket
Materials:
- 4 circle pieces 7 1/4" in diameter. 2 out of the heavy weight stabilizer, and two fabric.
- 4 handle pieces 16x 2 1/2". 2 of these are cut from the fusible fleece and 2 of the fabric
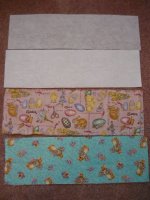
- 1 22 x 6 1/2" piece of heavy weight stabilizer (found near the interfacing in the fabric store except it is really thick about the same weight as light weight cardboard) for the side of the basket
- 1 22 x 6 1/2 " piece of fusible fleece (also found near the interfacing) for the side
- 2 22 x 7 " pieces of fabric for the outside and the inside of the basket (can be the same or different)
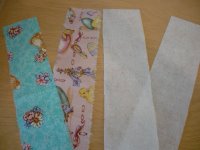
These are my 4 side pieces:
Steps:
Step 1: After all your pieces are cut you want to put the piece of the stabilizer and fleece for the side of the basket together. You can fuse the fleece to the stabilizer if you want then sew around all the edges with a 1/4" seam.
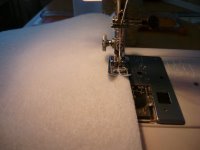
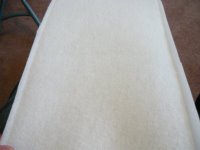
Step 2: Take the 2 fabric side pieces and put the right sides together. Sew a 1/4" seam along one long edge. Back stitch at the start and stop. Press the seam open. Then turn the fabric right side out wrong sides together now and press the seam flat.
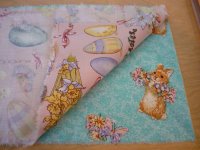
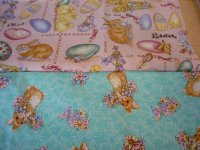
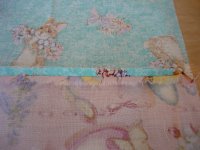
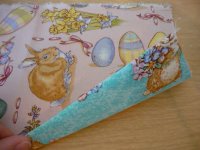
Step 3: Now take the stabilizer/fleece piece and slip it inside the fabric side piece. Pin the bottom (open) edge and sew a 1/4 inch seam. (This will have an unfinished edge but it will be sewn to another piece later. I ended up with the unfinished edge on the inside bottom of my basket which didn't bother me).
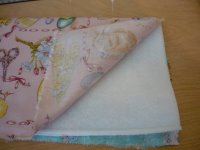
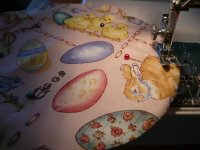
Step 4: Next I wanted to sew something through the middle of this piece to give it a quilted look. I marked off angled lines to form triangles. I marked these with pins and then sewed. This means you have to eyeball your seam. If you want, you can lightly draw a line with a fabric pencil.
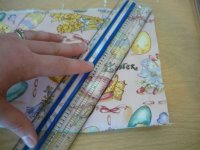
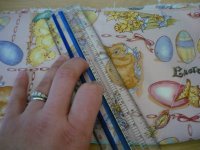
(The stitching lines are visible in these pictures because I took the pictures after I sewed the lines) Start sewing at one end, sew down to the pin, pivot (leave needle down in the fabric and lift the presser foot and turn the fabric) and sew up to the next pin. Repeat until you get to the end. Back stitch start and stop.
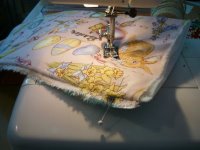
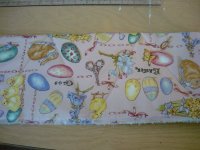
Step 5: Bring the two ends of the side piece together with whatever side you want as the outside of the finished basket, on the inside. Pin the end and sew a 1/4" seam.
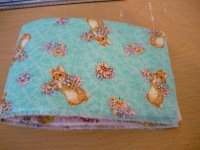
Step 6: Turn the side piece right side out now. I decided that I wanted to put some trim around the top of my basket. I had some bias tape that I decided to pin around the top and stitch down with a zig zag stitch. Because the top edge is finished you don't really have to put any decoration on it if you don't want to.
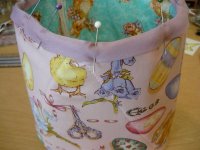
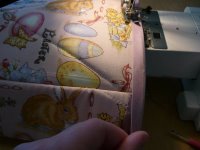
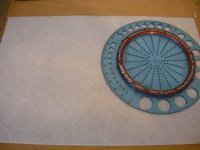
Step 7: Cut out your bottom circle pieces. I traced a circle drawer that I had that was the perfect size. You want the bottom circle pieces to be slightly bigger around than the side piece. Put all 4 circle pieces together (fabric, stabilizers, fabric fabric has the right sides out). Sew a 1/4" seam around the outside edge of the circle, back stitch start and stop.
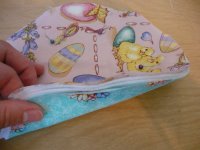
Step 8: With the wrong side of the basket side piece out, pin the bottom circle to the bottom edge (right sides together). It is important when pinning circles together to know that it is very hard to avoid some bumps and tucks. I have just come to accept these as part of the process. Sew around the edge again with a 1/4 inch seam. Remember back stitching.
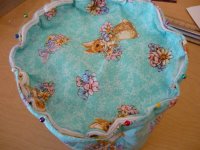
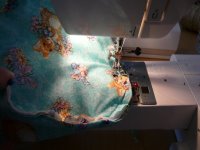
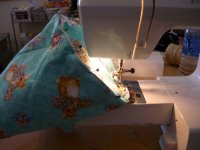
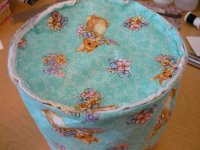
The finished product. I trimmed my seam allowance down as close to the stitching as I could.
Step 9: Make the handles. Cut out your 4 handle pieces. Fuse the fleece to the wrong side of the fabric pieces. Place the fabric pieces right sides together and sew a 1/4" seam down both sides.
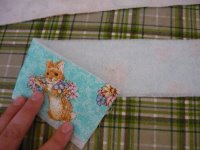
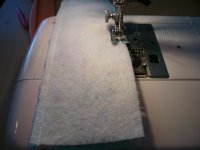
Step 10: Turn the handles right sides out. Place a safety pin through one end of the handle piece near the top but down about a 1/2". Push the pin down inside the handle piece and scrunch the fabric, then pull down the pin and repeat until the safety pin comes out the other end. Pull on it until you have turned your handle piece right side out. Press it flat with an iron.
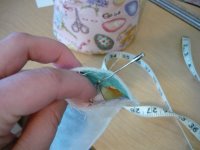
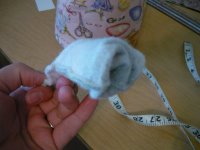
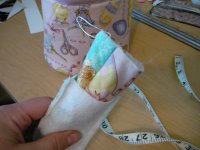
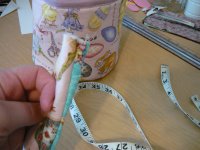
Fold the ends (both ends) inside about a 1/2" and press. Top stitch (1/8" seam) down each side of the handle piece.
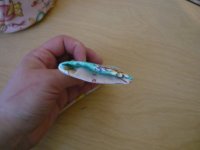
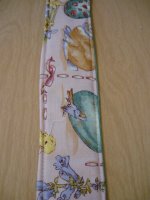
Step 11: Place the end of the handle on the inside of the basket. Pin in place and sew remembering to back stitch. Find the direct opposite side of where you sewed the handle in place and pin the other end of the handle and sew as well.
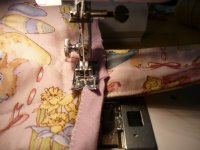
Step 12: Finally to make the handle easier to grip fold the center part of the handle in half and pin. Sew along the existing stitching (about 2 inches ). Back stitch start and stop. Tada!!! You have a basket.
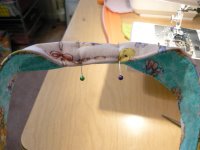
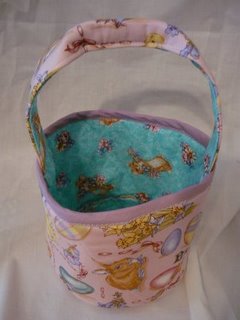
The last thing to do is embellish. I made these cute fabric flowers that I found a tutorial for on Sew RitzyTitzy She does an amazing job with her tutorial so I will not repeat it. I made one large flower for one side and 2 small ones for the other. After adding those I felt like the basket needed a bow so I sewed this polka dot one on. I can't decide if I like it or not. What do you think? Now you have a cute basket that your child can sit on and scrunch up and it won't break or be ruined. A great keepsake.
If you are looking for some recycling projects that you can create for Easter, check out our newly updated collection 25 Recycled Crafts for Easter.
Read NextAdorable Repurposed Sweater Mittens
Your Recently Viewed Projects
Weberme
Apr 04, 2017
Wow a fabric Easter basket what a great idea instead of all those straw ones. What a nice change and you can reuse them to put things in after Easter or a little girl can use it for a purse. You can use some pretty spring fabric or how about making one for a flower girl to put the rose petals in and put some pretty ribbon streamers hanging down. Super great tutorial with step by step photos.Nice.
seahawkschik
Dec 12, 2009
this is the most cute and beginner friendly project that i have seen lately.Thanks sew much!!!!
Report Inappropriate Comment
Are you sure you would like to report this comment? It will be flagged for our moderators to take action.
Thank you for taking the time to improve the content on our site.

