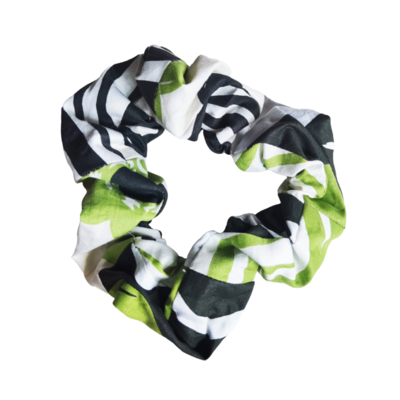
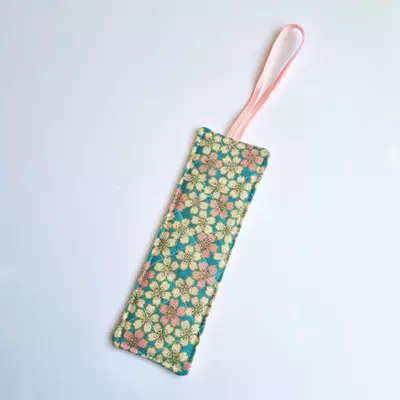
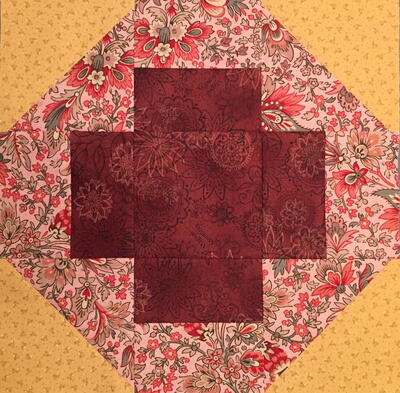
Patchwork Scrunchie Pattern

From the designer: "Get ready to fall in love with scrunchies -- the ultimate go-to accessory that combines style and functionality! These little wonders have become a must-have for a reason. They effortlessly elevate your hairstyle for any occasion. Whether you’re rocking a casual day out with friends or attending a fancy event, scrunchies add a delightful touch of charm to your hair."
Quilt Size4 inches wide x 4 inches long

Materials List
- Twelve 2.5” x 4.5” fabric rectangles from Jungle Serenade collection by Mrs. Quilty
- Coordinating thread
- 8” from ½” elastic
Step-by-step Instructions:
Pick & Cut Your Fabrics
-
Pick your fabrics. Here we will use four fabrics, but you can choose anywhere from 2 to 12 fabrics for your scrunchie.
-
If you’re not sure how to match your fabric pieces, try sorting them into groups based on similar colors. This will make it easier to coordinate your fabric scraps.
-
Cut your fabric into rectangles that measure 2.5 inches by 4.5 inches.
-
Take three rectangles from each fabric, so you’ll end up with a total of 12 rectangles.
Mix, Match & Sew!
-
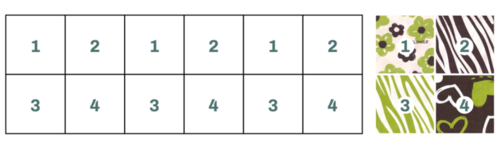
Arrange your fabric rectangles into two rows, with six pieces of fabric in each row. You have the freedom to choose where each fabric is placed so that you can customize the arrangement to your liking. Have fun arranging them in a way that looks great to you!
-
Take the top rectangles of fabric and sew them to the bottom rectangles. Make sure the right sides of the fabric are facing each other.
-
Use a ¼ inch seam allowance to sew the fabric pieces together. This will join the top and bottom rectangles securely.
-
Next, sew your six columns of fabric together to form a row. Use a ¼ inch seam allowance as you sew them together.
-
After sewing, press the seams open with an iron. Pressing the seams open helps to reduce bulk and creates a neater finished look.
-
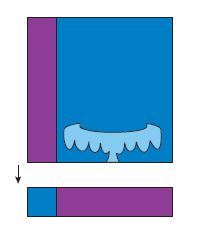
Now that you have a long rectangle of fabric, it’s time to fold it lengthwise. Make sure the right sides of the fabric are facing each other. This means the side you want to show on the outside of your scrunchie should be touching the inside. Fold the fabric in half lengthwise, aligning the edges.
-
To keep the fabric in place, you can use pins. Pin the fabric together at the seam intersections, where the columns of fabric are sewn together. Take your time and carefully pin the fabric to ensure it stays securely aligned.
-
Now, it’s time to sew the edges of the fabric together. Sew along the edges using a ¼ inch seam allowance. This will connect the fabric and make it form a tube shape. After sewing, your fabric will look like it’s inside out, with the seam on the inside of the tube.
Putting Things In Their Place
-
Flip the fabric tube right side out. To do this, attach a safety pin to one end of the fabric and feed it through the tube. Gradually pull the fabric along by pushing the safety pin through the tube.
-
Keep pulling until the entire tube is turned right side out. This method makes flipping the fabric easier and smoother.
-
Take one end of your strip of elastic and attach the safety pin to it. Insert the safety pin into one opening of the fabric tube and start feeding it through. Make sure that the elastic doesn’t get twisted as you thread it through the tube.
-
Continue pulling the safety pin and elastic until the entire length of the elastic is threaded through the fabric tube. This will securely attach the elastic to the fabric and give your scrunchie its stretchy and snug fit.
-
Overlap both ends of the elastic to create a loop. Use a zigzag stitch on your sewing machine to sew the ends of the elastic together. Sew back and forth a few times to ensure it’s securely fastened. You can use the backstitch function on your machine for added durability.
-
Keep in mind that this part may not look visually pleasing, but that’s alright because it will be hidden within your scrunchie once it’s complete. The main goal is to ensure the elastic is securely attached and won’t come undone during use.
-
Fold the end of the fabric on one side of your scrunchie inward by about ¼ inch. This will create a neat and finished edge.
-
Next, insert the other end of the fabric into the tube, making sure to align the edges. Sew the fabric ends closed using a straight stitch on your sewing machine or by hand stitching. This will secure the ends and prevent them from unraveling.
-
Finally, trim any excess threads for a clean finish.
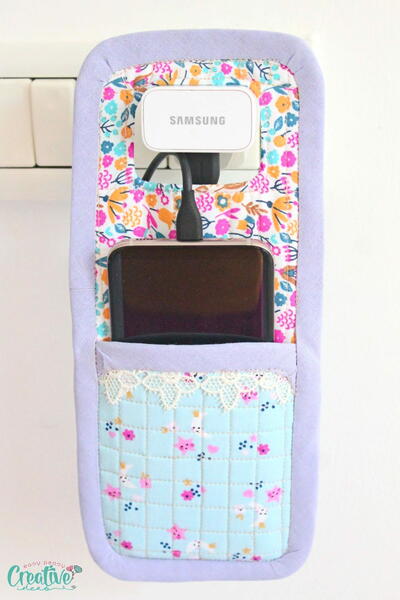
Read NextQuilted Phone Charger Holder