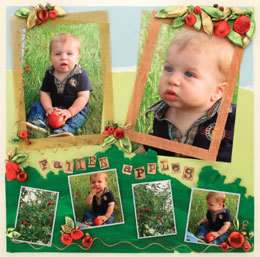
Pumpkin Patch Scrapbook Page
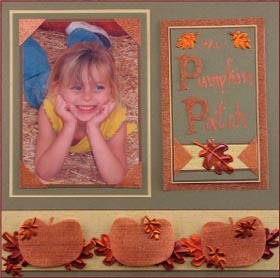
A pumpkin batch scrapbook page accented with shiny copper is perfect for fall, from AMACO.

Materials:
- ArtEmboss® soft embossing metal sheets — Medium Weight Copper
- WireMesh® — Copper
- Sizzix Dies — Leaf #1, Leaf #1 Tiny, Fun Serif ‘P’
- Ellison Die — Pumpkin #1B
- Krylon Copper Leafing Pen
- DMD Paper Reflections Cardstock
- Glue Dots International Mini Glue Dots
- All Night Media Pop Up Dots
- Tsukineko Pigment Ink
- Bamboo
- Heat Tool (Embossing Heat Gun)
Steps:
- Using Sizzix die cut machine; cut seven large leaves and seven tiny leaves from copper ArtEmboss® sheet. Cut two letter ‘P’s from Copper WireMesh®.
- Using a heating tool, carefully heat the copper leaves. The copper will change various colors as heat is applied. Let cool.Using Ellison die cut machine, cut six pumpkins from copper WireMesh®. Hand cut six triangles for photo corners and title block.
- Trim green card stock 1/8 of an inch on two sides and adhere to brown cardstock. Cut light colored cardstock into a strip 2 inches by 12 inches and matt with brown cardstock, to form border.
- Add ink to border. Adhere two pumpkins together with mini glue dots, to make three pumpkins.
- Adhere pop-dots to leaves and pumpkins, then add to border. Adhere tiny leaves to pumpkins with mini glue dots. Adhere border to layout.
- Add photo corners to photograph with glue dots. Matt picture with brown, green and light colored cardstock. Adhere to layout.
- Add die cut letters to title block. Write title with leafing pen. Cut light colored card stock, matt with brown, color with ink, and adhere leaves and triangles. Matt title block to brown, light colored card stock and copper WireMesh®. Adhere to layout.
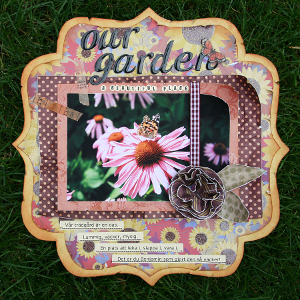
Read NextOur Garden Scrapbook Layout

