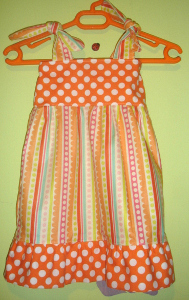
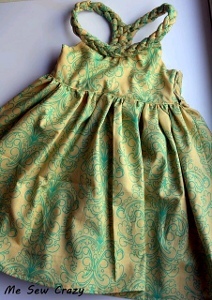
Cute Lemon Drop Dress
Rev up the sewing machine, put on your crafting cap and start making adorable sewn clothes for the family. Your little girl will love this cute lemon drop dress, brought to you by Lelanie Denso, that you can make in less than an hour! Perfect for any season, this will be a lovely addition to any girls wardrobe. Make her feel like a princess.

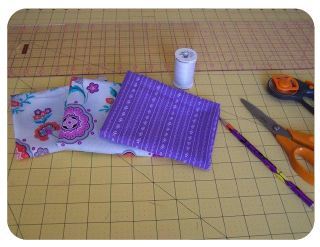
Materials:
- straps (4 pcs.)18" x 2"
- chest (2 pcs.) 4" x 10"
- back (2 pcs.) 4" x 13"
- skirt (1 pc.) 10" x 15", (1 pc.) 10" x 20"
- ruffles (1 pc.) 6" x 19", (1 pc.) 6" x 24"
- elastic 9" long
Instructions:
- Get one of your strap piece, fold it as shown below with right sides of the fabric together.

- Sew straight stitches, making one end rounded
- Cut some slits all around the rounded edge so you'll have a crisp rounded end when we turn it inside out later. Repeat the same steps on the remaining strap pieces.
- Turn your straps inside out, iron it if needed then topstitch.
- Get your skirt pieces. Align the short edges, wrong sides of the fabric together and sew straigh stitches leaving 1/8" seam from the edge. Do the same to the other shorter edge. Turn it and iron the seams.
- Sew straight stitches 1/4" from the edge.
- Get your ruffle pieces. Align both short sides with right sides of the fabric together and straight stitches.
- Serge, sew zigzag stitches, coverstitch... whichever floats your boat! Repeat the same steps for the other sides.
- Fold your ruffle piece, right side facing outwards and sew gathering stitches from the raw edge. Do the same to your skirt piece. (only one side and without folding it)
- Get your chest piece and sew on your straps on each end (leaving about 3" gap on the center from each strap) with basting stitches. So you'll have this.

- Get one chest piece (with straps sewn on) and the other chest piece. Sew straight stitches on this side of your fabric, with both fabric right sides together. Do the same to your back pieces.
- Turn it so the right sides of your fabric are facing you now. Press the seams then topstitch.For your back piece, we'll need to create a casing. Sew straight stitches, leaving enough space so you could insert your elastic through the casing.
- Insert your elastic in your casing. On one end, sew straight stitches to secure your elastic band.
- Attach your back piece to your front piece by sewing first straight stitches then turning it then sewing another straight stitches just like what we did with the skirt piece: a french seam. Do the same to the other side. Now we have the top of the dress done.
- Get your gathered ruffle piece, pin it to your skirt. Make sure you pinned well the sides and the center of the ruffles to your skirt.
- Attach your ruffles to your skirt by sewing straight stitches leaving 1/4" seam from the edge.
- Finish your raw edges with zigzag, coverstitch or overlock stitch or serge it!
- Pin your skirt to your chest piece. Sew straight stitches then some zigzag stitches. Turn your dress then topstitch. And you are done.

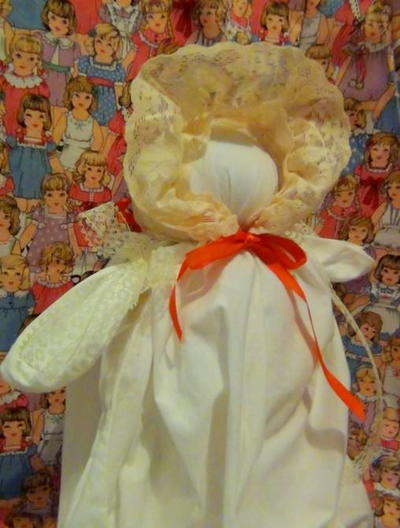
Read NextVintage Handmade Handkerchief Doll
Your Recently Viewed Projects
oakrd4 0690281
Feb 09, 2013
I'm confused as to where the elastic goes. How much more fabric would I need to add if I was to make this to fit my daughter, that is a size 8?
app5qpuaun3oio2eh4 7fb5ad184987a12e9c 1616a9fb9fda0eb 65 89955
May 02, 2012
Id Have to say this is about a 2T based on the chest measurements...
gmables 8231494
Mar 06, 2012
I'd also like to know what size this is. It is absolutely precious.
Report Inappropriate Comment
Are you sure you would like to report this comment? It will be flagged for our moderators to take action.
Thank you for taking the time to improve the content on our site.

