Pumpkin and Leaf Placecard Holders
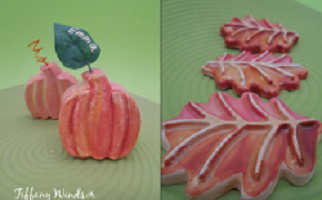
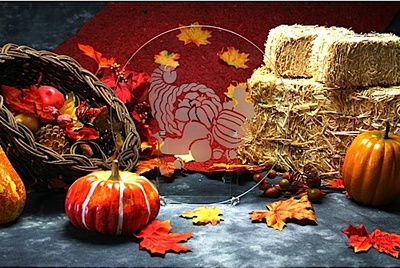
Add a fun touch to your Thanksgiving dinner decor by creating your own Pumpkin and Leaf Placecard Holders from Tiffany Windsor. Guests can take home their card holders at the end of the night and keep them as a souvenir after a meaningful holiday meal.

Materials:
- Cool2Cast – Casting Medium
- Measuring cups
- Water
- Zip top plastic bag(s) – to mix Cool2Cast
- Wilton mold – pumpkins and leaves
- Sandpaper – fine
- Alcohol inks – yellow, orange, red
- Rubbing alcohol
- Small cups for mixing inks
- Brush – for applying inks
- 3-D Lacquer
- Optional: Drill and small drill bit, wire, silk or paper leaf for placecard holder
Instructions:
-
Mix batch of Cool2Cast according to package directions.
-
Pour into mold(s). Remember that you can pour more or less depending on how thick you want your designs. (I poured about 1/2″ full for placecard holders, 1/4″ full for leaves.)
-
Let molds set undisturbed for at least one hour until Cool2Cast is solid to the touch. Gently remove from mold and let set overnight or until dry. If needed, lightly sand any rough edges.
-
If making placecard holders, drill hole in top of pumpkin stem to hold wire.
-
Mix alcohol inks with rubbing alcohol to desired color. (If you want really strong coloring, you can also apply directly from bottle.) Apply color to front and back of each piece. Let dry completely.
- Apply 3-D Lacquer to front of pieces for a glossy finish. Let dry completely.
For a comprehensive video tutorial of this project, check out How to Make Cool2Cast Pumpkins and Leaves.
Read NextLi'l Turkey Crochet Pattern

