Splash Card
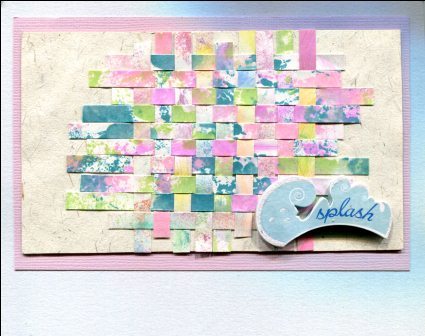
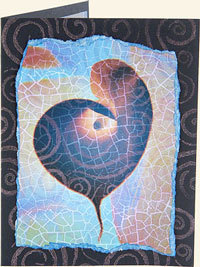
Weaving is fun and makes a great background for stamping and cardmaking. This card by Maria Nerius uses ink to paper and weaving techniques.

Materials:
- Canson card blank 6 1/4” x 6 1/4"
- Various colors of pigment ink including at least one metallic color like gold or silver
- Sheet of cardstock
- 5 1/2” x 3 1/4" coordinating paper A for mat
- 5 3/4" x 3 3/4" coordinating paper B for mat
- Word 3-D sticker: Splash
- Art Sponge
- Fiskars paper trimmer
- Optional: texture or abstract rubberstamps
Instructions:
- The card shown used pink, yellow, metallic green, violet, lime green, and barn red pigment inks. Some inks were randomly stamped onto the sheet of card stock with texture stamps. Other ink colors were randomly sponged onto the sheet of cardstock. Keep applying ink to the sheet of cardstock until you are happy with your newly created sheet of paper. Allow inks to dry.
- Cut strips of paper from the paper you created in Step 1. Using a paper trimmer, cut strips 1/4" wide and 8 1/2” long. Randomly select 9 strips and adhere one end of each strip of paper onto your 5 1/2" x 3 1/4" coordinating paper A. The strips should line up in a row with just a hint of a space between, these are your warp (the pieces that run top to bottom/up and down.).
- Now randomly select 9 strips for your weft (pieces that run across or side to side). Begin to weave. Take a strip of paper and weave over and under for all 9 warp strips. Make sure your first weft is tightly to the top. Repeat this step for the remaining 8 weft strips. Once done. Tack all ends down with a dab of glue. Trim strips as you desire. Project shown trimmed strips randomly longer and shorter to give an interesting texture to the finished piece.
- Mount your weave to the coordinating B paper and trim if needed. Mount the matted weave to card front centered to top. Add word sticker or embellishment of your choice to the bottom right of weave.
Read NextFoiled Butterfly Notecards

