This project was submitted by one of our readers, just like you.
Glowing Happy Birthday Card
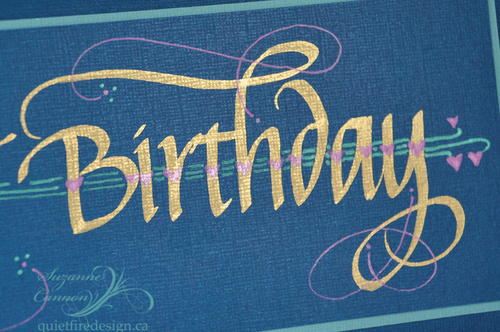
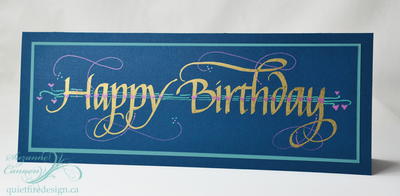
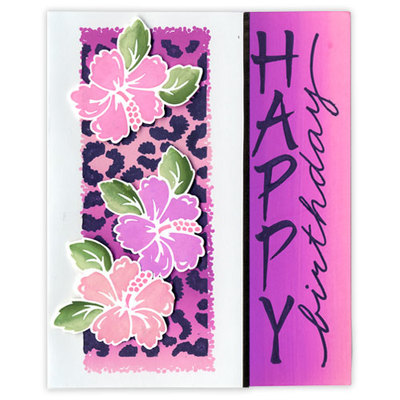
Simple and stunning lettering sets this handmade birthday cards above the rest.
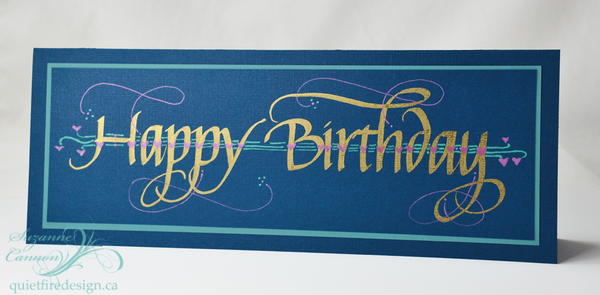
In the Designer's Words: "Lettering in gold and adding a few easy strokes and embellishments can make all the difference to personalizing your card. When these letters catch the light, they simply glow! Draw little curls at the end of the phrase. Add extra flourishes, hearts and dots. Have fun!"
Making your own birthday cards is a lovely and often budget-friendly way to give a card that is actually memorable. While store-bought cards can be adorable and hilarious, learning how to make homemade cards is just so much more special. Learn how to make simple and classy birthday card ideas with this paper craft tutorial. The Glowing Happy Birthday Card shows you how to create flawless lettering to wish anyone in your life a very happy birthday. Use this project to make a DIY birthday card for kids or adults. All you need to do is change the sentiment inside to your occasion.
Estimated Cost$11-$20
Time to CompleteUnder an hour
Primary TechniqueGeneral Paper Crafting
Project or Page SizeCard
Type of Paper UsedCardstock

Materials List
- Core’dinations cardstock in Aquamarine and Harborside
- Sakura Pentouch Calligrapher in Gold
- Sakura GellyRoll Metallic
- Soapstone pencil
- Ruler
- Double sided adhesive
- Kneadable eraser
Instructions
-
Form a tent fold card base measuring 12 x 4.5” from dark coloured cardstock.
-
Cut a panel measuring 11 x 3.5” from the same dark cardstock and cut a slightly larger mat of the lighter coloured cardstock.
-
Lightly draw a baseline and a waistline across the smallest panel with your soapstone pencil to help keep your lettering straight. If your paper is textured, you might want to work on the smoother side.
-
Letter your sentiment with the Pentouch Calligrapher.
-
Create small hearts in the stem of each letter as shown, using Gelly Roll pens in red or pink.
-
Run strokes between each of the letters and through the counterspaces using pens in your favourite colours. It doesn't have to be perfect!
-
Draw little curls at the end of the phrase. Add extra flourishes, hearts and dots. Have fun!
-
Assemble the card as shown with double sided adhesive. Erase the soapstone pencil lines with a kneadable eraser.
Read NextHawaiian Happy Birthday Card

