DIY Button Bracelet
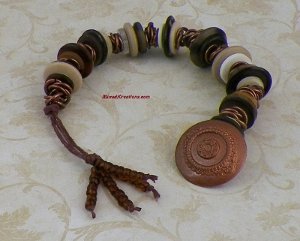
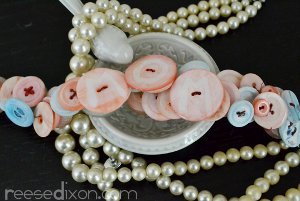
If you have a collection of buttons that are just waiting for a great project, this DIY Button Bracelet is for you. Made with a variety of buttons, this colorful bracelet is great for any outfit. If you have some extra buttons on hand, you could even make a necklace or a pair of earrings to complete your set.

Materials:
- 1 Button for your closure
- Variety of buttons with 4 holes
- Copper chain
- 2 Strands of hemp cord approximately 30” in length
- 32 Seed beads
Instructions:
-
Take your hemp cord and add a dap of glue to the ends and roll to form a somewhat point, let dry. This will make it easier to thread the cord through the holes without it fraying.
-
Take your copper chain apart where you have approximately 11 or 12 one inch pieces.
-
Thread the two pieces of cord in through your closure button, fold in half to center it, and then tie a knot up close to the button. You will be working with four strands of cord.
-
Now take three buttons and start threading them onto the cord. Be sure to thread the same piece of cord through the same hole in each button for each section. (By section, I mean each set of three buttons) This will keep the buttons fitting snuggly together.


-
Make sure that each strand of hemp cord goes through the same placement hole of the button. Bottom right of each button, top right of each button, top left of each button, and the bottom left of each button.

-
Now thread your one inch piece of chain onto all four strands of cord. Pull everything up snug together.


-
Separate your cord and thread your buttons onto the cord again following step #4.

-
Continue with steps #4 and #5 until you get the bracelet to the desired length.

-
Tie a knot at the end, then straighten the end strands of cord and tie another knot leaving an opening just large enough for your closure button to fit through.

- Thread 8 seed beads onto each left over strand of cord, tie knot, and clip left over ends off.
Read NextMango Button Bracelet

