Simple Elegance Magenta Christmas Angel
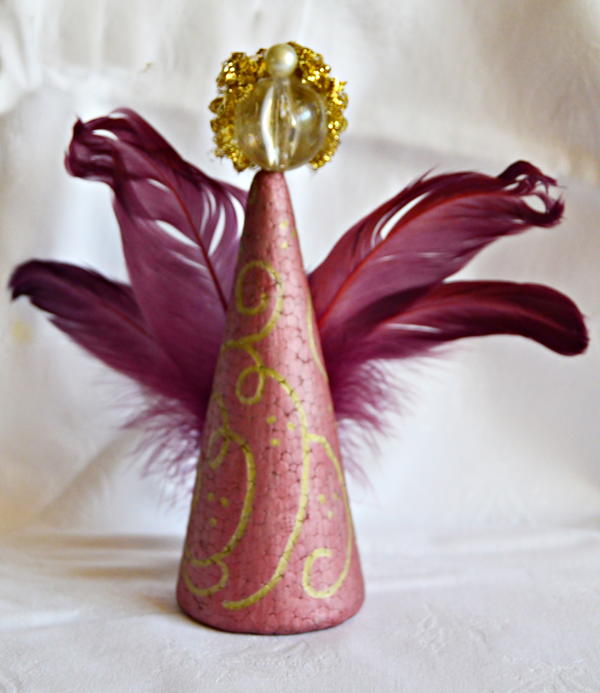
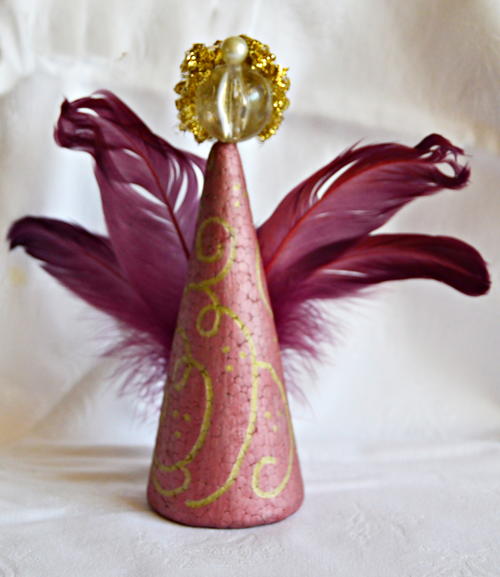
From the Designer: "Here is a Christmas angel that you can make in no time. Use metal pens and feathers to turn an ordinary polystyrene cone into an extraordinary decoration for Christmas. You can even make a whole angel choir to fill a mantelpiece, and add a modern yet elegant touch to your décor."
Estimated CostUnder $10
Time to CompleteIn an evening
MaterialsBeads, Craft Foam
Primary TechniqueGeneral Crafts

HolidayChristmas
Project TypeMake a Project
Materials List
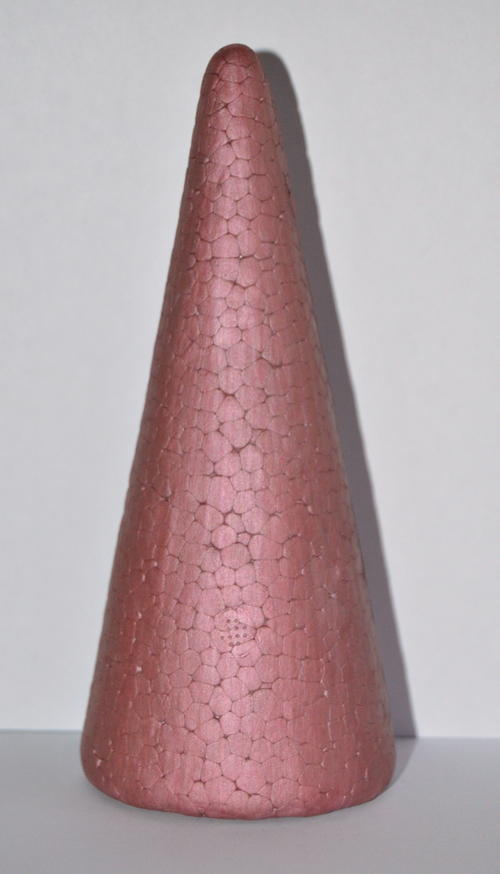
- One 5.4” high polystyrene cone
- Four magenta colored feathers
- 2.4” long cream colored pearl head millinery florist hat pin
- 1” high clear round acrylic bead
- Brass scourer
- Giotto décor opaque metal pens: magenta and gold
- Quick-drying craft glue (such as bostik clear)
- Acrilex cola air dry polystyrene glue
- Optional: thin green florist wire and pliers
Instructions
-
Use the metal magenta pen to color the polystyrene cone. Color small parts at a time, and allow to dry. Once dry, the ink won’t come off.
-
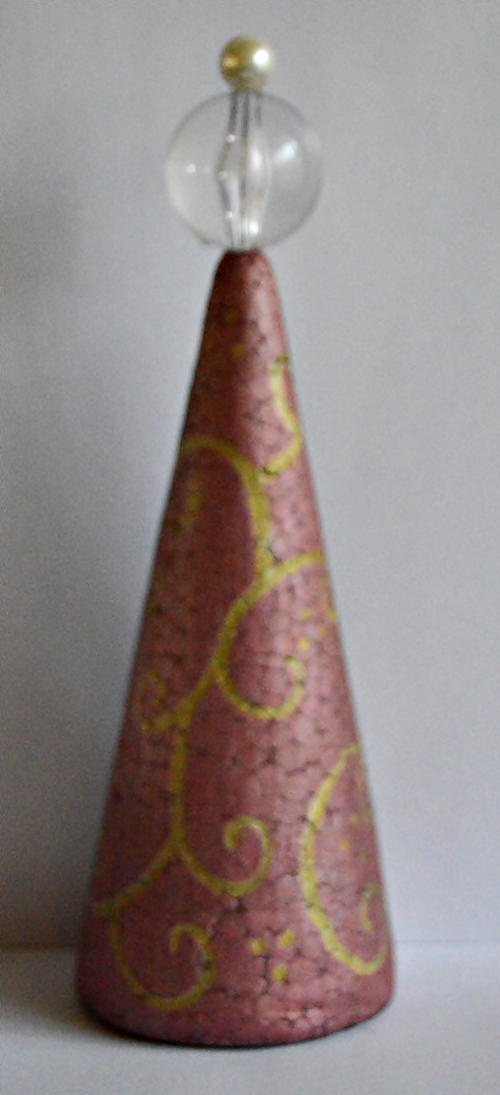
Use the metal gold pen to add a golden swirl design all around the cone and allow to dry.
-
Push the hat pin through the bead, and then into the apex of the cone to secure the bead to the top of the cone. This will be the angel’s head and crown.
-
Cut small pieces from the brass scourer. Use Bostik to glue it to the bead to make the angel’s hair. Be careful not to drop any glue on to the cone.
-
Use the feathers to add the angel’s wings. Use polystyrene glue to secure the feathers to the back of the cone, two feathers on each side.
Tip: You can also use small wire hooks to help secure the feathers to the cone. Use pliers and cut thin green florist wire into 2.4” strips. Bend each wire strip to make small wire hooks, and push the hooks into the back of the cone to help keep the feathers in place.
Read NextRepurposed Lighting Antique Angel

