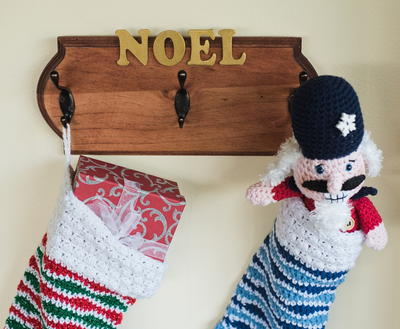
NOEL Pop Art

This fun NOEL Pop Art is a great way to add a modern twist to your traditional holiday decor. Made using old sheet music and other embellishments of the season, this handmade Christmas decor piece is one that's sure to impress friends and family. While this one might be a little challenging for the little ones, this is a great project for teens and adults, and a great way to decorate a dorm room or apartment. Wreaths aren't the only way to decorate your home for the holidays...with Christmas decor like this NOEL Pop Art design, you can create decorations that are classy as they are funky!
Time to CompleteIn an evening
Primary TechniqueGeneral Crafts

HolidayChristmas
Materials:
- FloraCraft® Make It: Fun® Foam
- Sheet: 1” x 12” x 36”
- Wreath: 12”
- Acrylic Paint: White, Red and Orange
- (4) 12”x12” Scrapbook Paper: Music Notes
- (5 Yards) 1” Satin Ribbon: Red
- Faux Cedar Sprigs
- Mini Pinecones
- Small Black Bead
- Straight Pins
- Cardstock
- FloraCraft® StyroCutter® Plus
- Make It: Fun® Foam Cutter or Serrated Knife
- Low-Temp Glue Gun
- Scissors
- Paint Brush
- Black Marker
Templates:
Check out this project and other great DIY Christmas crafts in our free eBook 20 Easy DIY Holiday Projects!
Instructions:
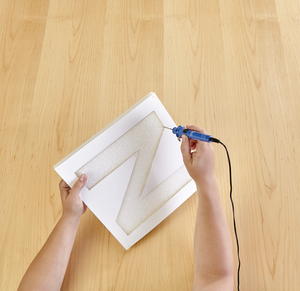
- Cut the 36” sheet into three 12” squares. Print letter and bird templates onto cardstock and cut out. Pin the templates to the 12” squares. Following the package instructions, carefully cut out the letters from the foam squares using the StyroCutter® Plus. Do not force the blade through the foam and be sure to keep the blade at a 90 degree angle to the foam square to create straight edges on the letters. Remove the templates from the letters.
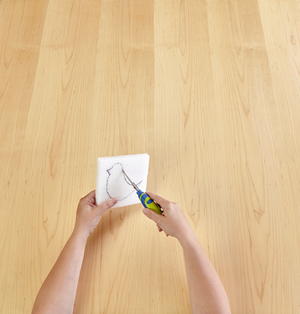
- Pin the bird template on a scrap piece of foam and trace with a black marker. Cut out the bird shape with the serrated knife. Use a scrap piece of foam as a sanding block to round the edges of the bird shape.
- Paint the bird red and the beak orange and let dry. Glue the black bead in place for the eye.
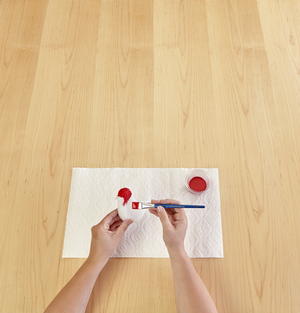
- Paint the inside edge of the wreath (the letter “O”) red and let dry. Paint the inside edges of all the letters red and let dry. Paint the front and outside edges of the wreath and all the letter squares white and let dry.
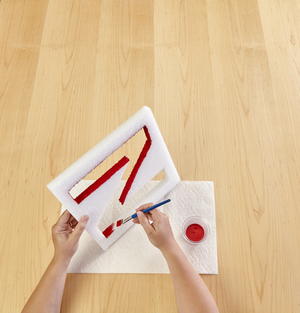
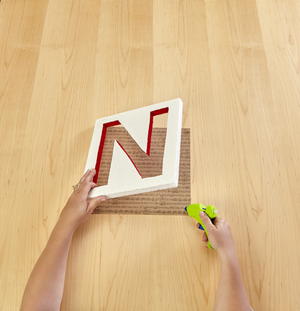
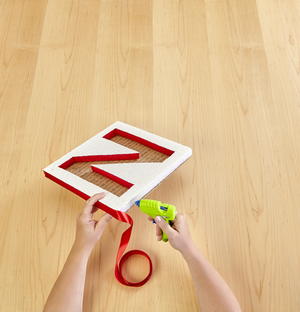
- Glue scrapbook paper to the back of the letter squares. Cut the paper to fit the back of the wreath and glue in place. Glue red satin ribbon to the outside edge of all four letters. Embellish the letters by adding cedar sprigs and pinecones with glue. Glue the bird inside the wreath as shown.

Read NextPVC Pipe Christmas Tree

