Color ME Mini Composition Journals
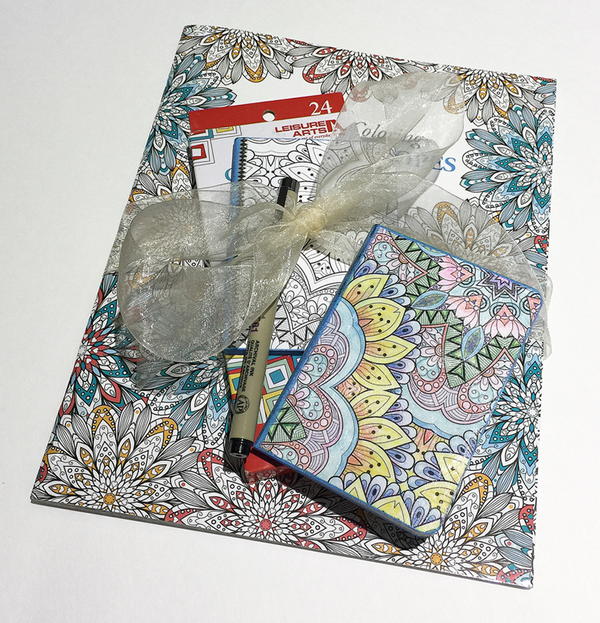
From the Blogger: "Enjoy some creative relaxation of coloring and turn coloring pages into functional mini composition journals. I have loads of notebooks and mini journals around that could certainly use an artsy touch. I've transformed these plain notebooks into something beautiful with a handmade touch! With a few supplies and a little time spent coloring, I have a beautifully colored mini journal and a second that I can be colored on the go. This project can even be bundled together and make a great gift to pass on the enjoyment of coloring."
Time to CompleteIn an evening

Project TypeMake a Project
Materials List
- Tonic Studios Paper Trimmer
- Tonic Studios 5" Mini Snips Scissors
- Mini Blank Composition Journals
- Leisure Arts "Art of Coloring - Kaleidoscopes"
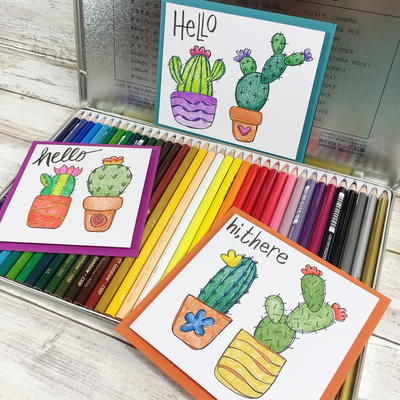
- Leisure Arts Colored Pencils - 24 colors
- Plaid Mod Podge Outdoor
- Scrapbook Adhesives Permanent 4x6 Adhesive Sheets
- Sakura Permaopaque Blue Pigment Marker
- Sakura Micron Archival Pen
- Pencil
- 1/8 diamond washi tape
- Paintbrush
- Ruler
- Square of sandpaper
- Organza Ribbon
Instructions
-
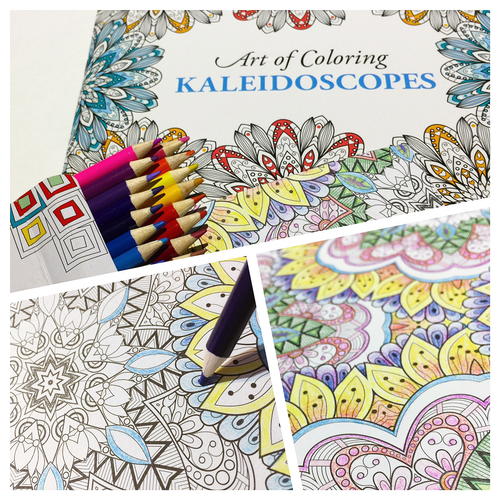
Select a design from the Leisure Arts Art of Coloring book and tear out using perforation provided in center of book. Color design using Leisure Arts Colored Pencils as desired. I colored half of the sheet, leaving the other half of sheet uncolored to reserve for later use. This step took about an hour, as I enjoyed the coloring process - filling in the patterns and building up layers of color.
-
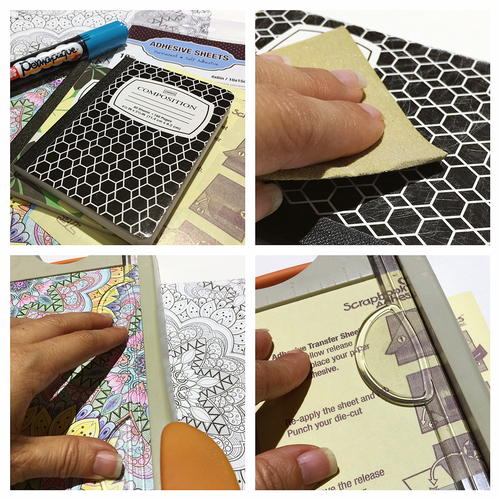
Take mini composition books and gently sand glossy surface on front and back covers. Measure size of cover then trim Scrapbook Adhesive Adhesive Sheets slightly larger than needed using Tonic paper trimmer. Follow by trimming colored Kaleidoscope coloring sheet into sections to same size as adhesive sheets. The books used are approx. 3 1/2 x 4 1/2 so I trimmed everything about 1/8 larger. Four sections of adhesive sheets and coloring sheet designs are needed to color both mini journals.
-
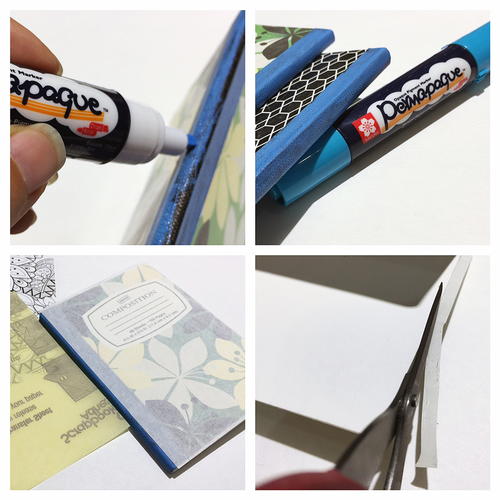
Color spine of each book using Permapaque marker. Remove backing and adhere adhesive sheets to front and back of each book, trimming overlap with the Tonic 5 Mini Snip scissors - these have micro serrated blades and are great for doing detail trimming.
-
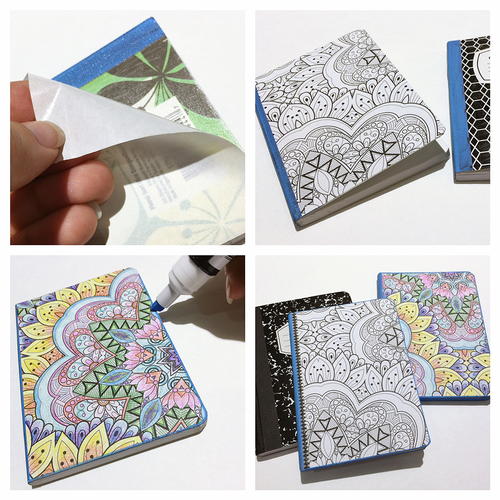
Burnish adhesive sheets to ensure secure adhesion and to remove air bubbles. Remove backing and place trimmed sections of coloring sheet to front and back covers of book. Backtrim any overhang as in previous step. Use Permapaque pen to edge covers and color outside edge of pages. *Optional: Add decorative washi tape trim or ribbon to spine edge (I added a thin diamond pattern washi to uncolored book).
-
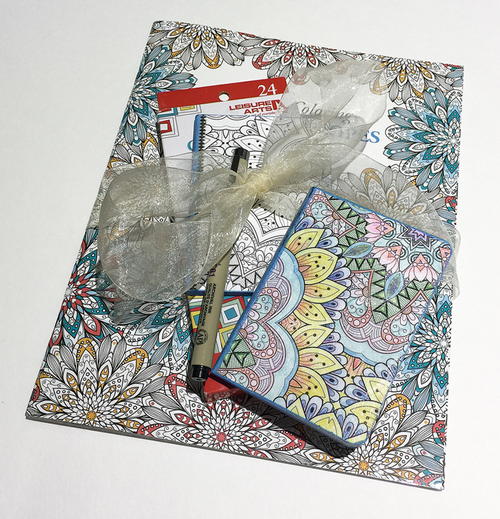
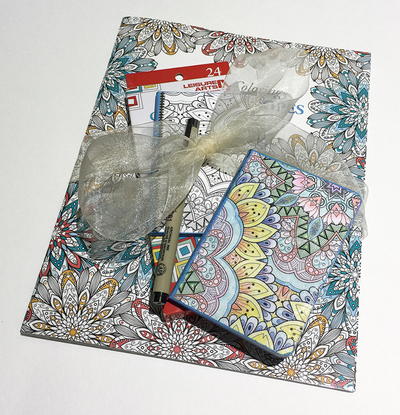
Books are now complete. I took an extra step here by adding a layer of Mod Podge Outdoor to cover of book with hand-colored design for durability and to protect the surface coloring. Stack a coloring book, colored pencils and both colored and uncolored books and tie with a organza ribbon. Add a Sakura Micron pen to make a wonderful gift with handmade flair.
Read NextColoring Book Jewelry Set

